HOME
TICKETS
GAME DAY
Game Day Info
Schedule
Tickets
Streaming
Standings/Stats
SHOP
TEAM
Roster- Tackle
Staff
Adopt-a-Vixen
Roster Archive
All-Time Honors*
FLAG
PARTNERS/SPONSORS
More
Mission and Vision
Vixen Mini-Camp
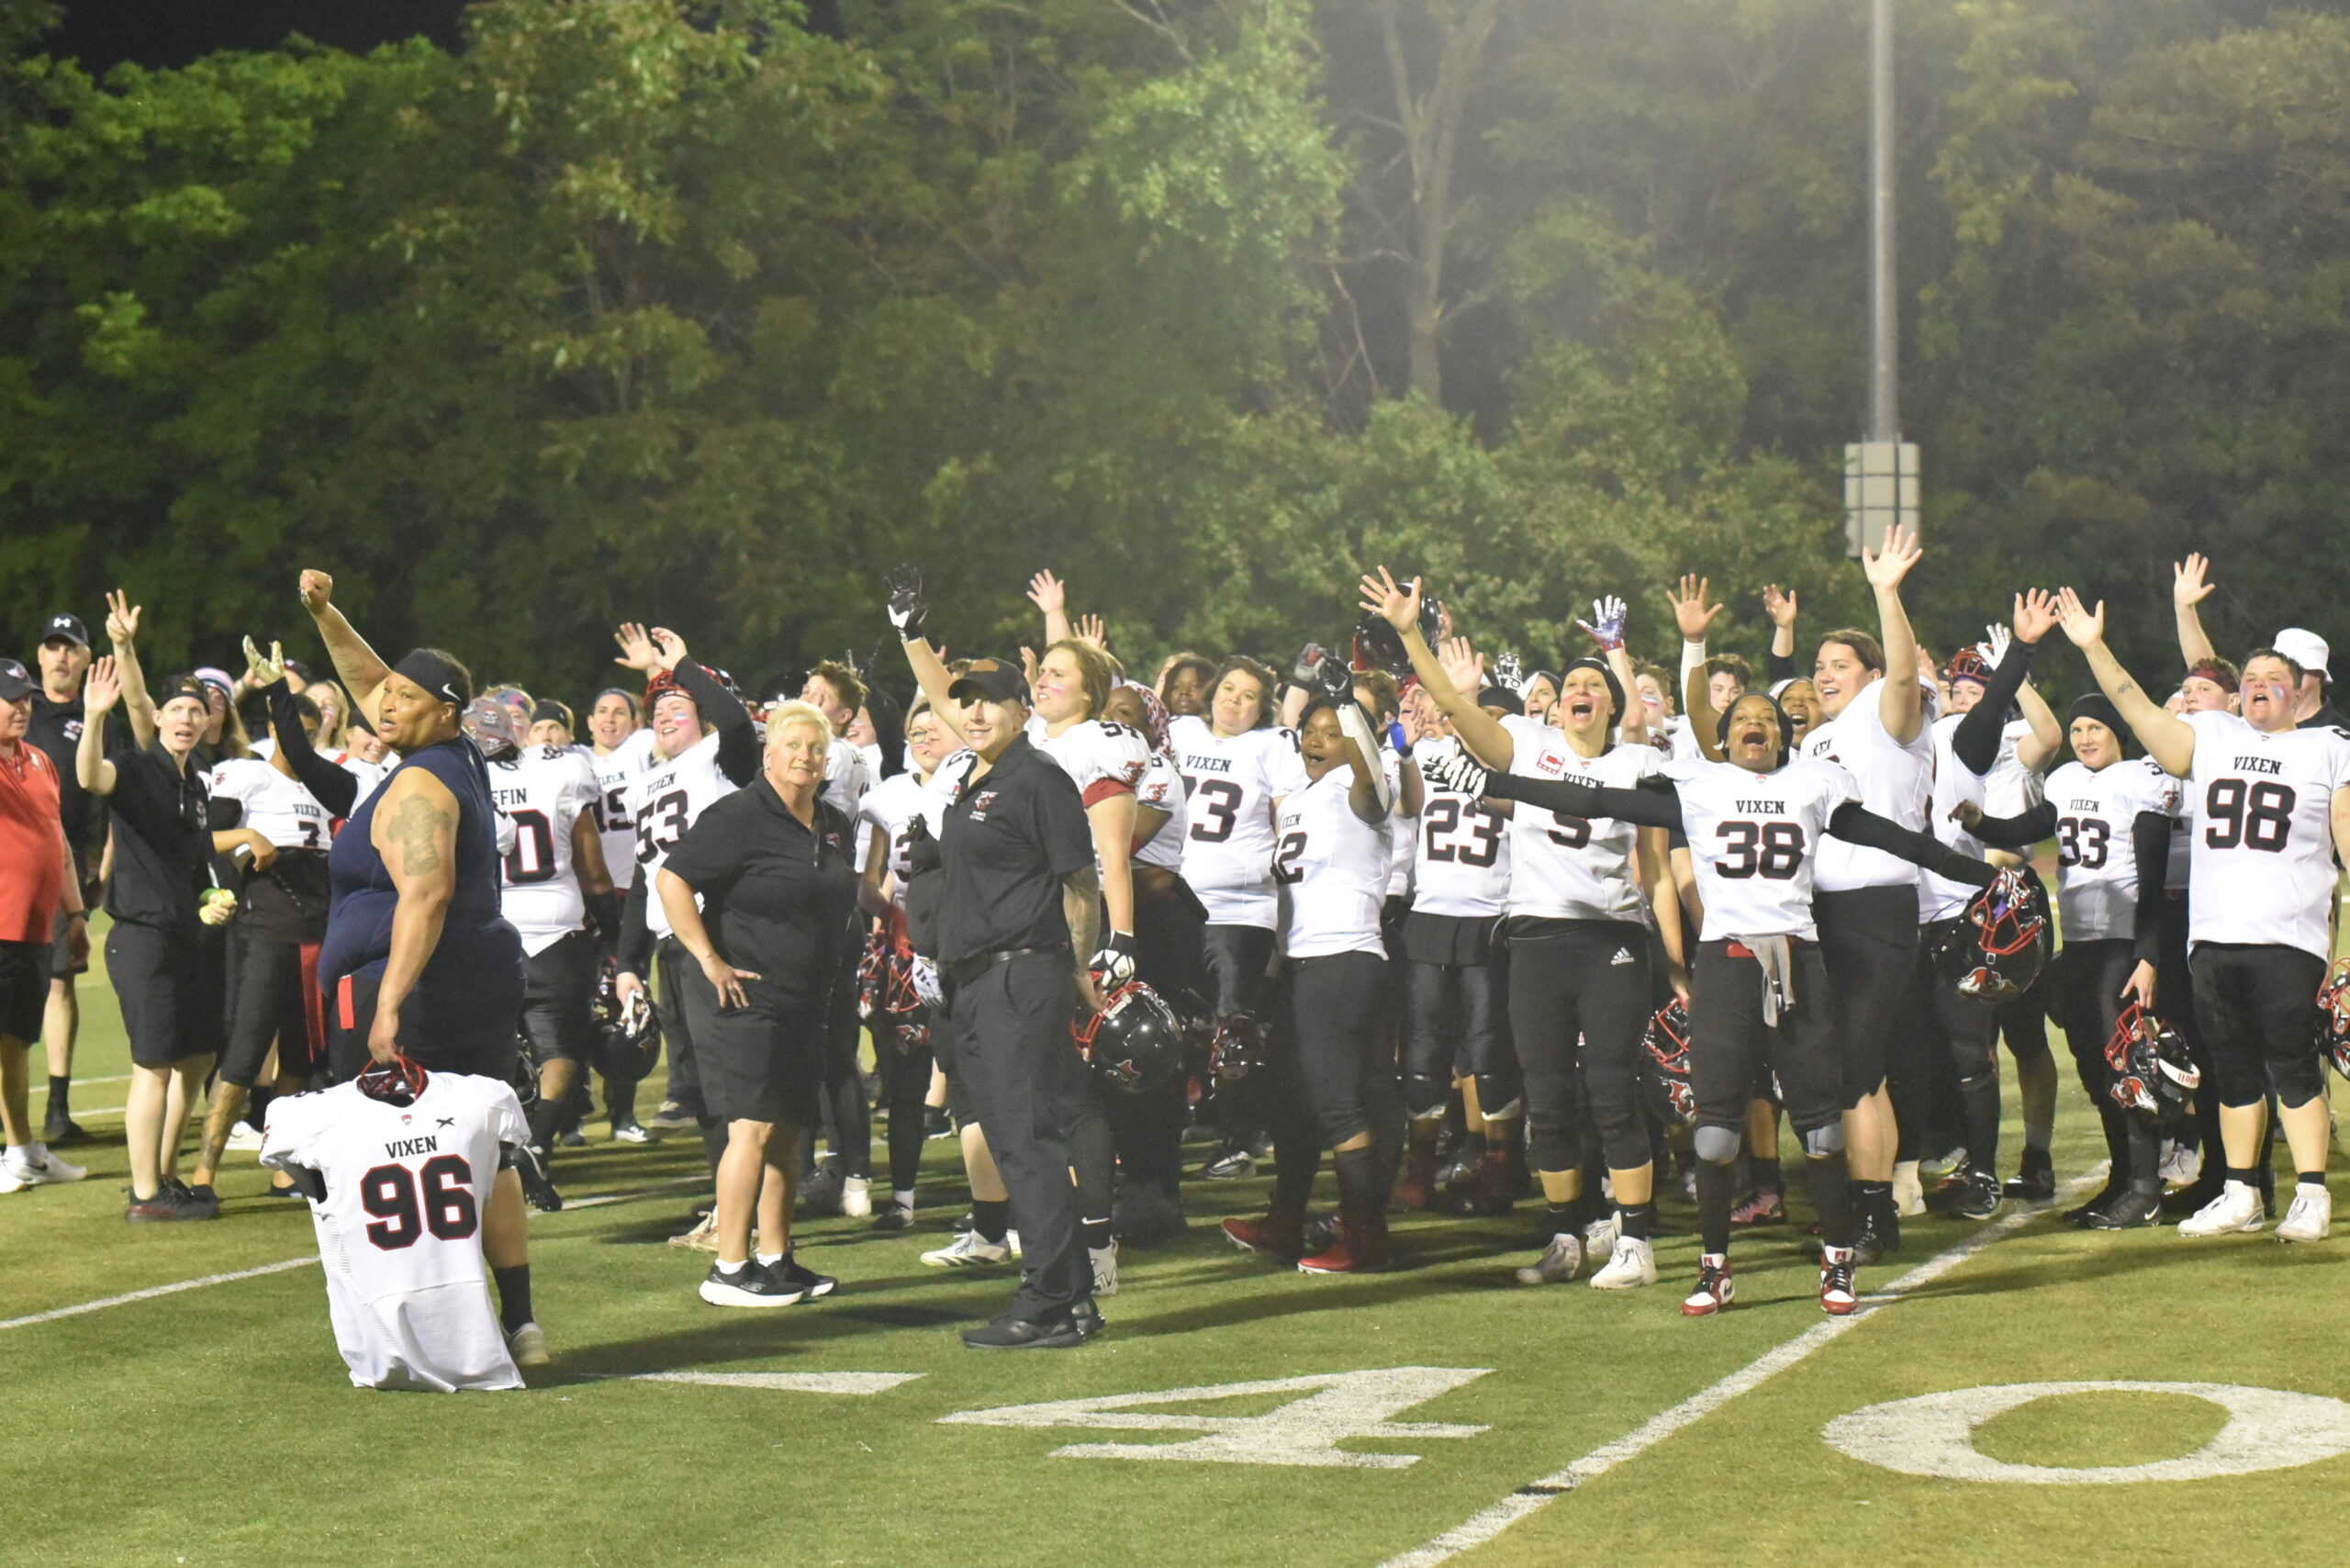
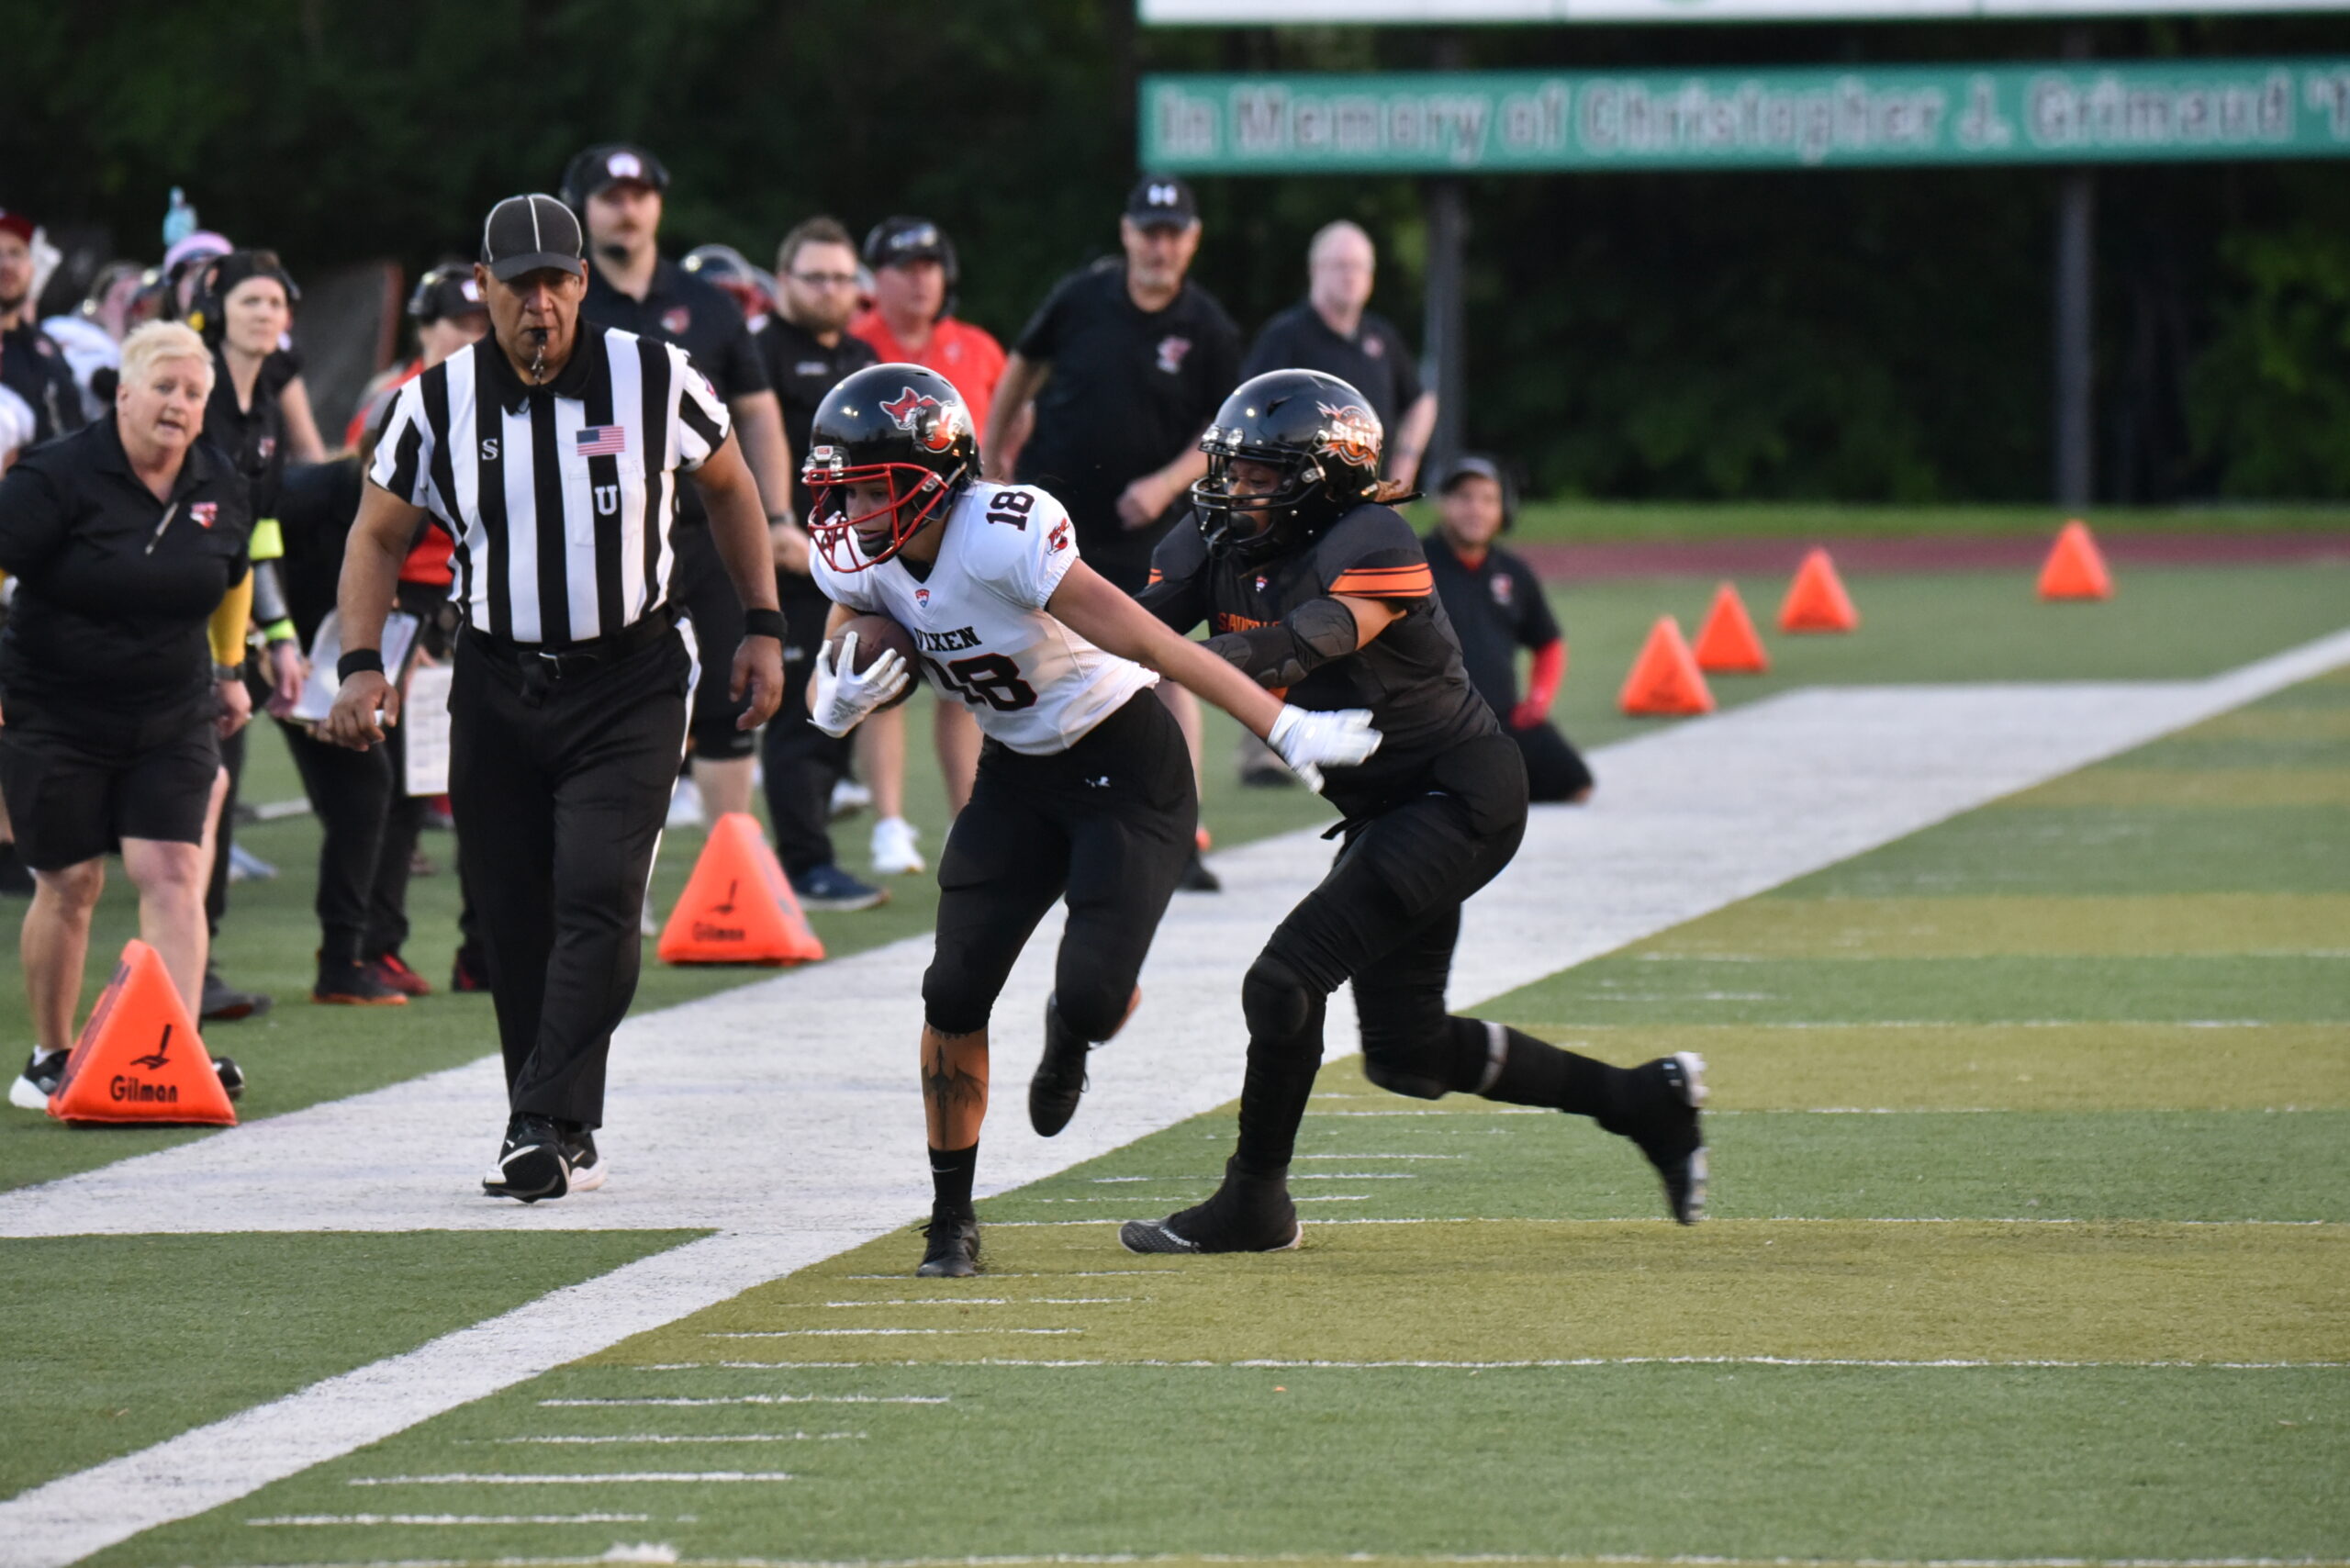
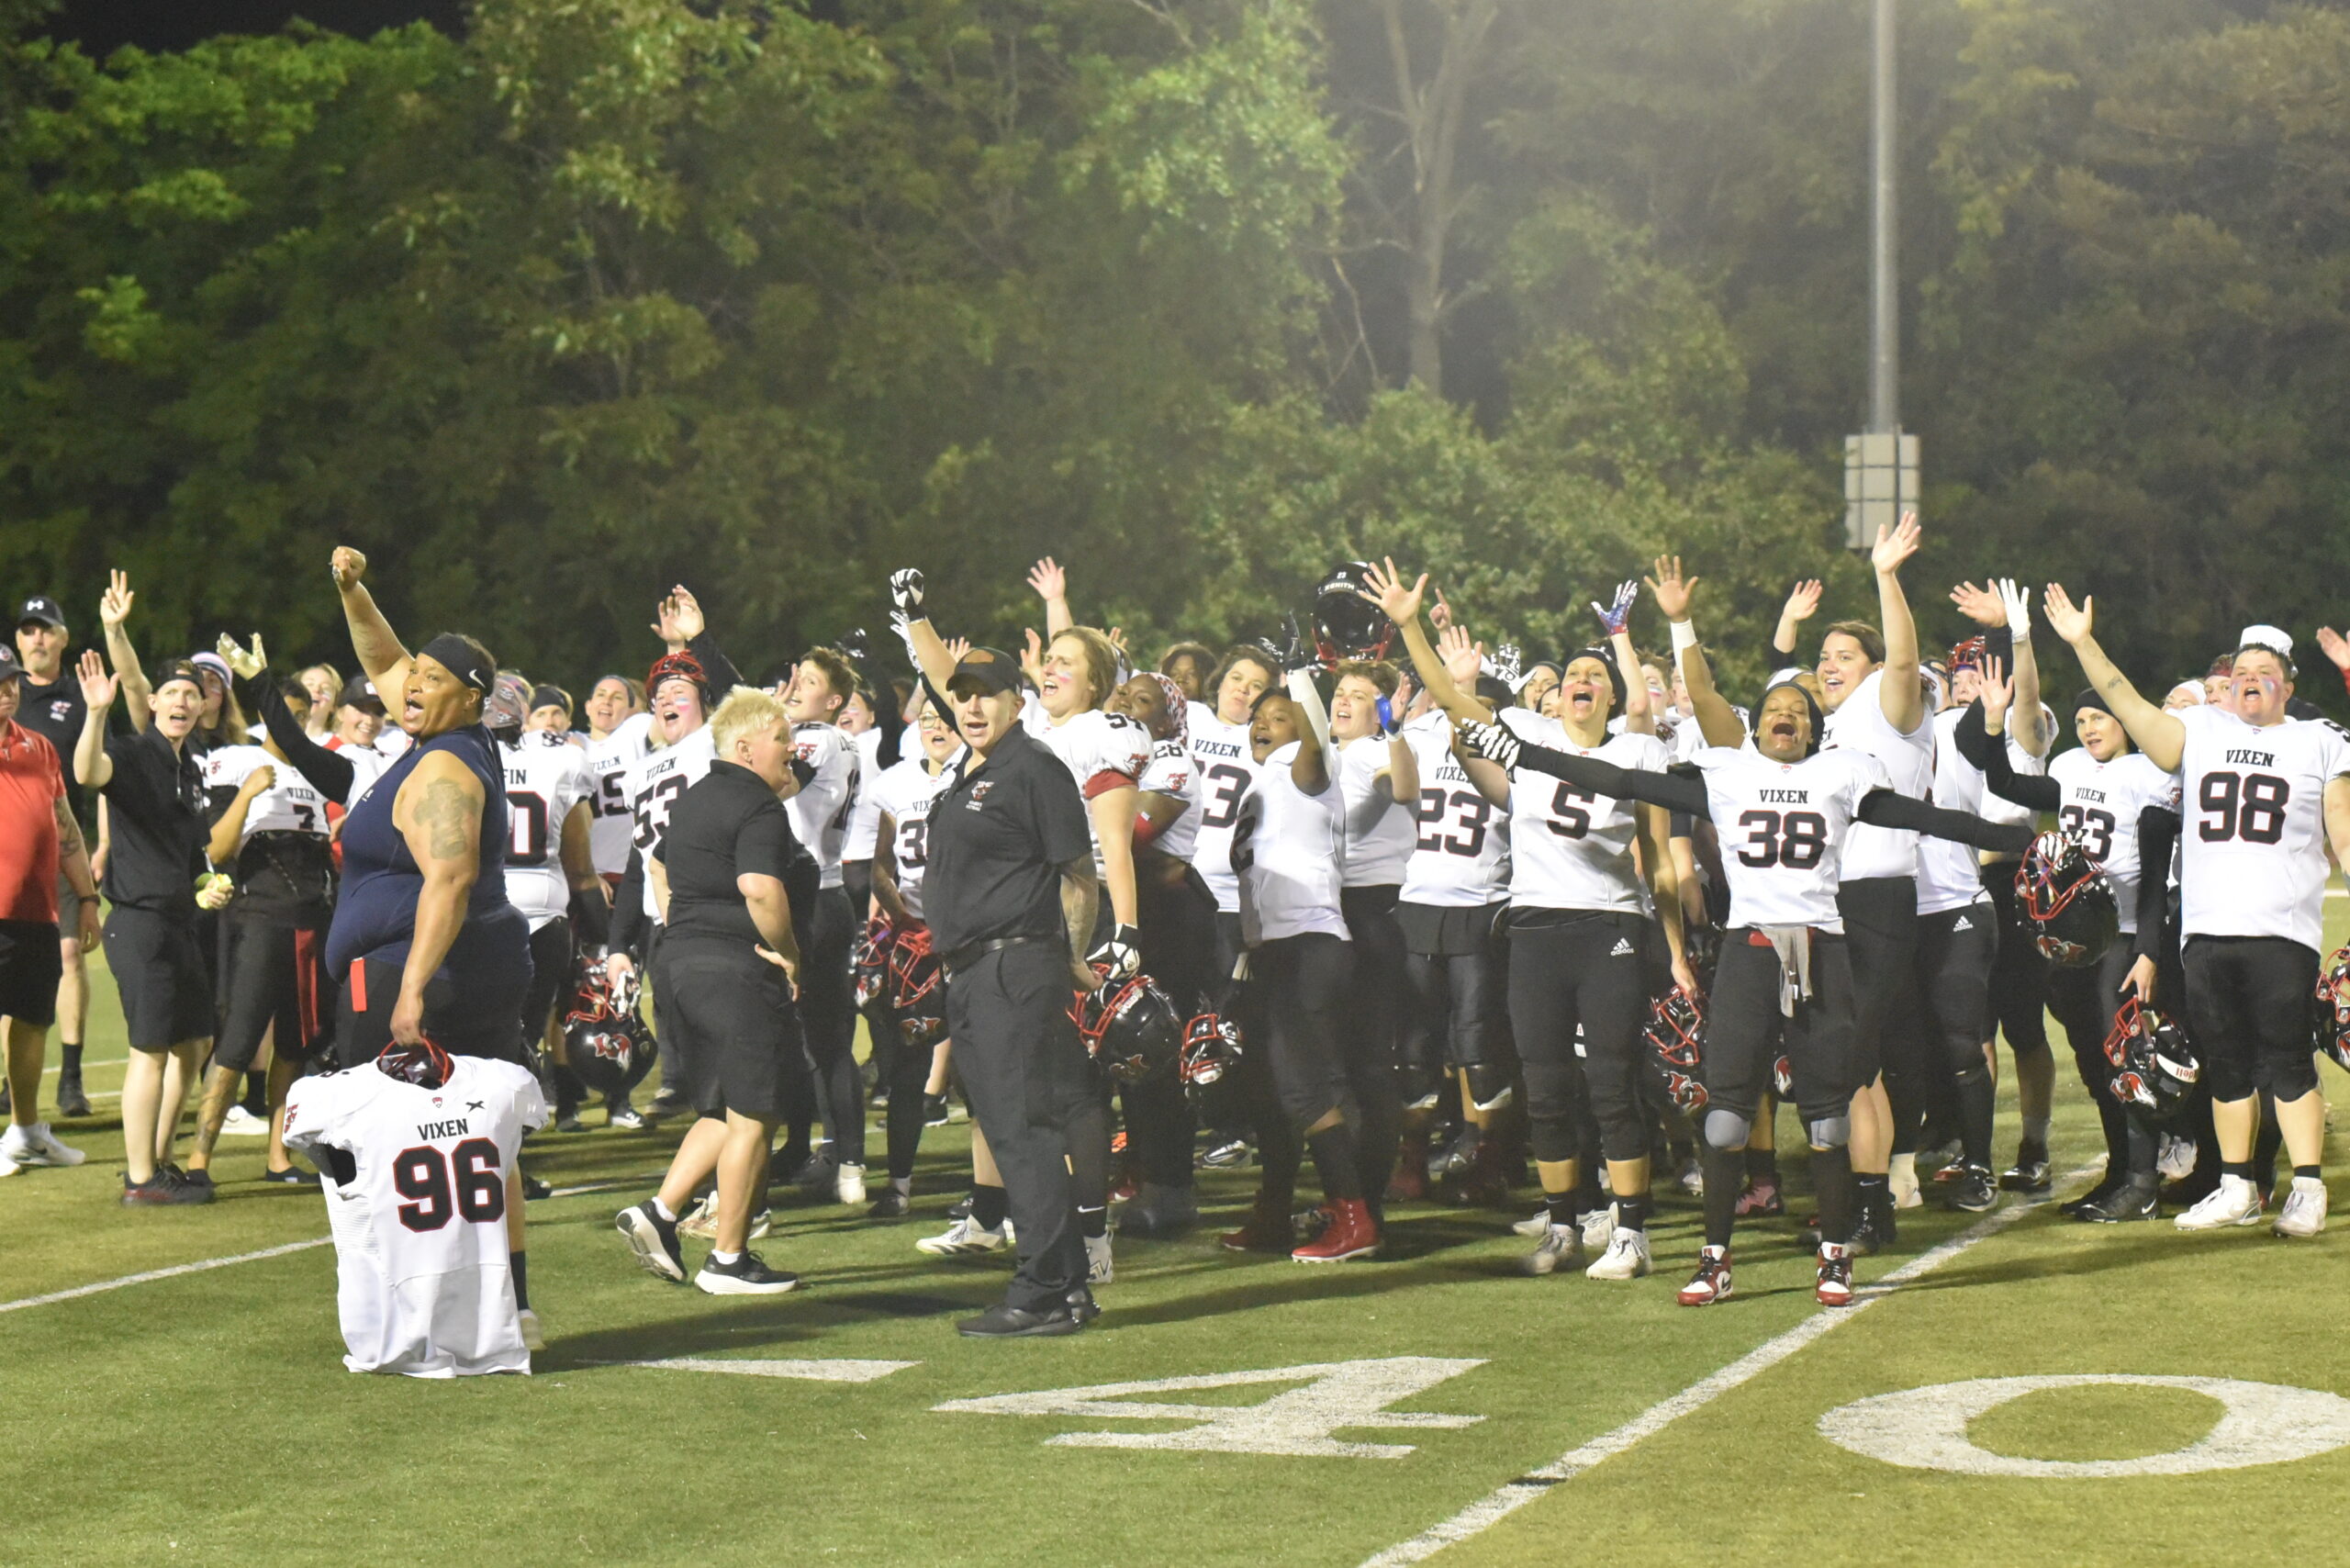
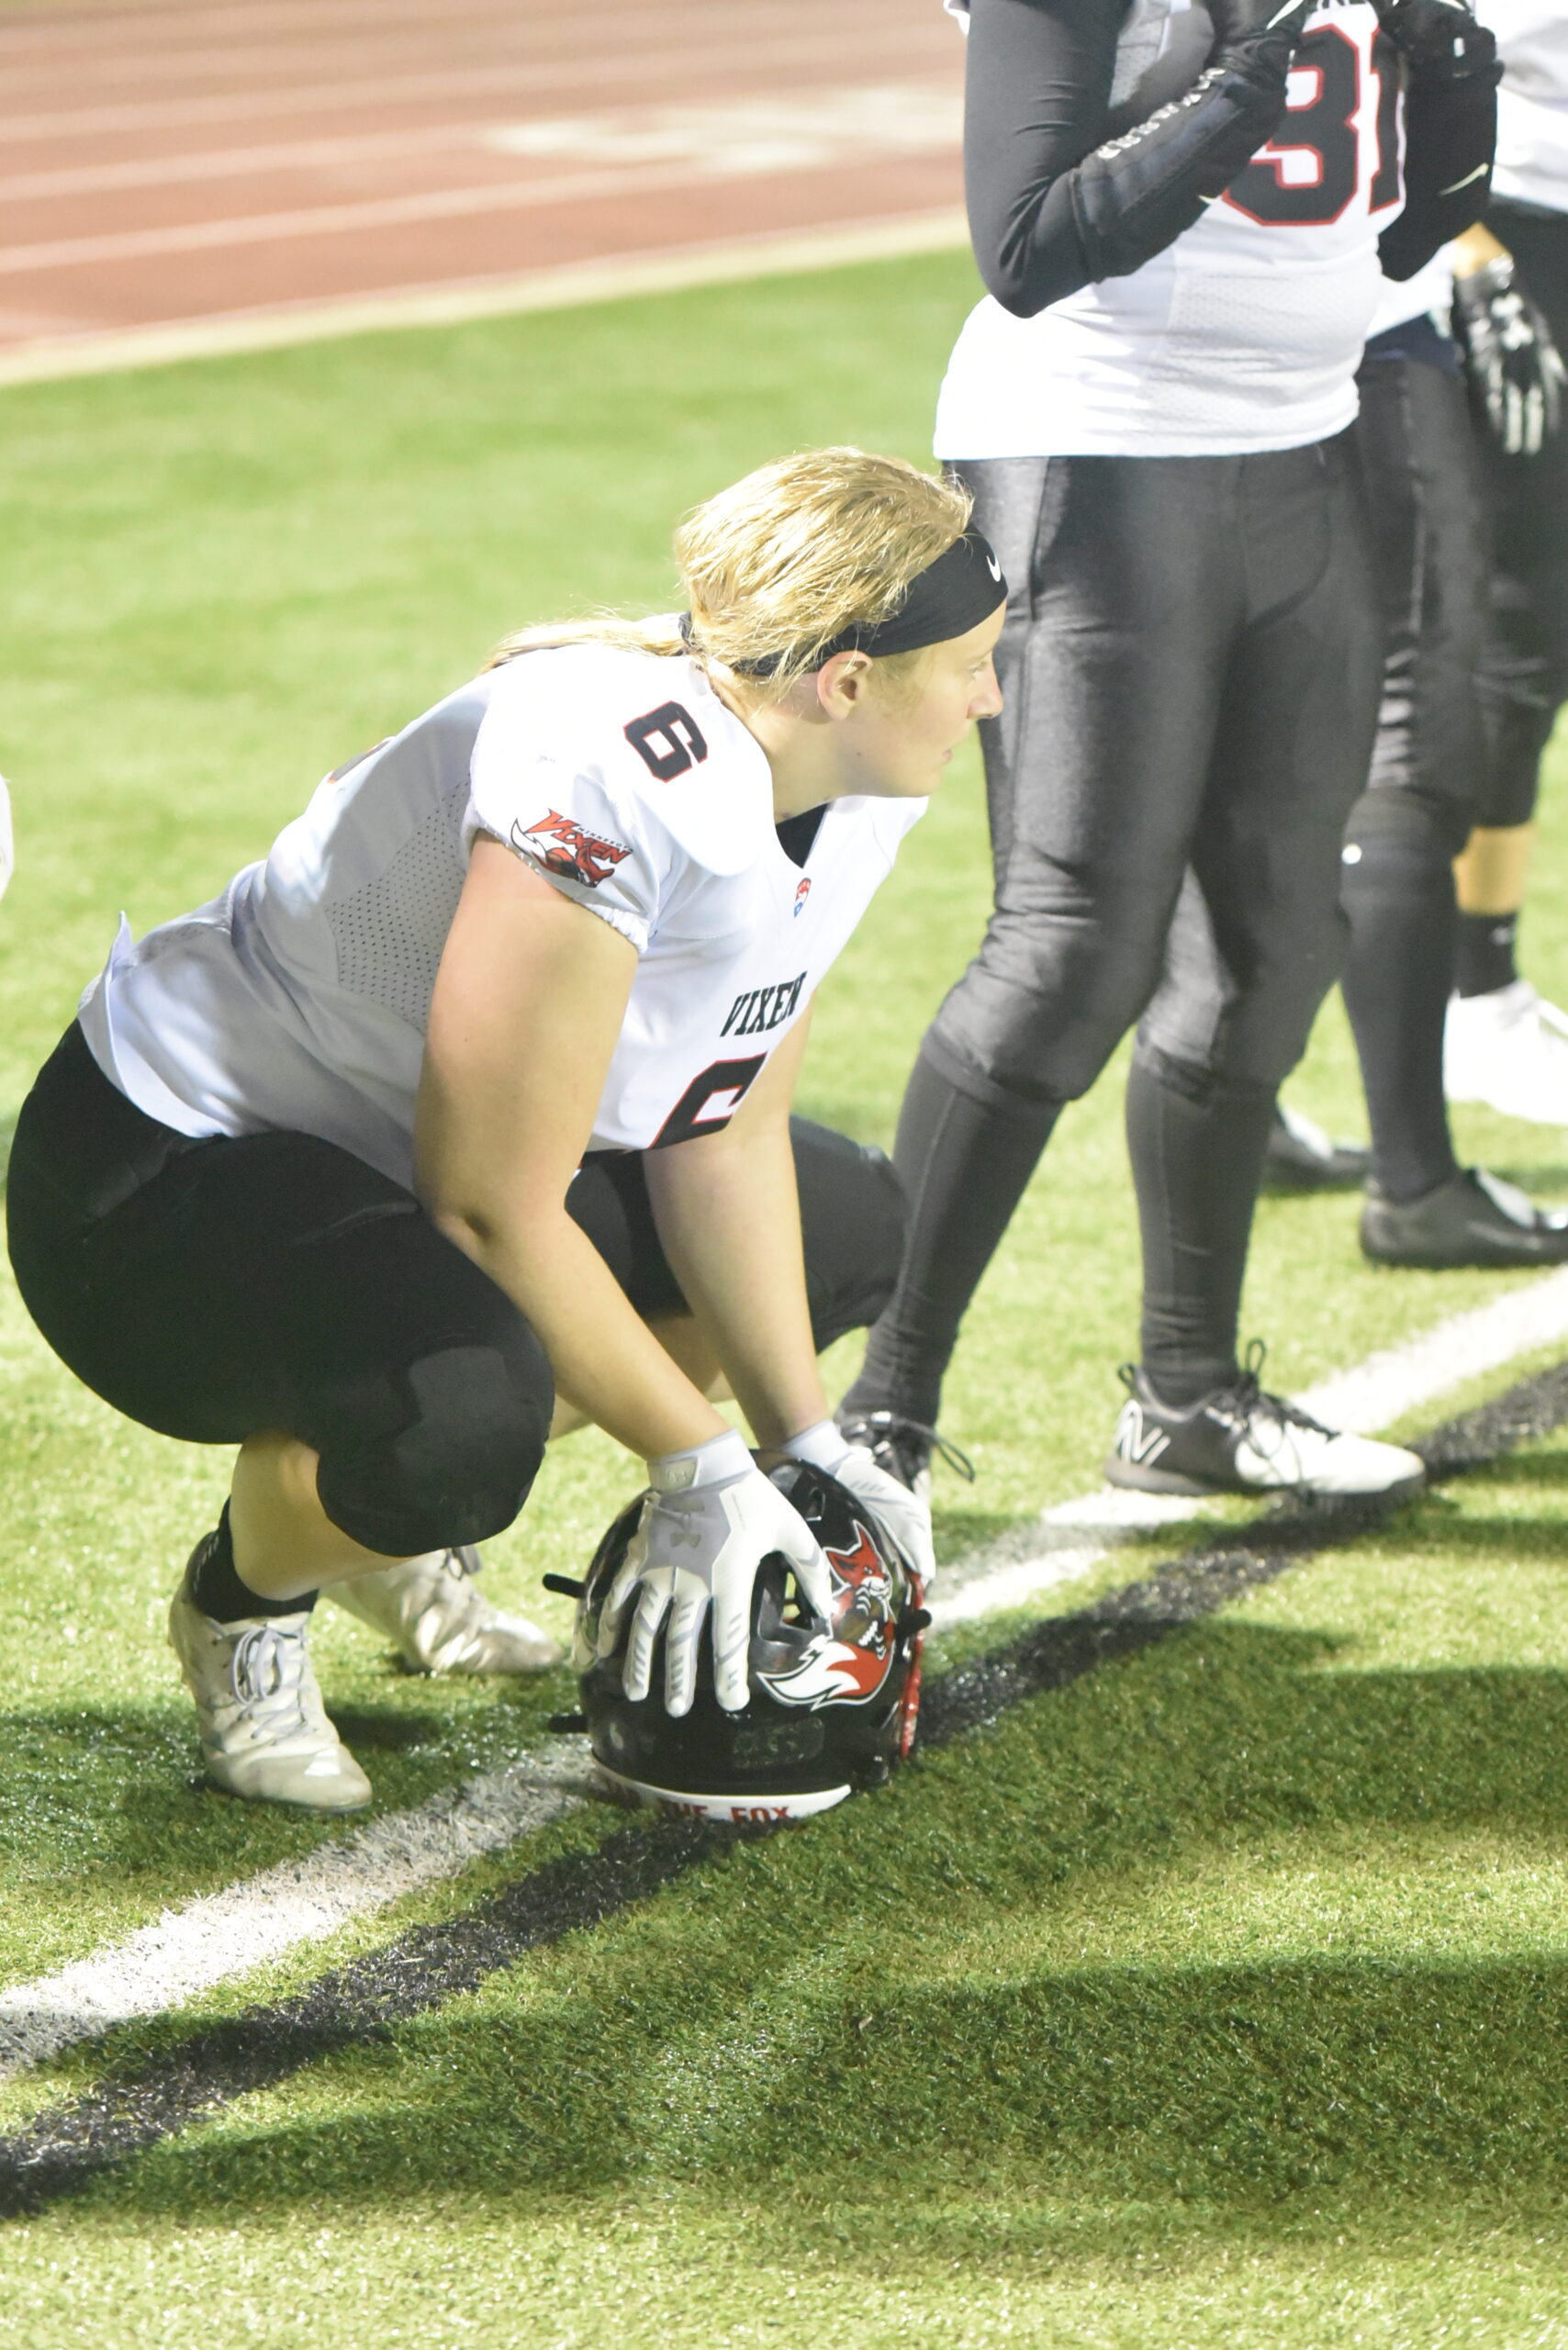
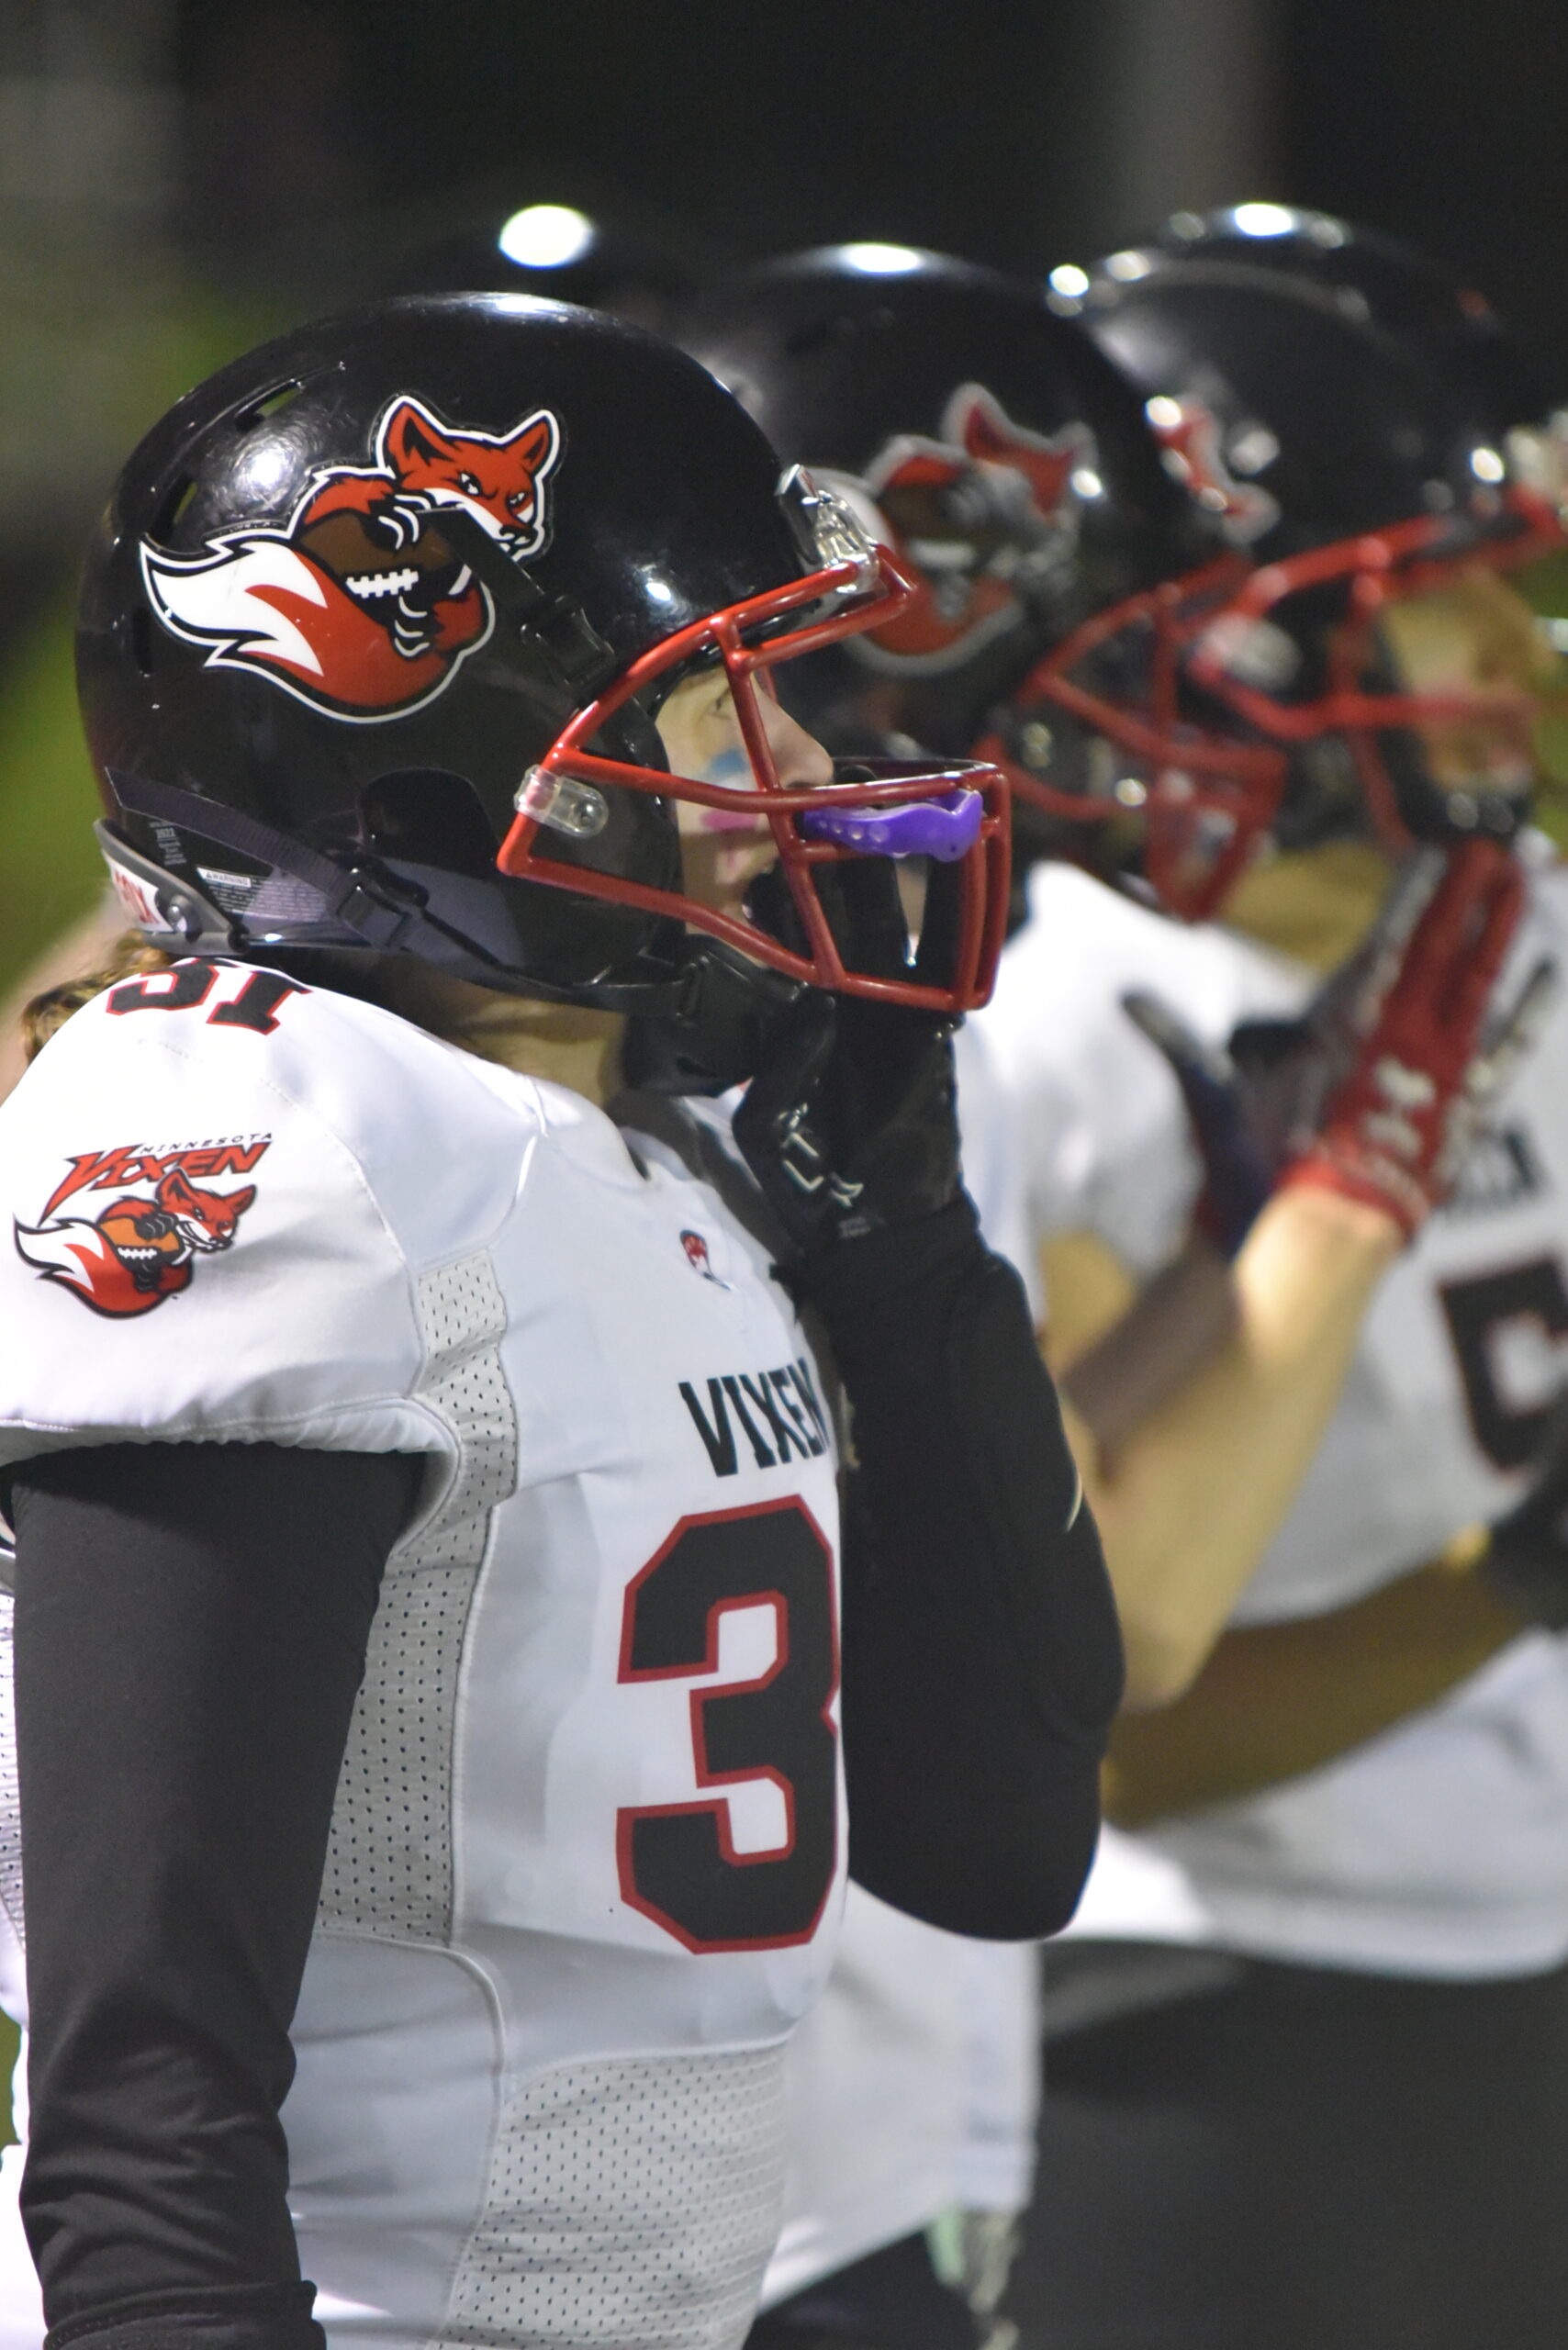
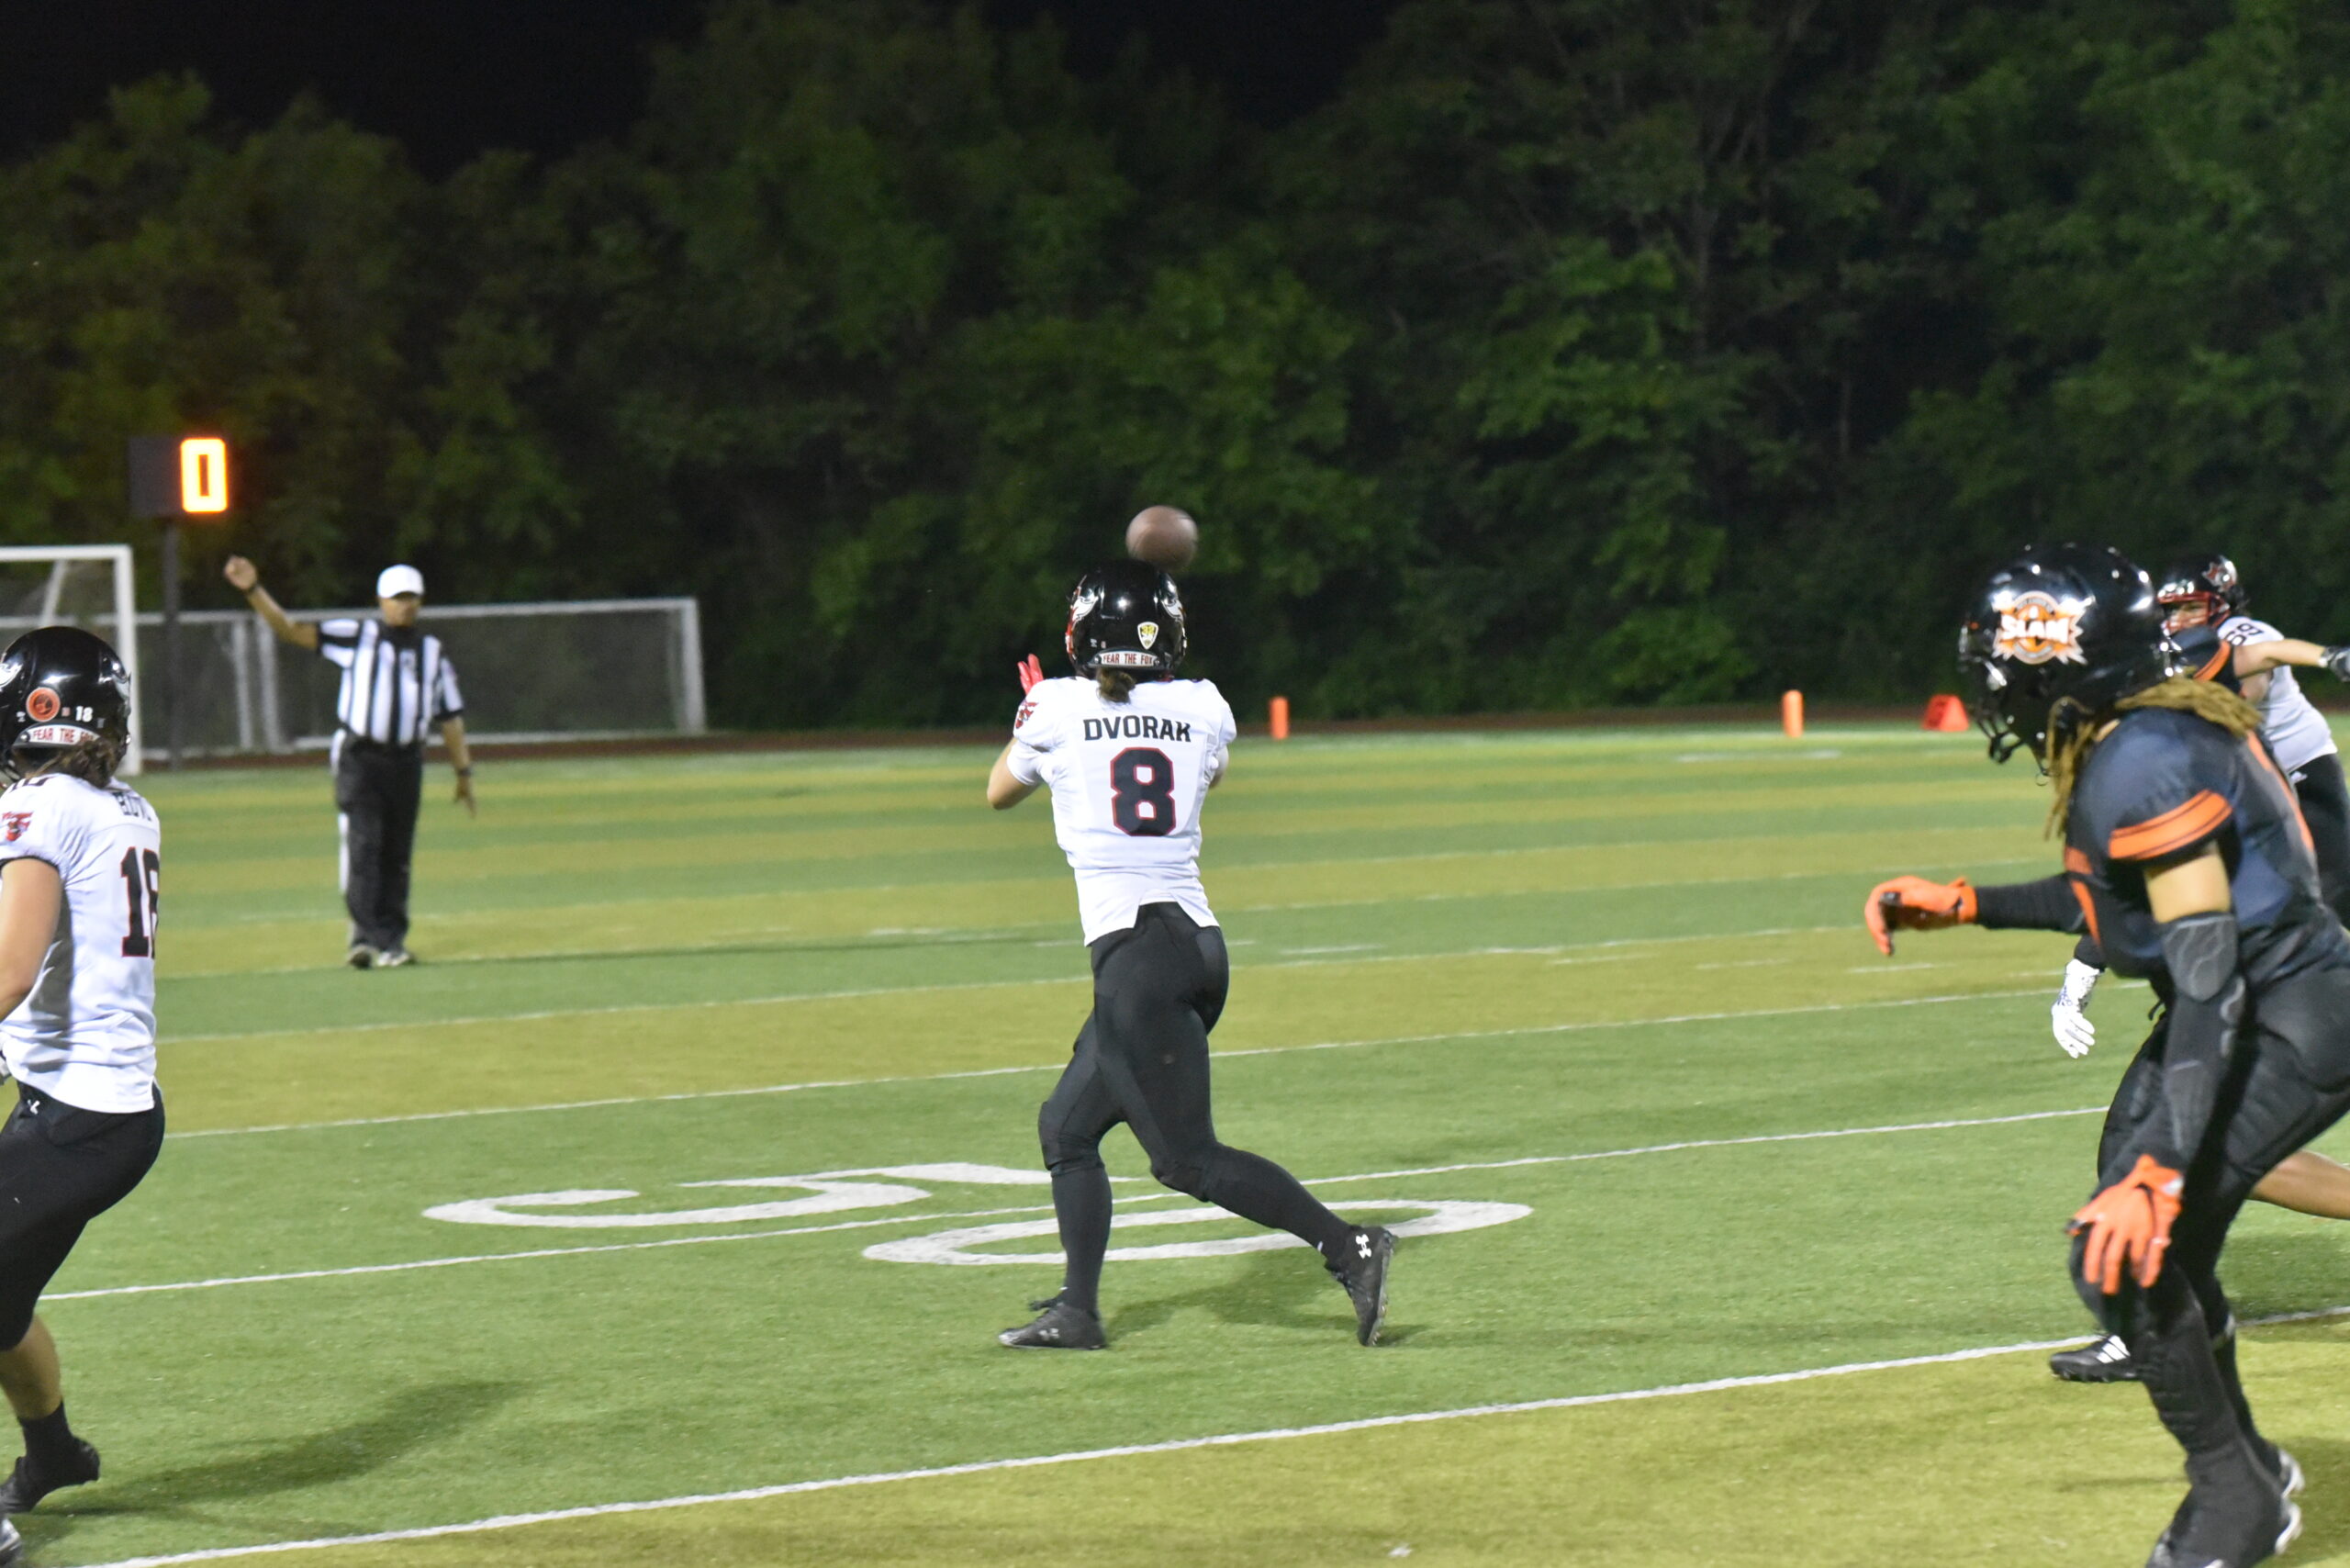
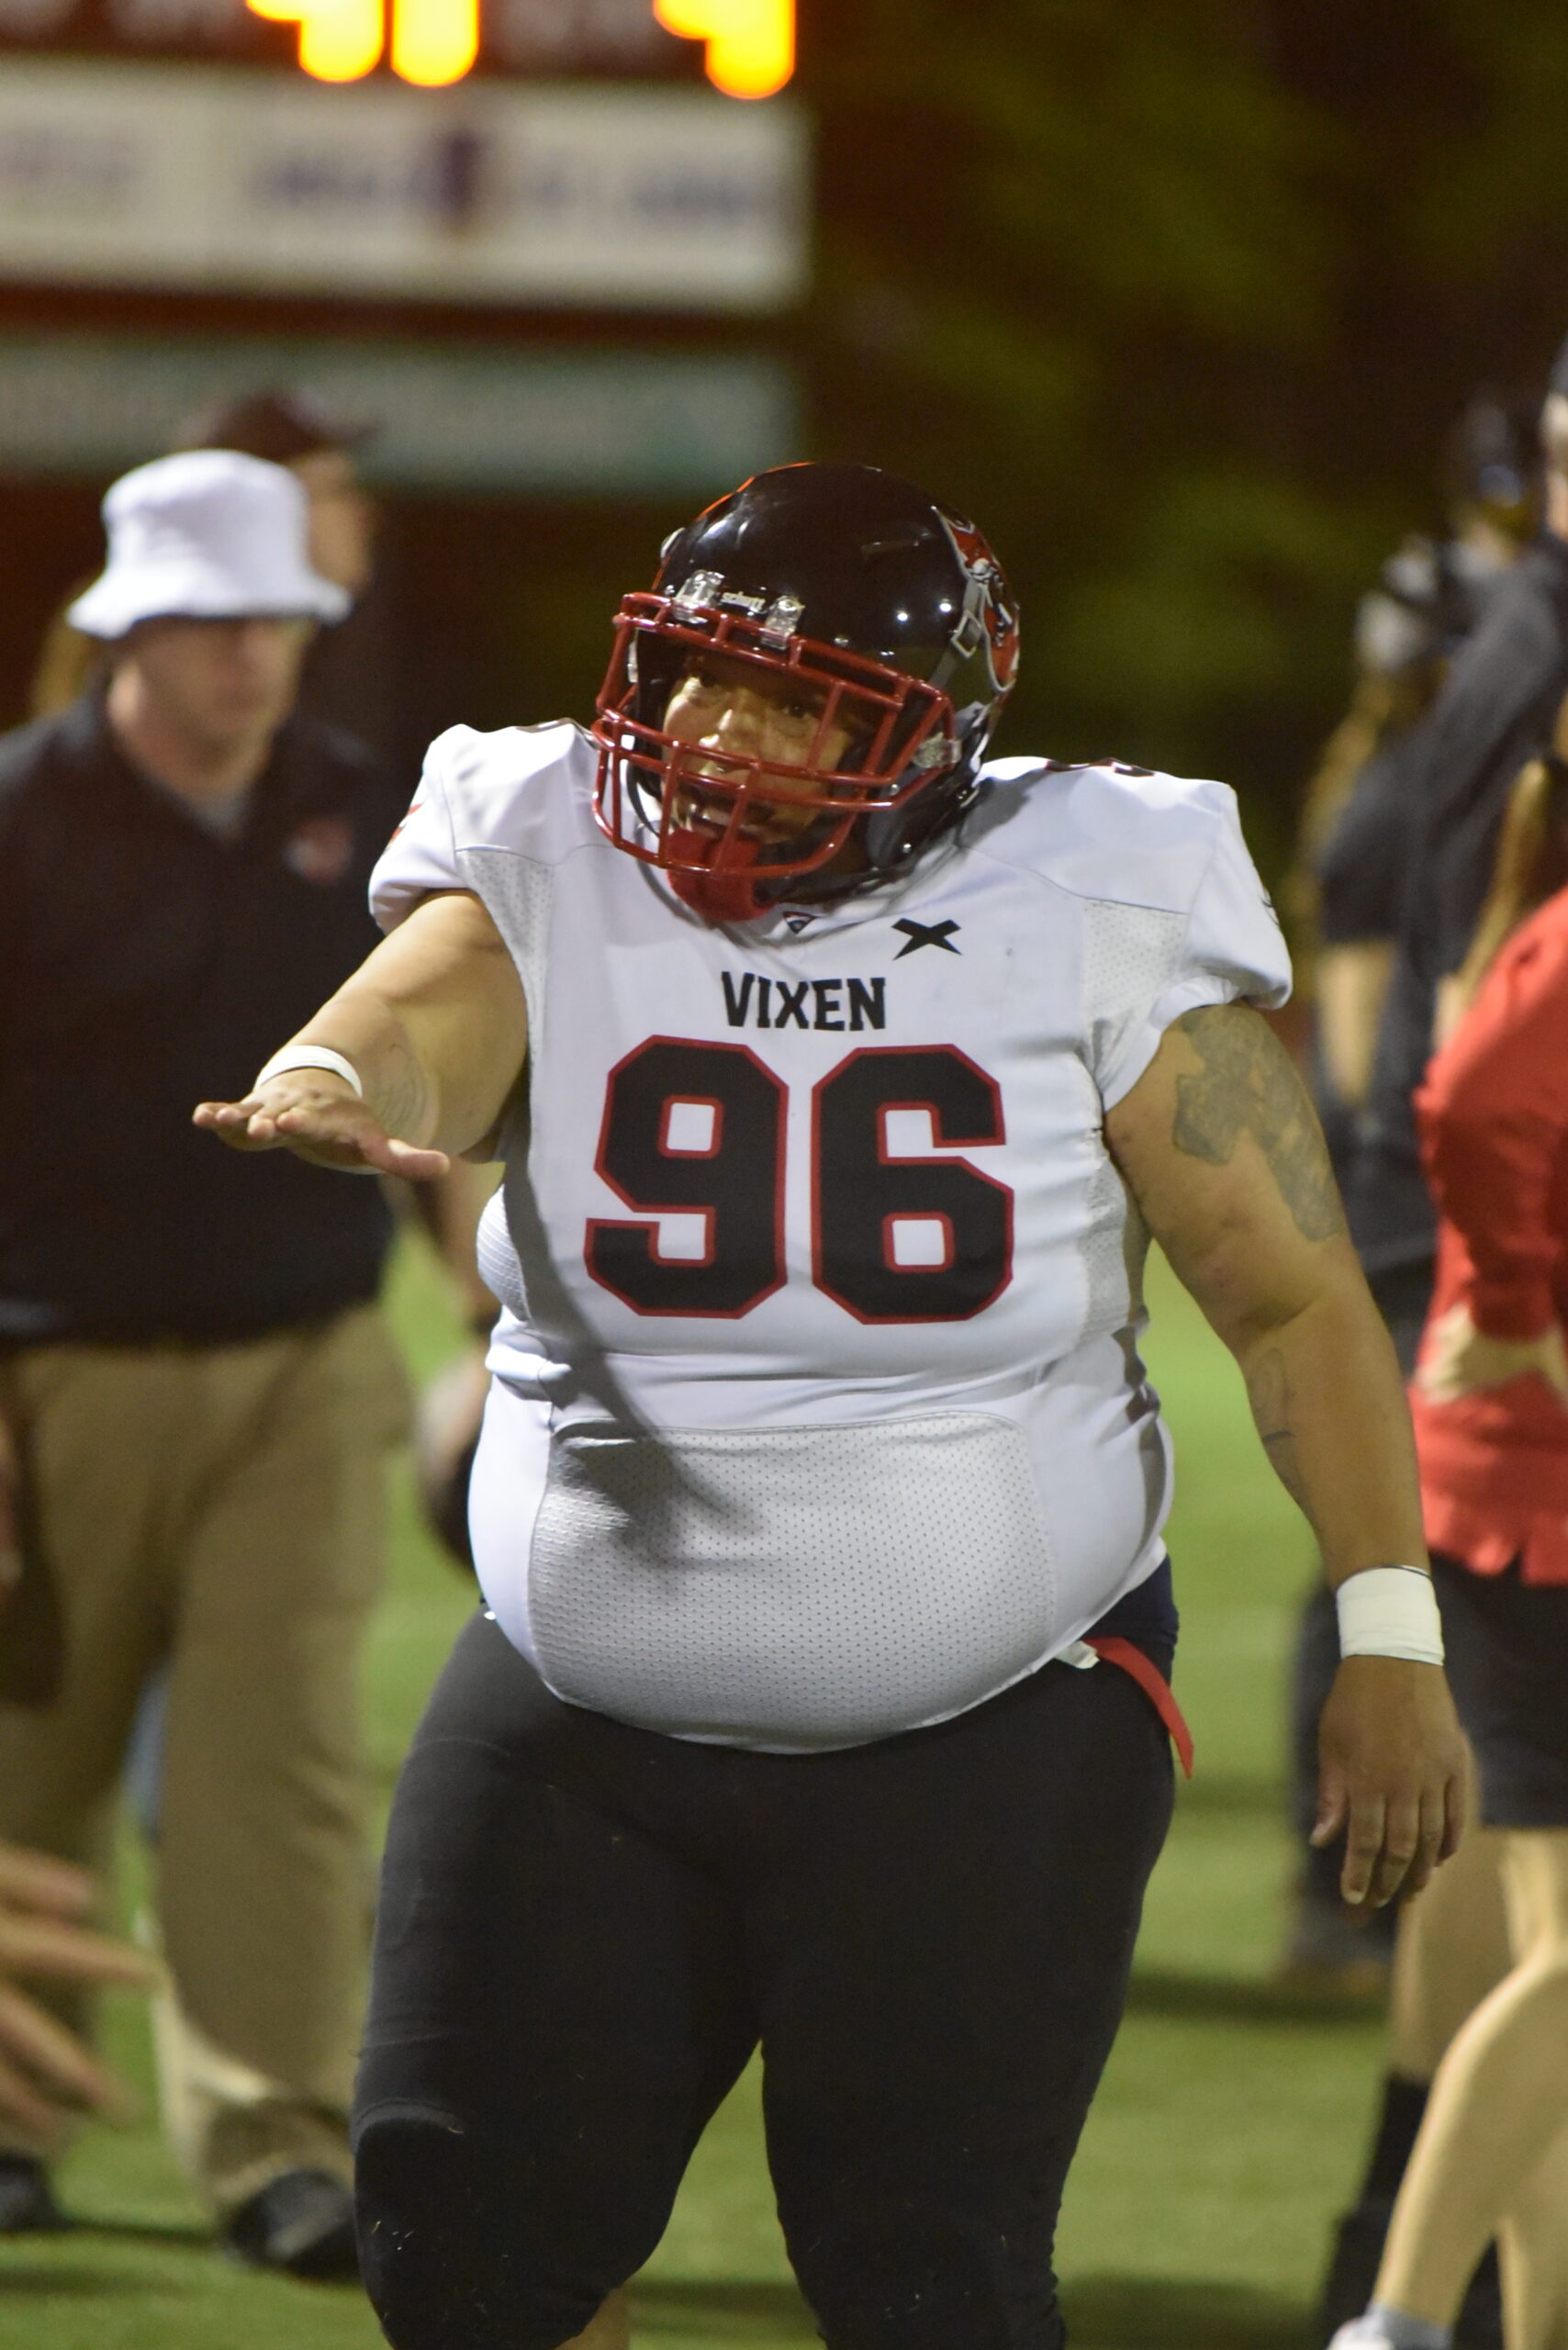
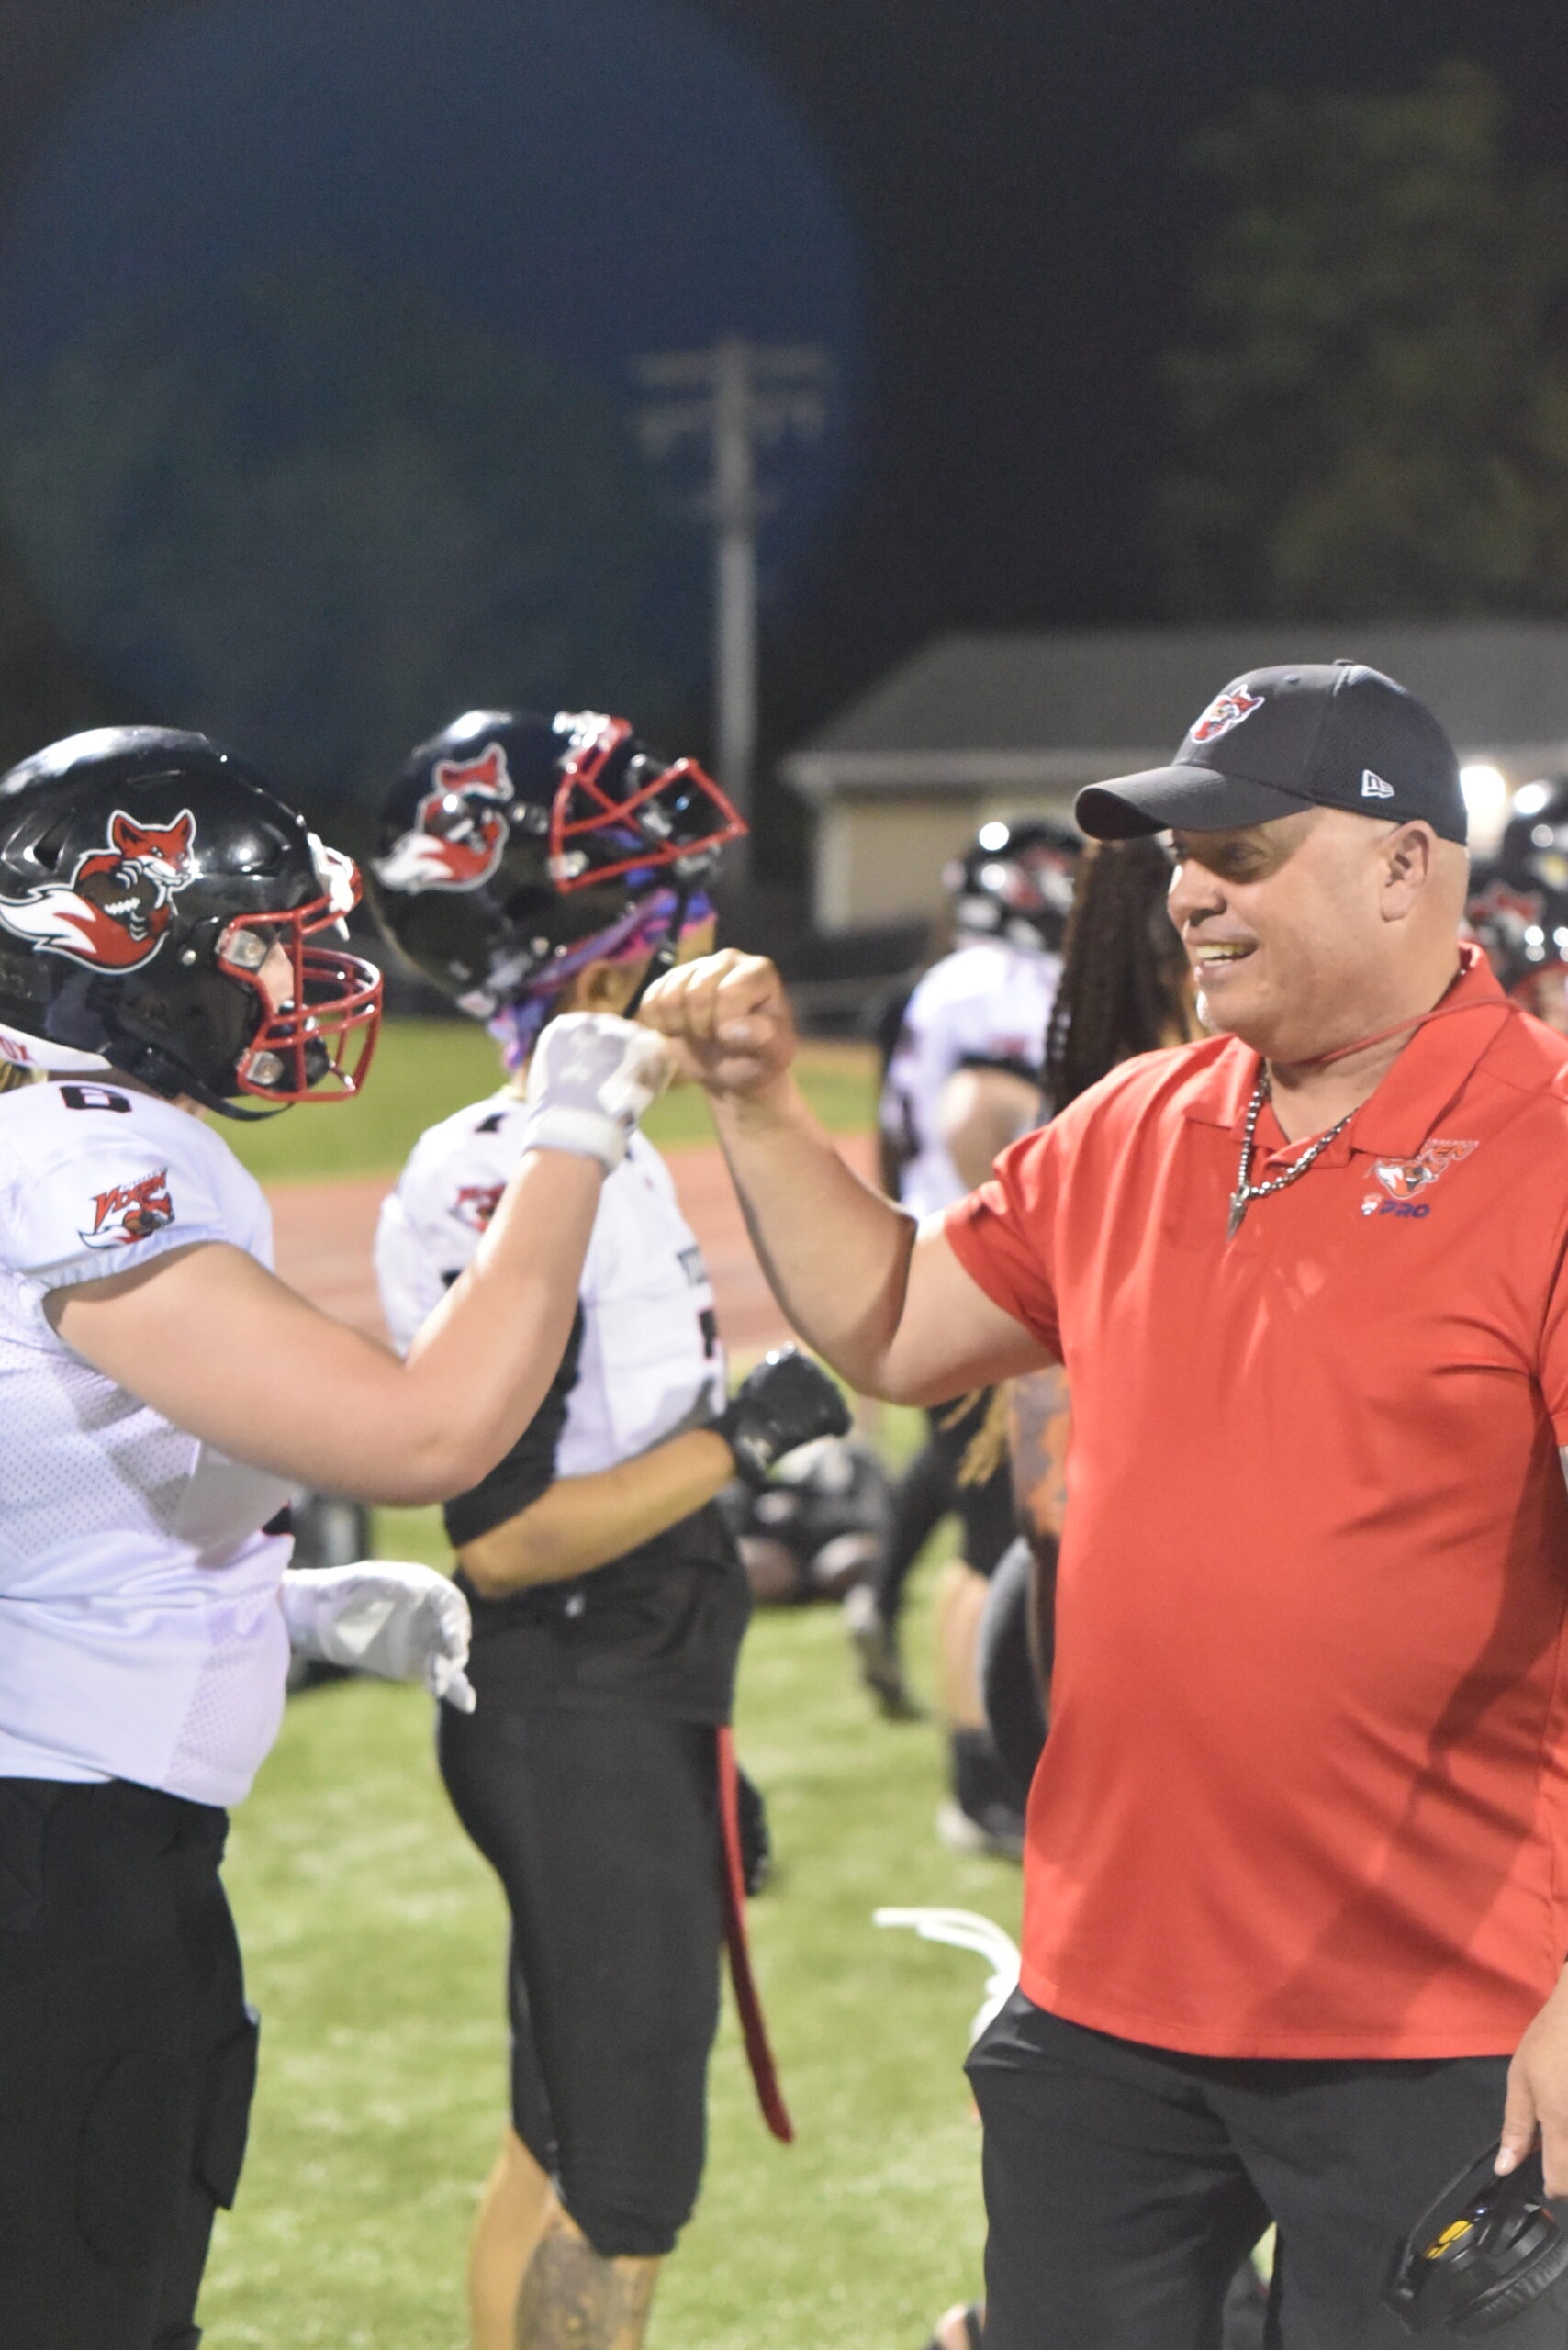
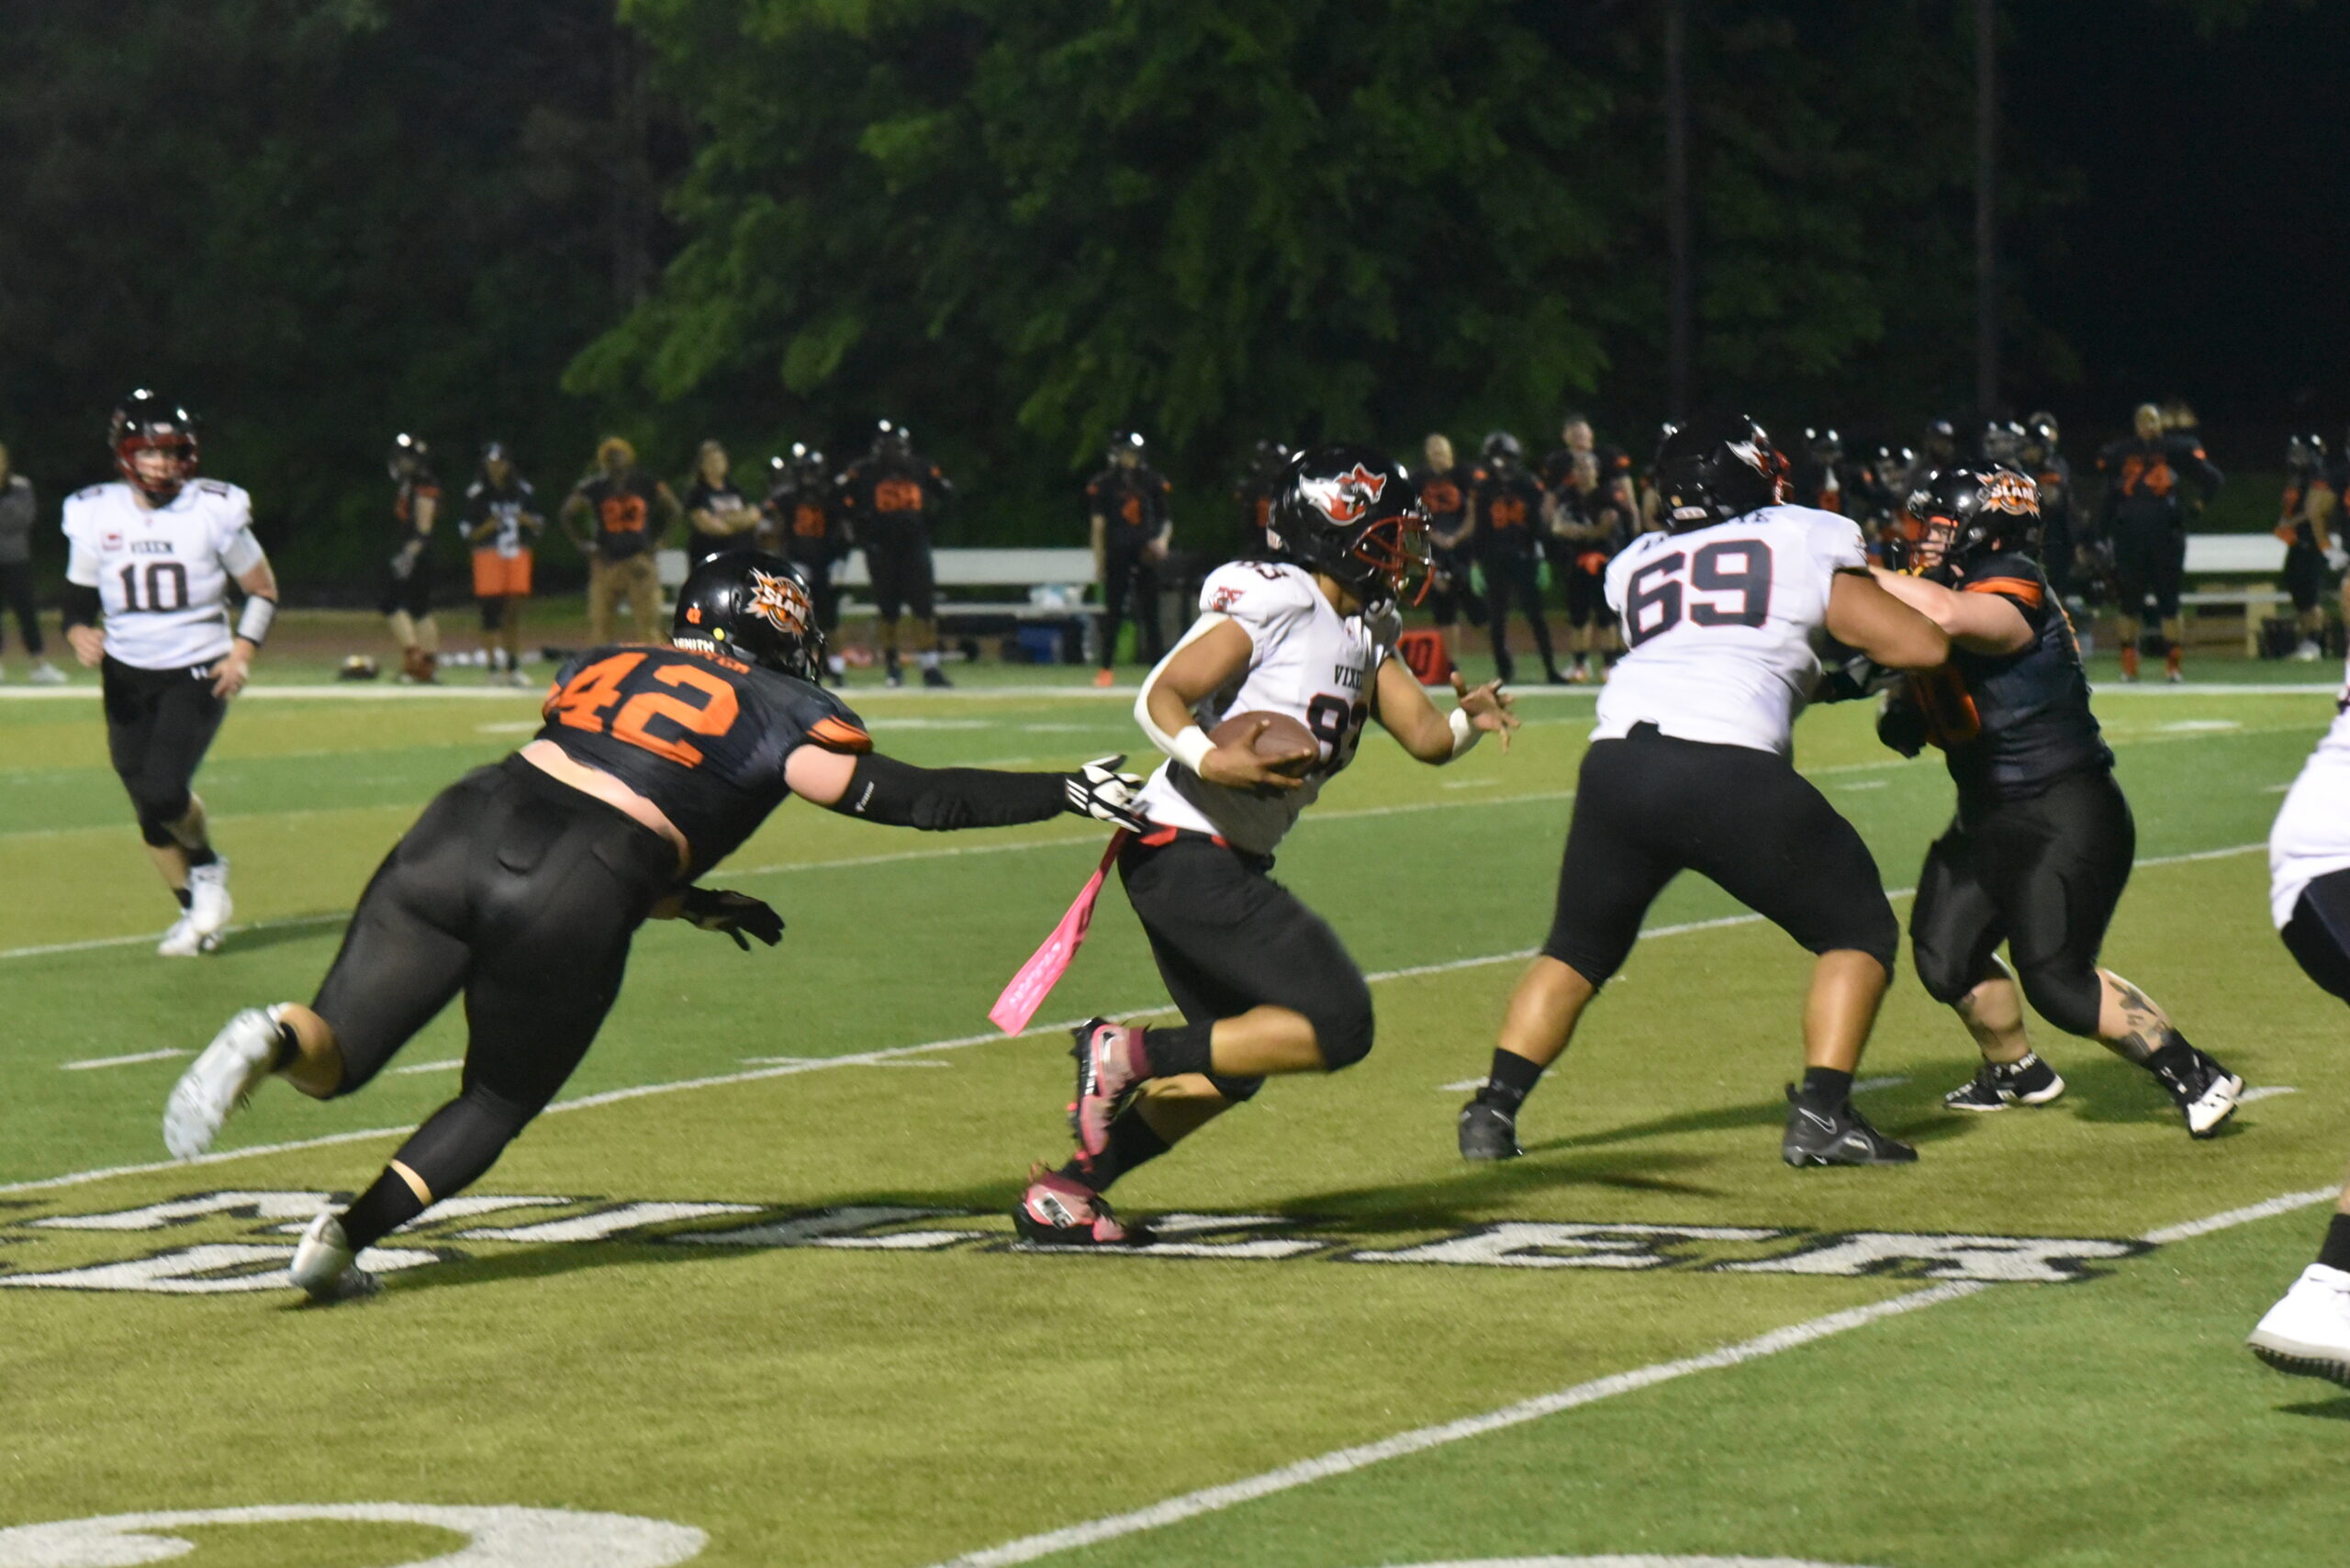
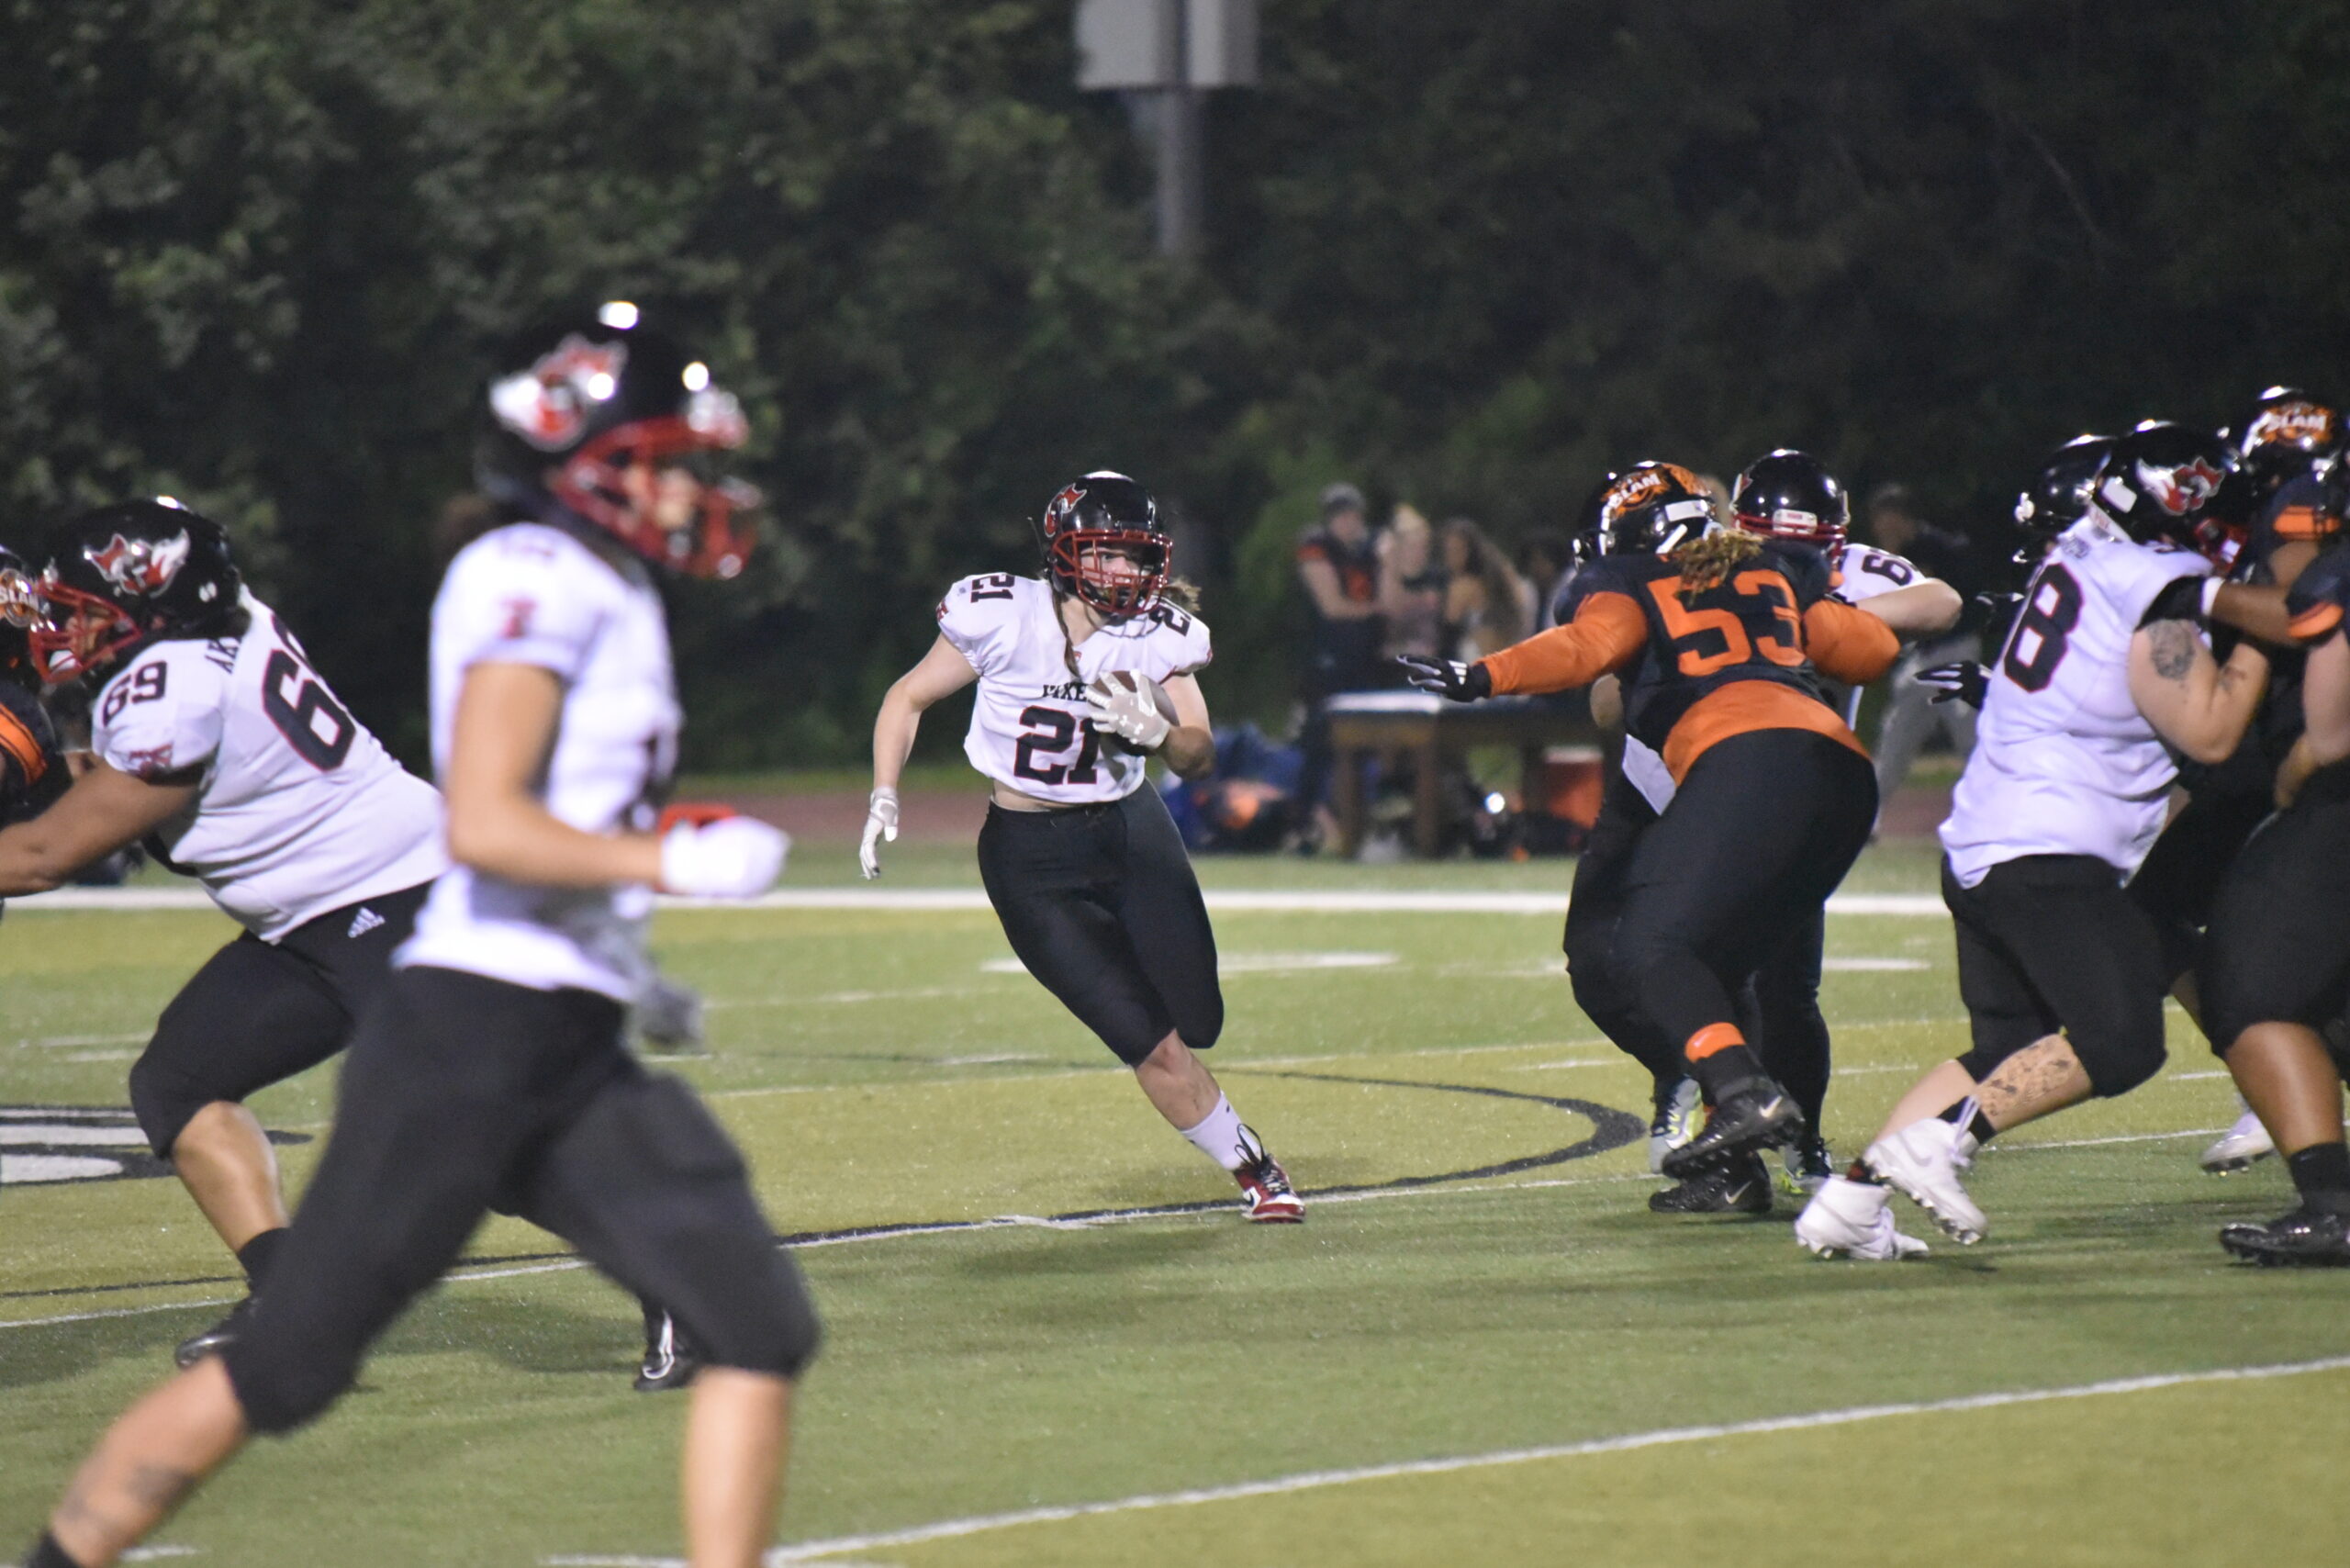
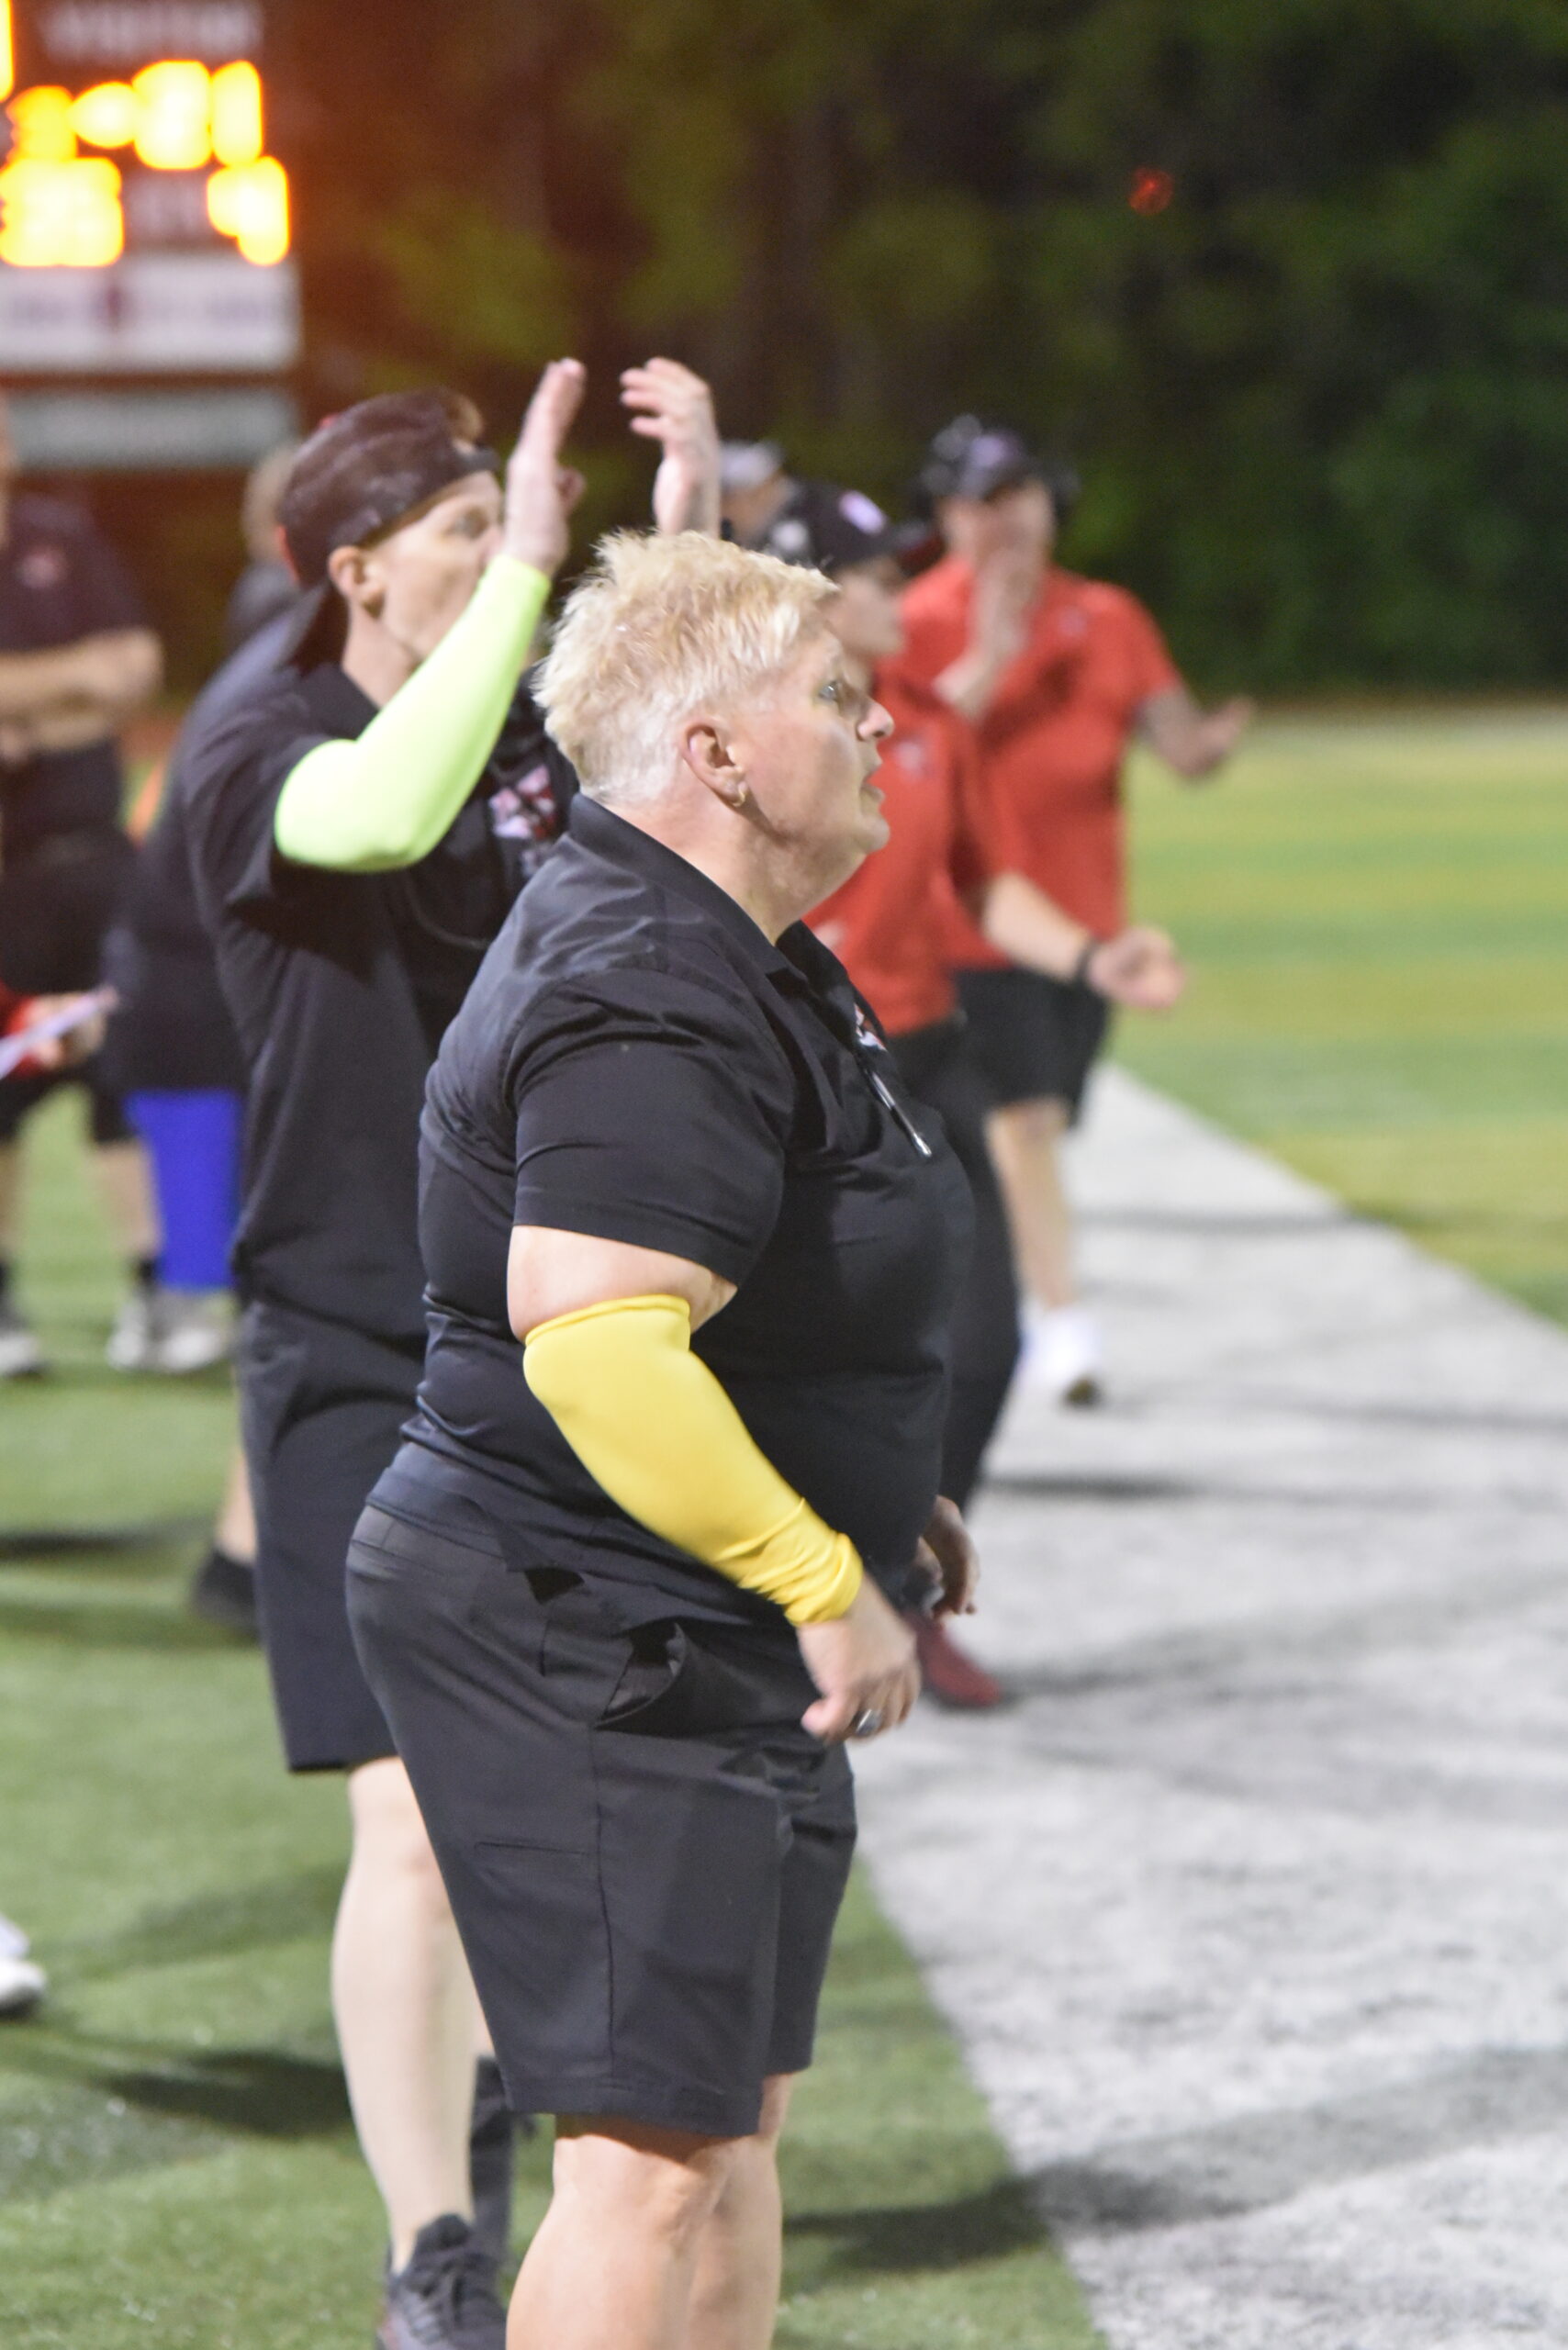
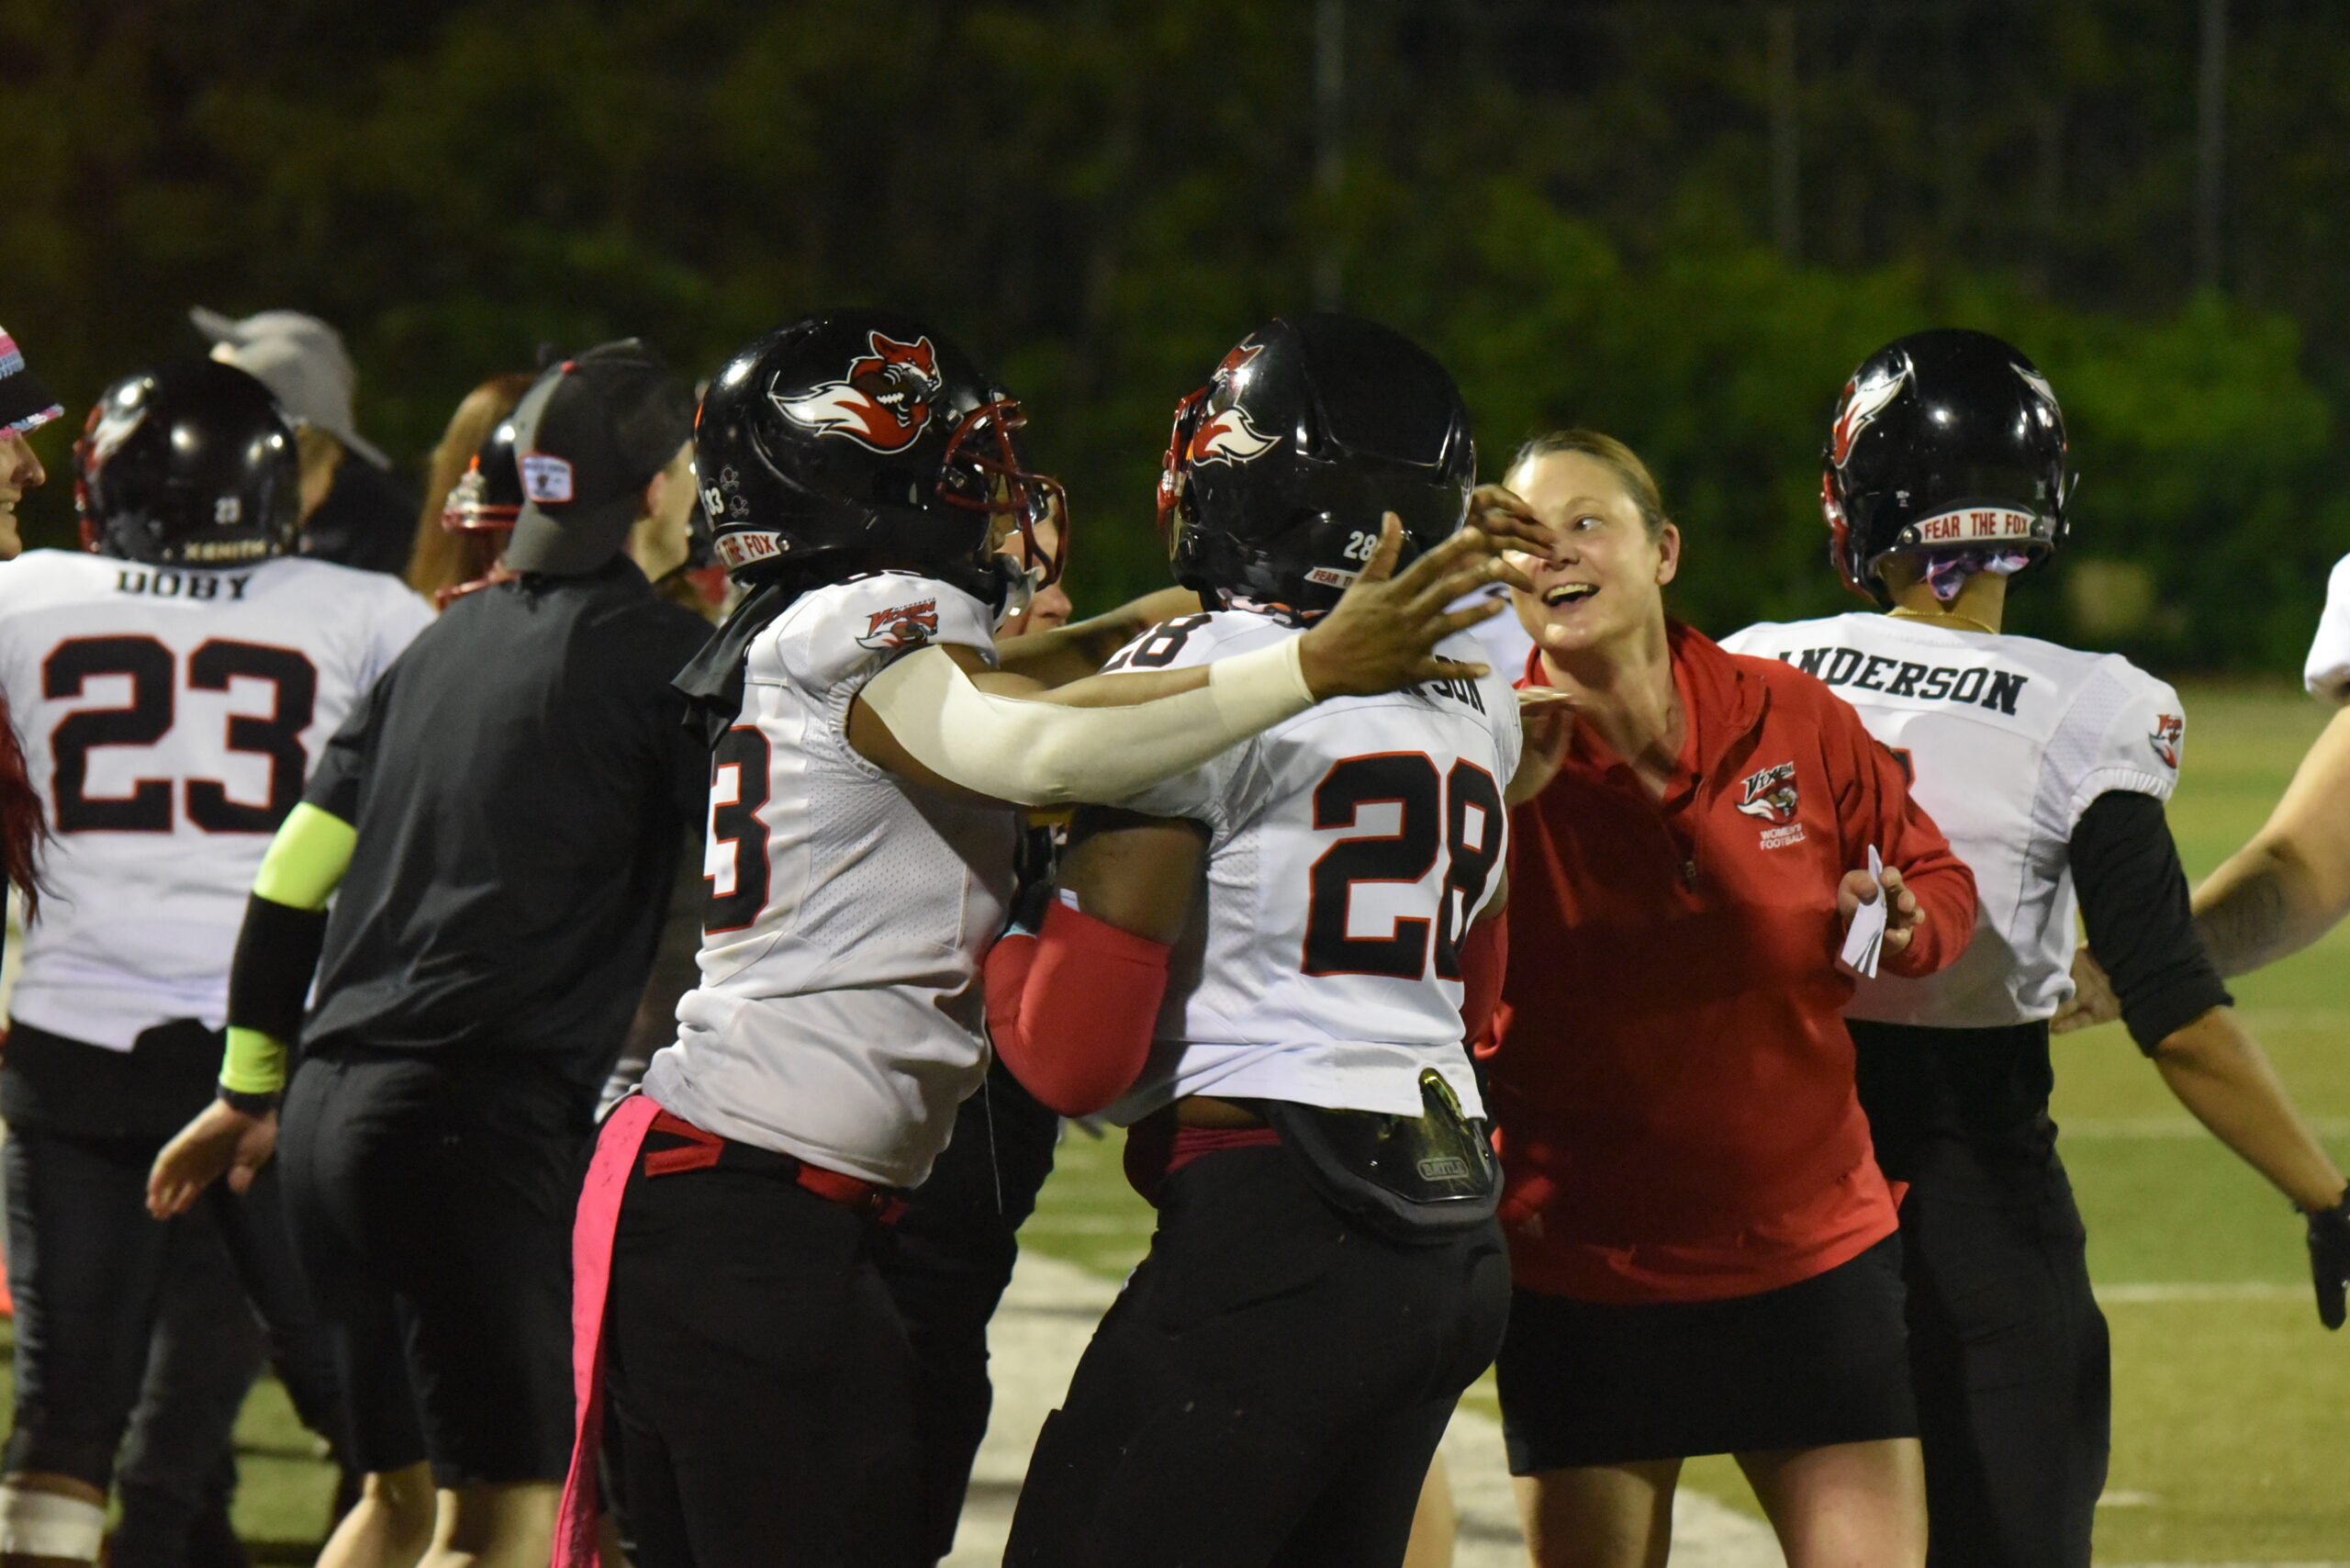
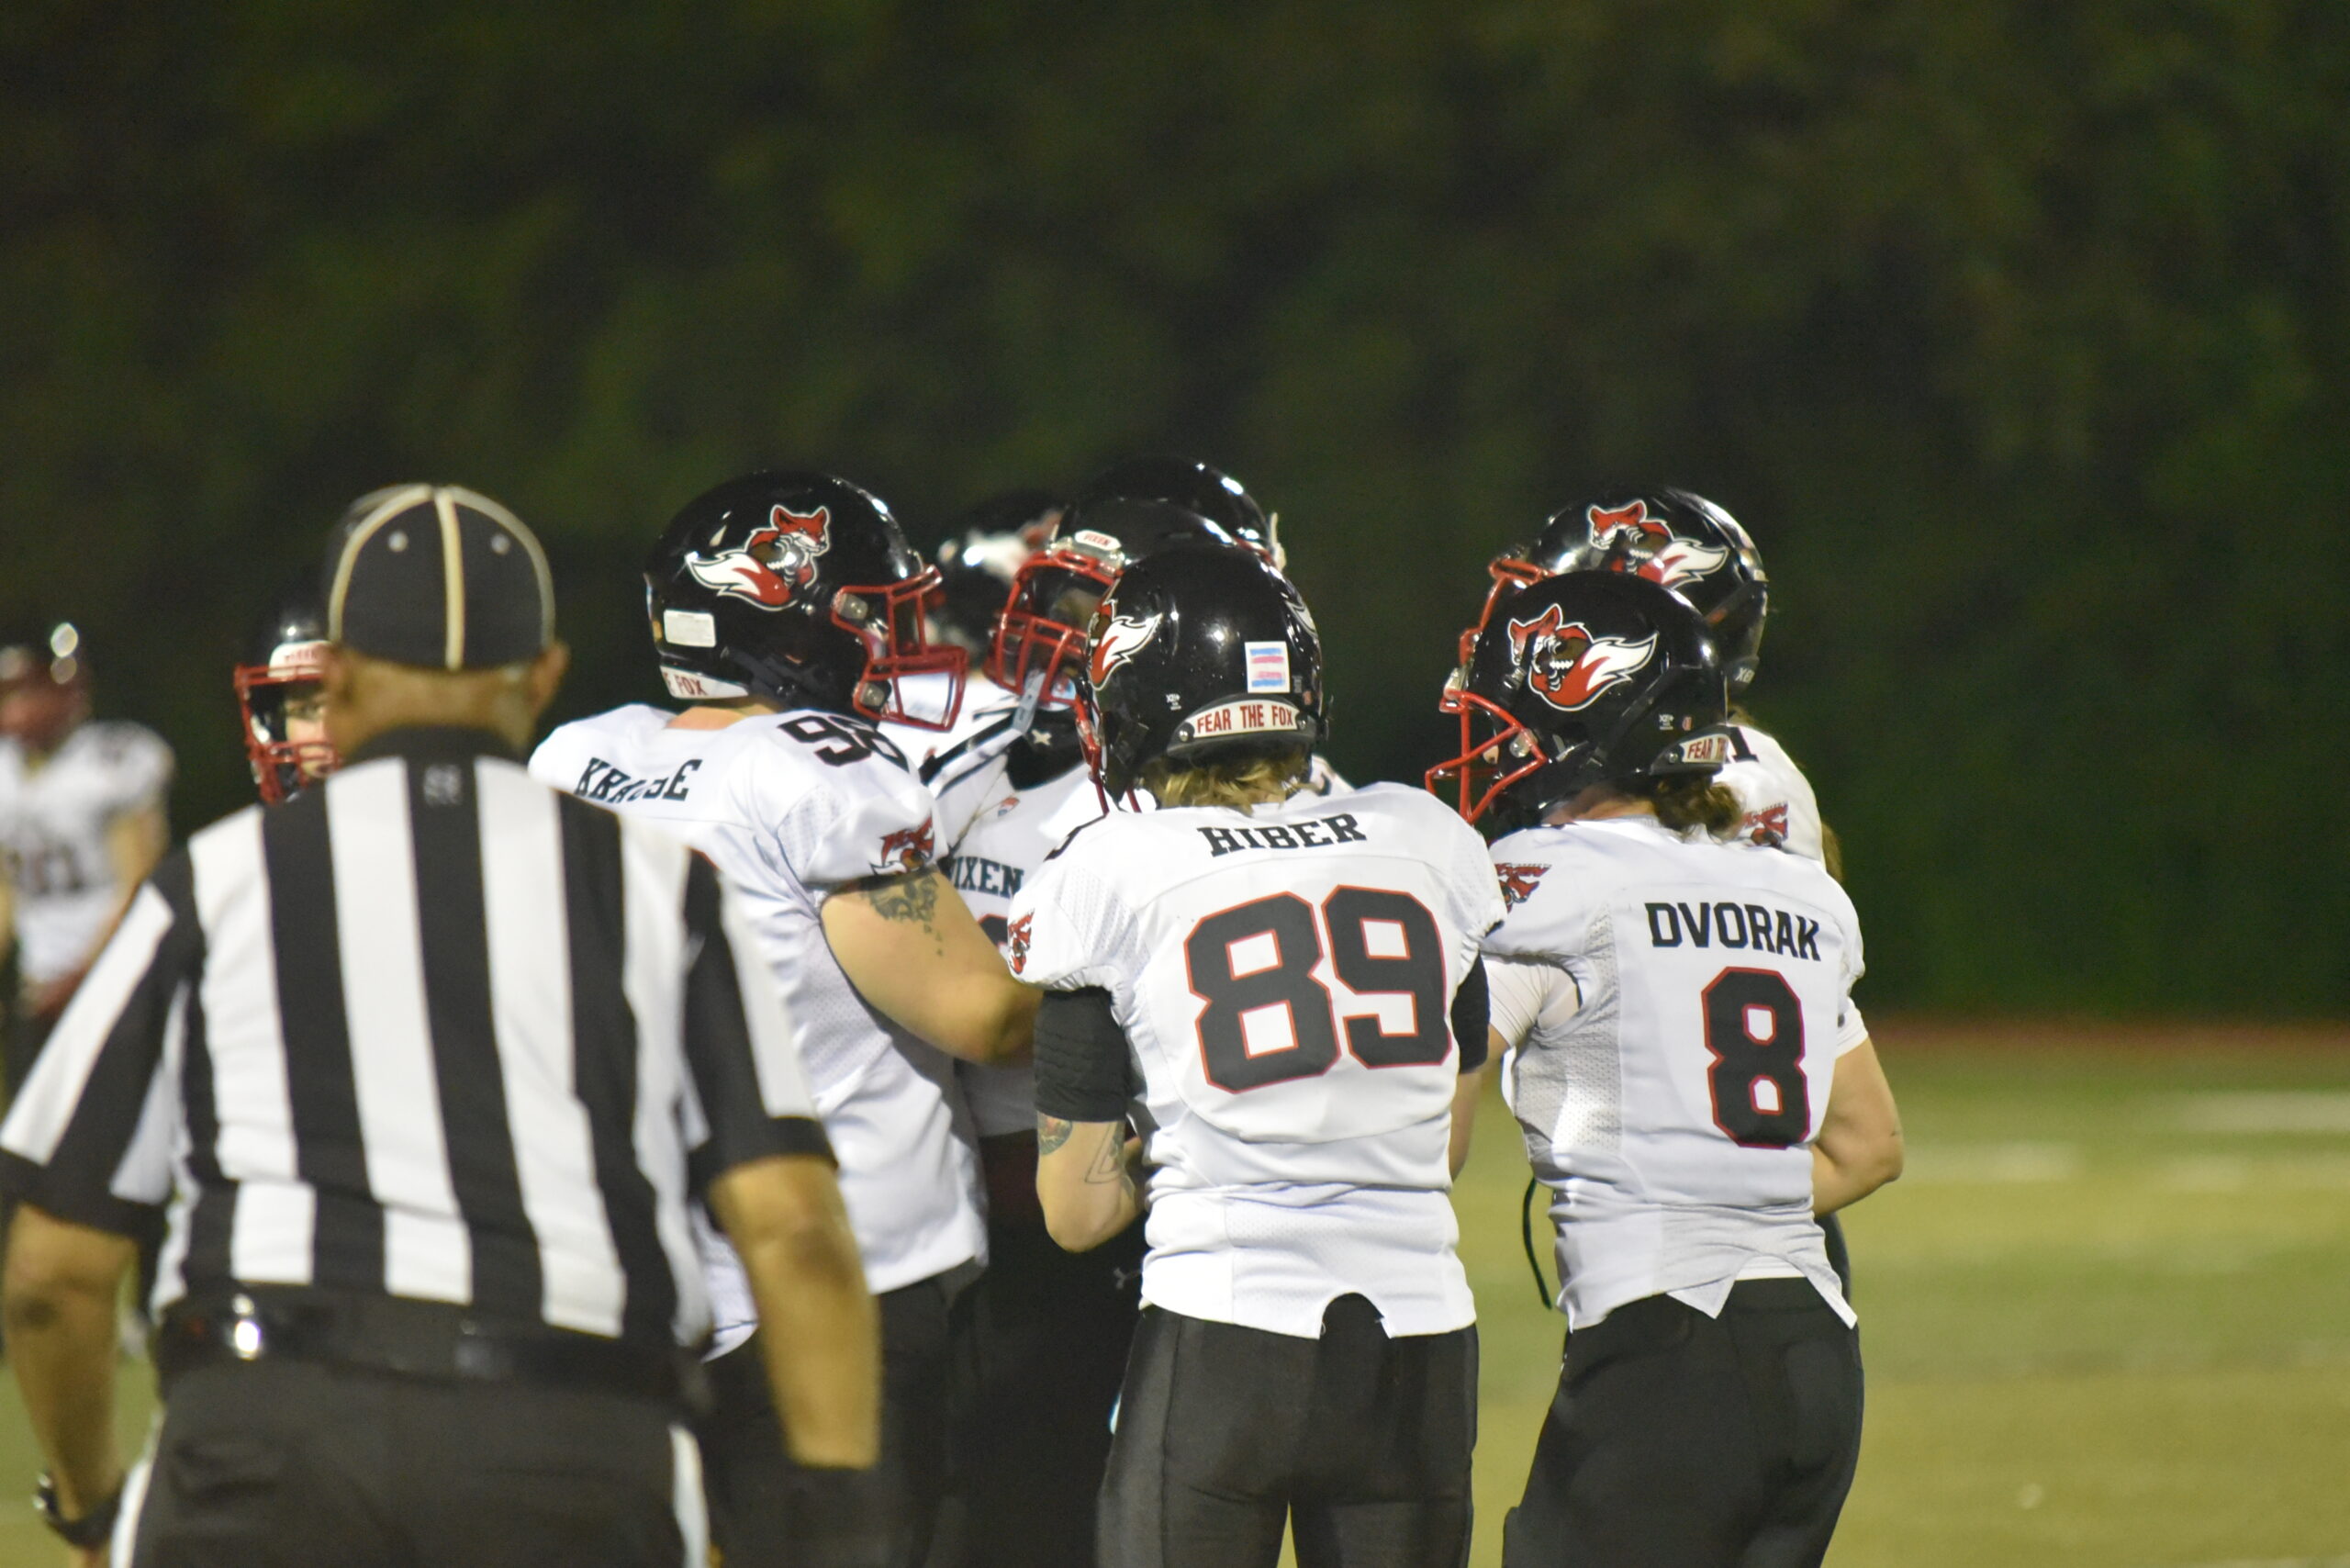
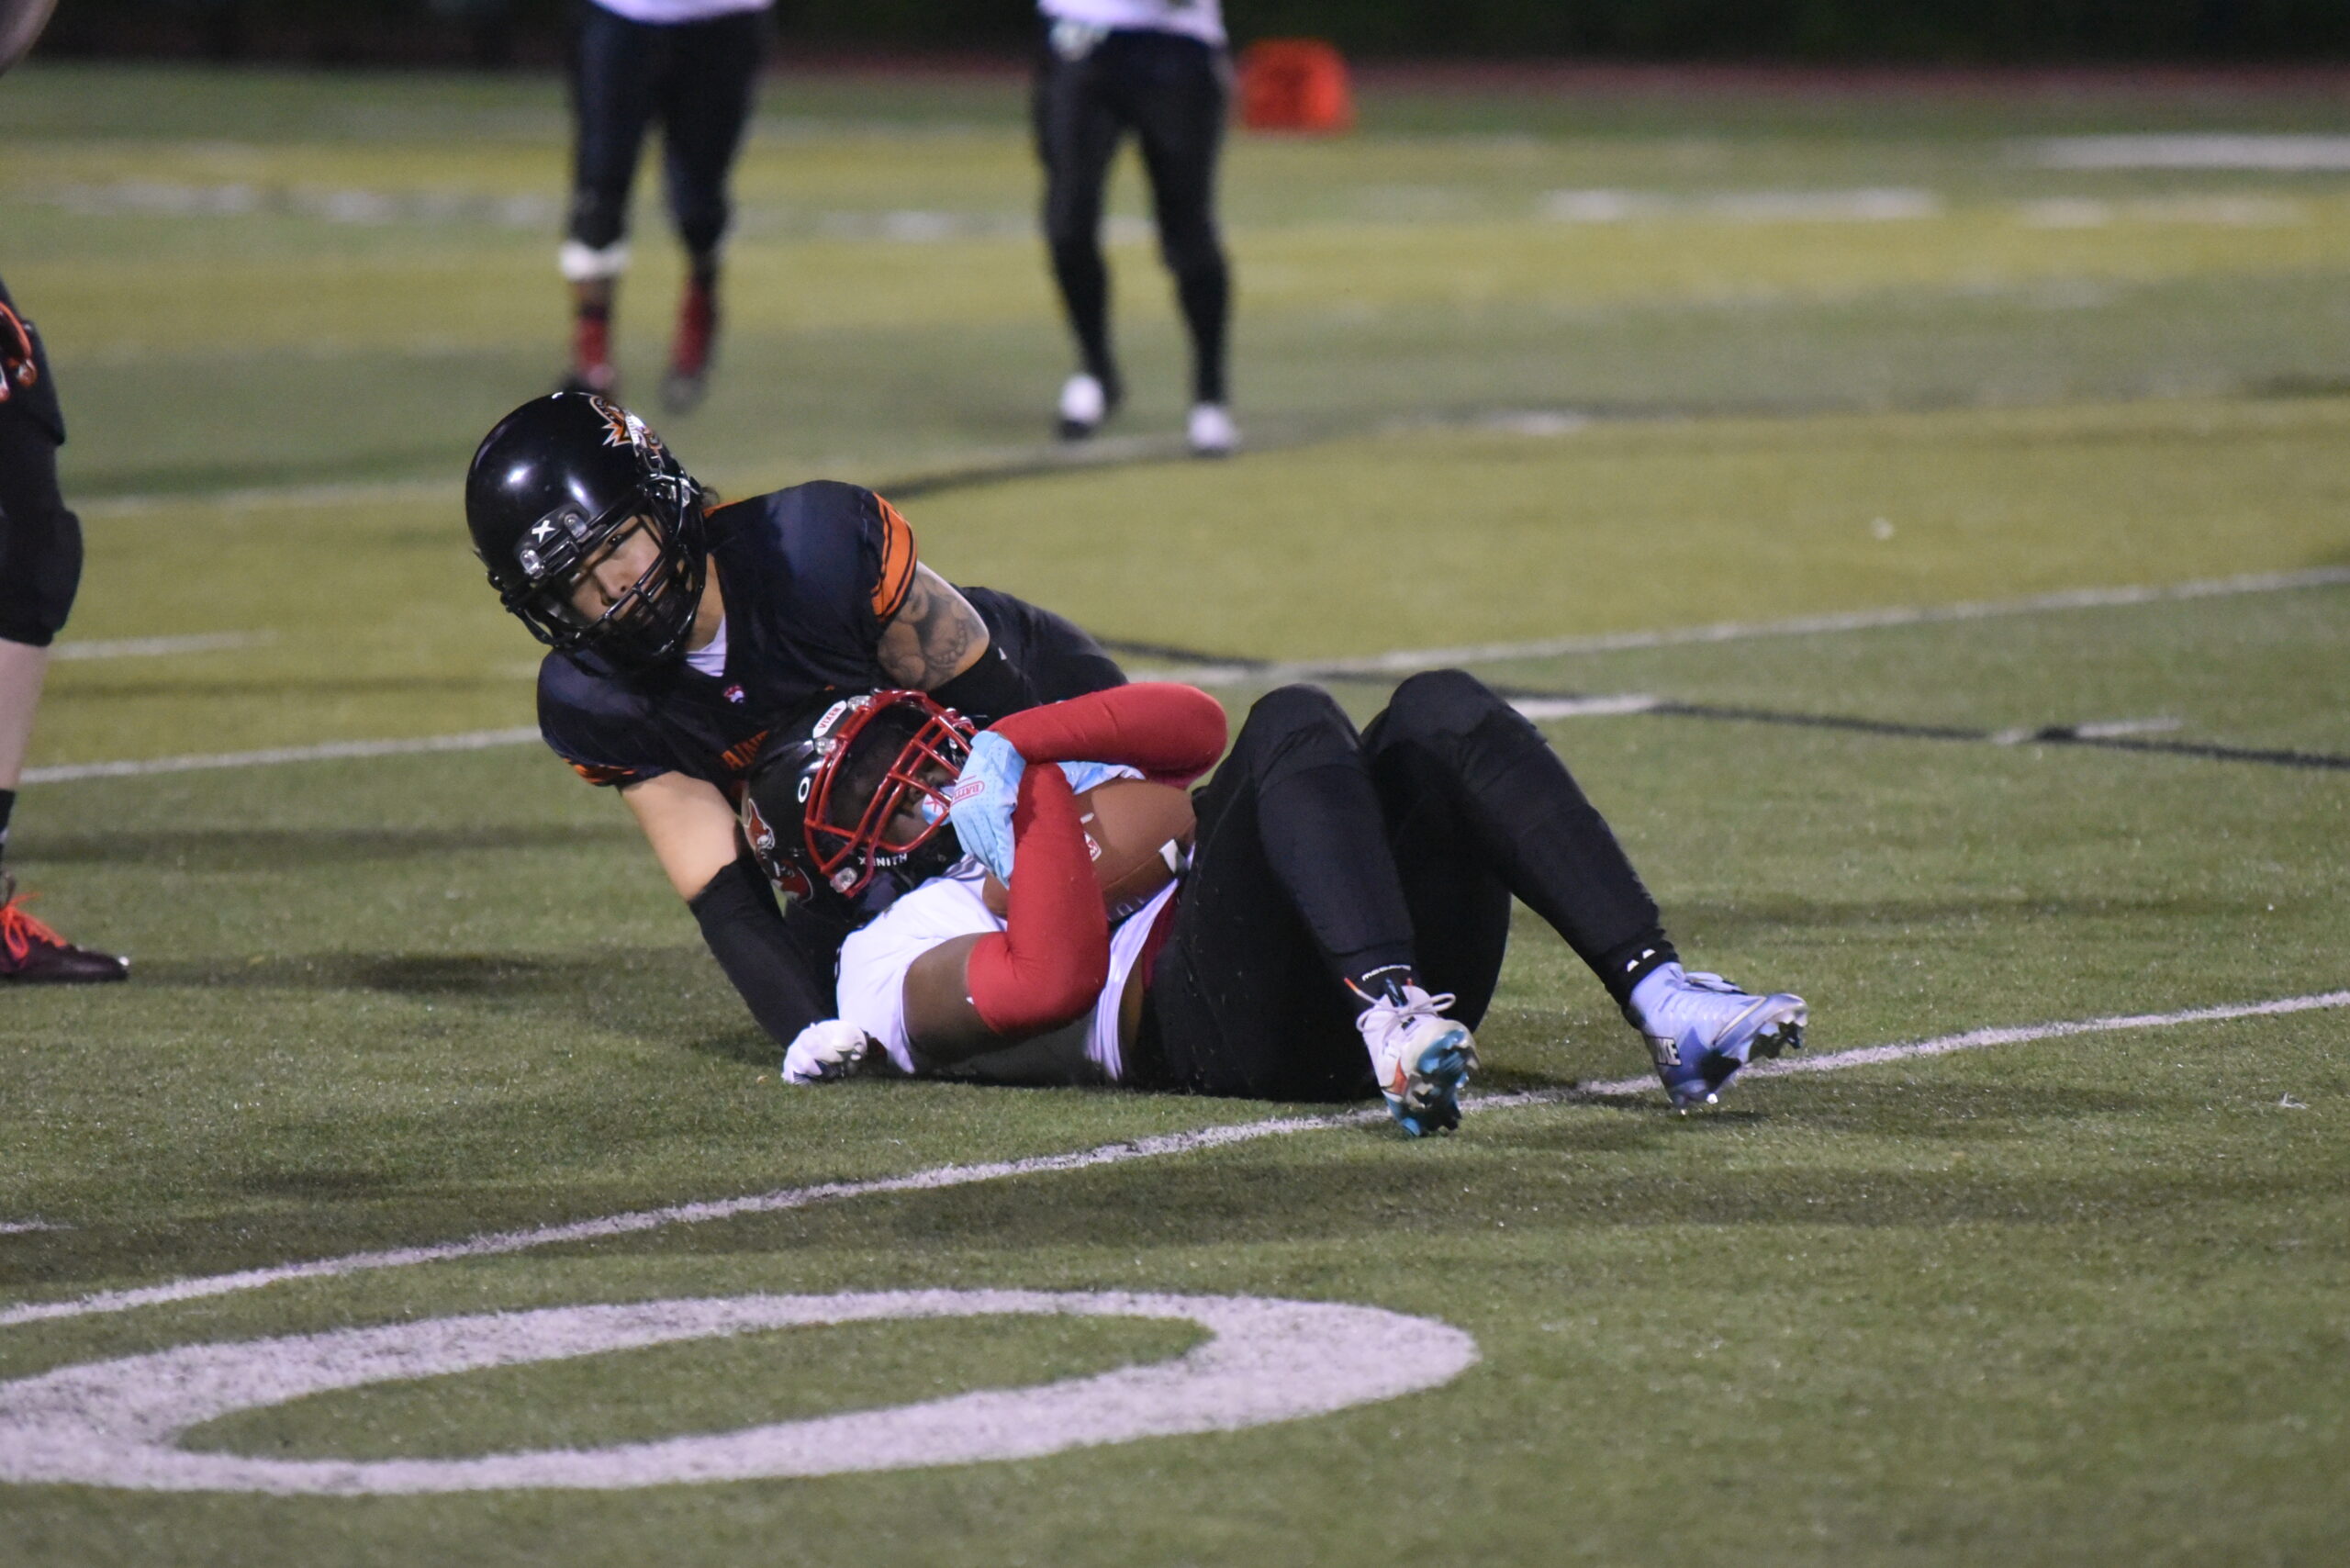
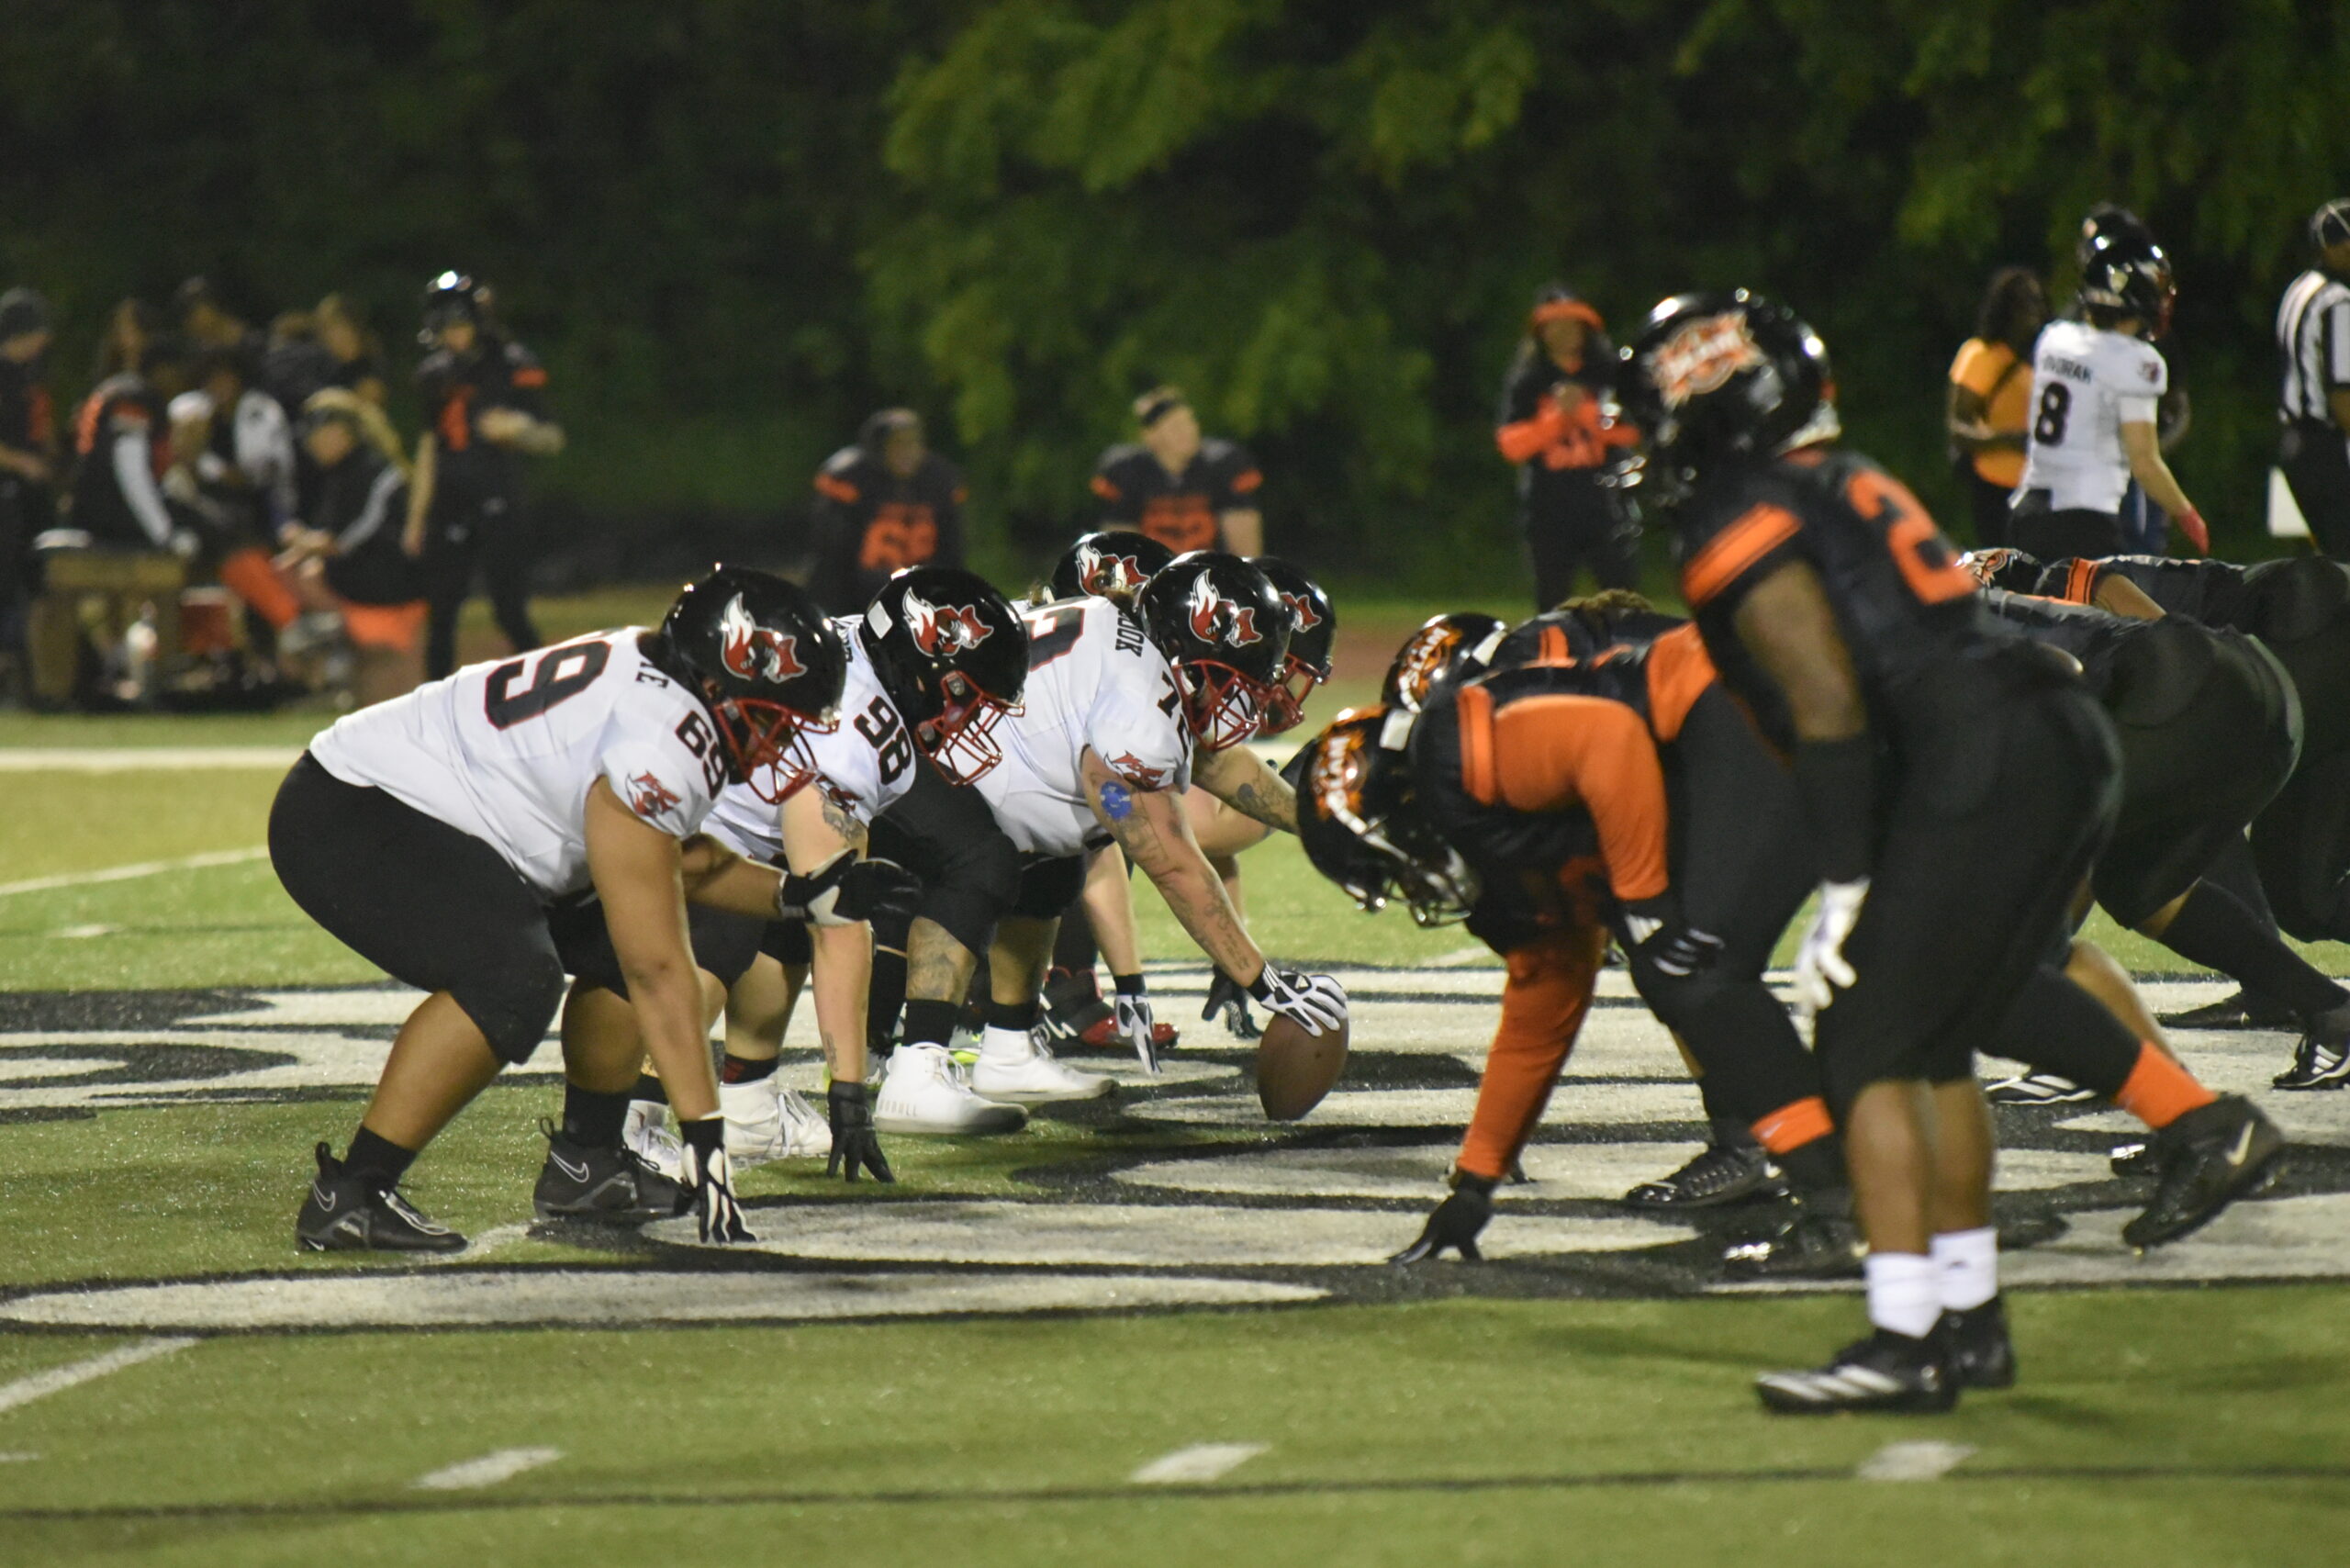
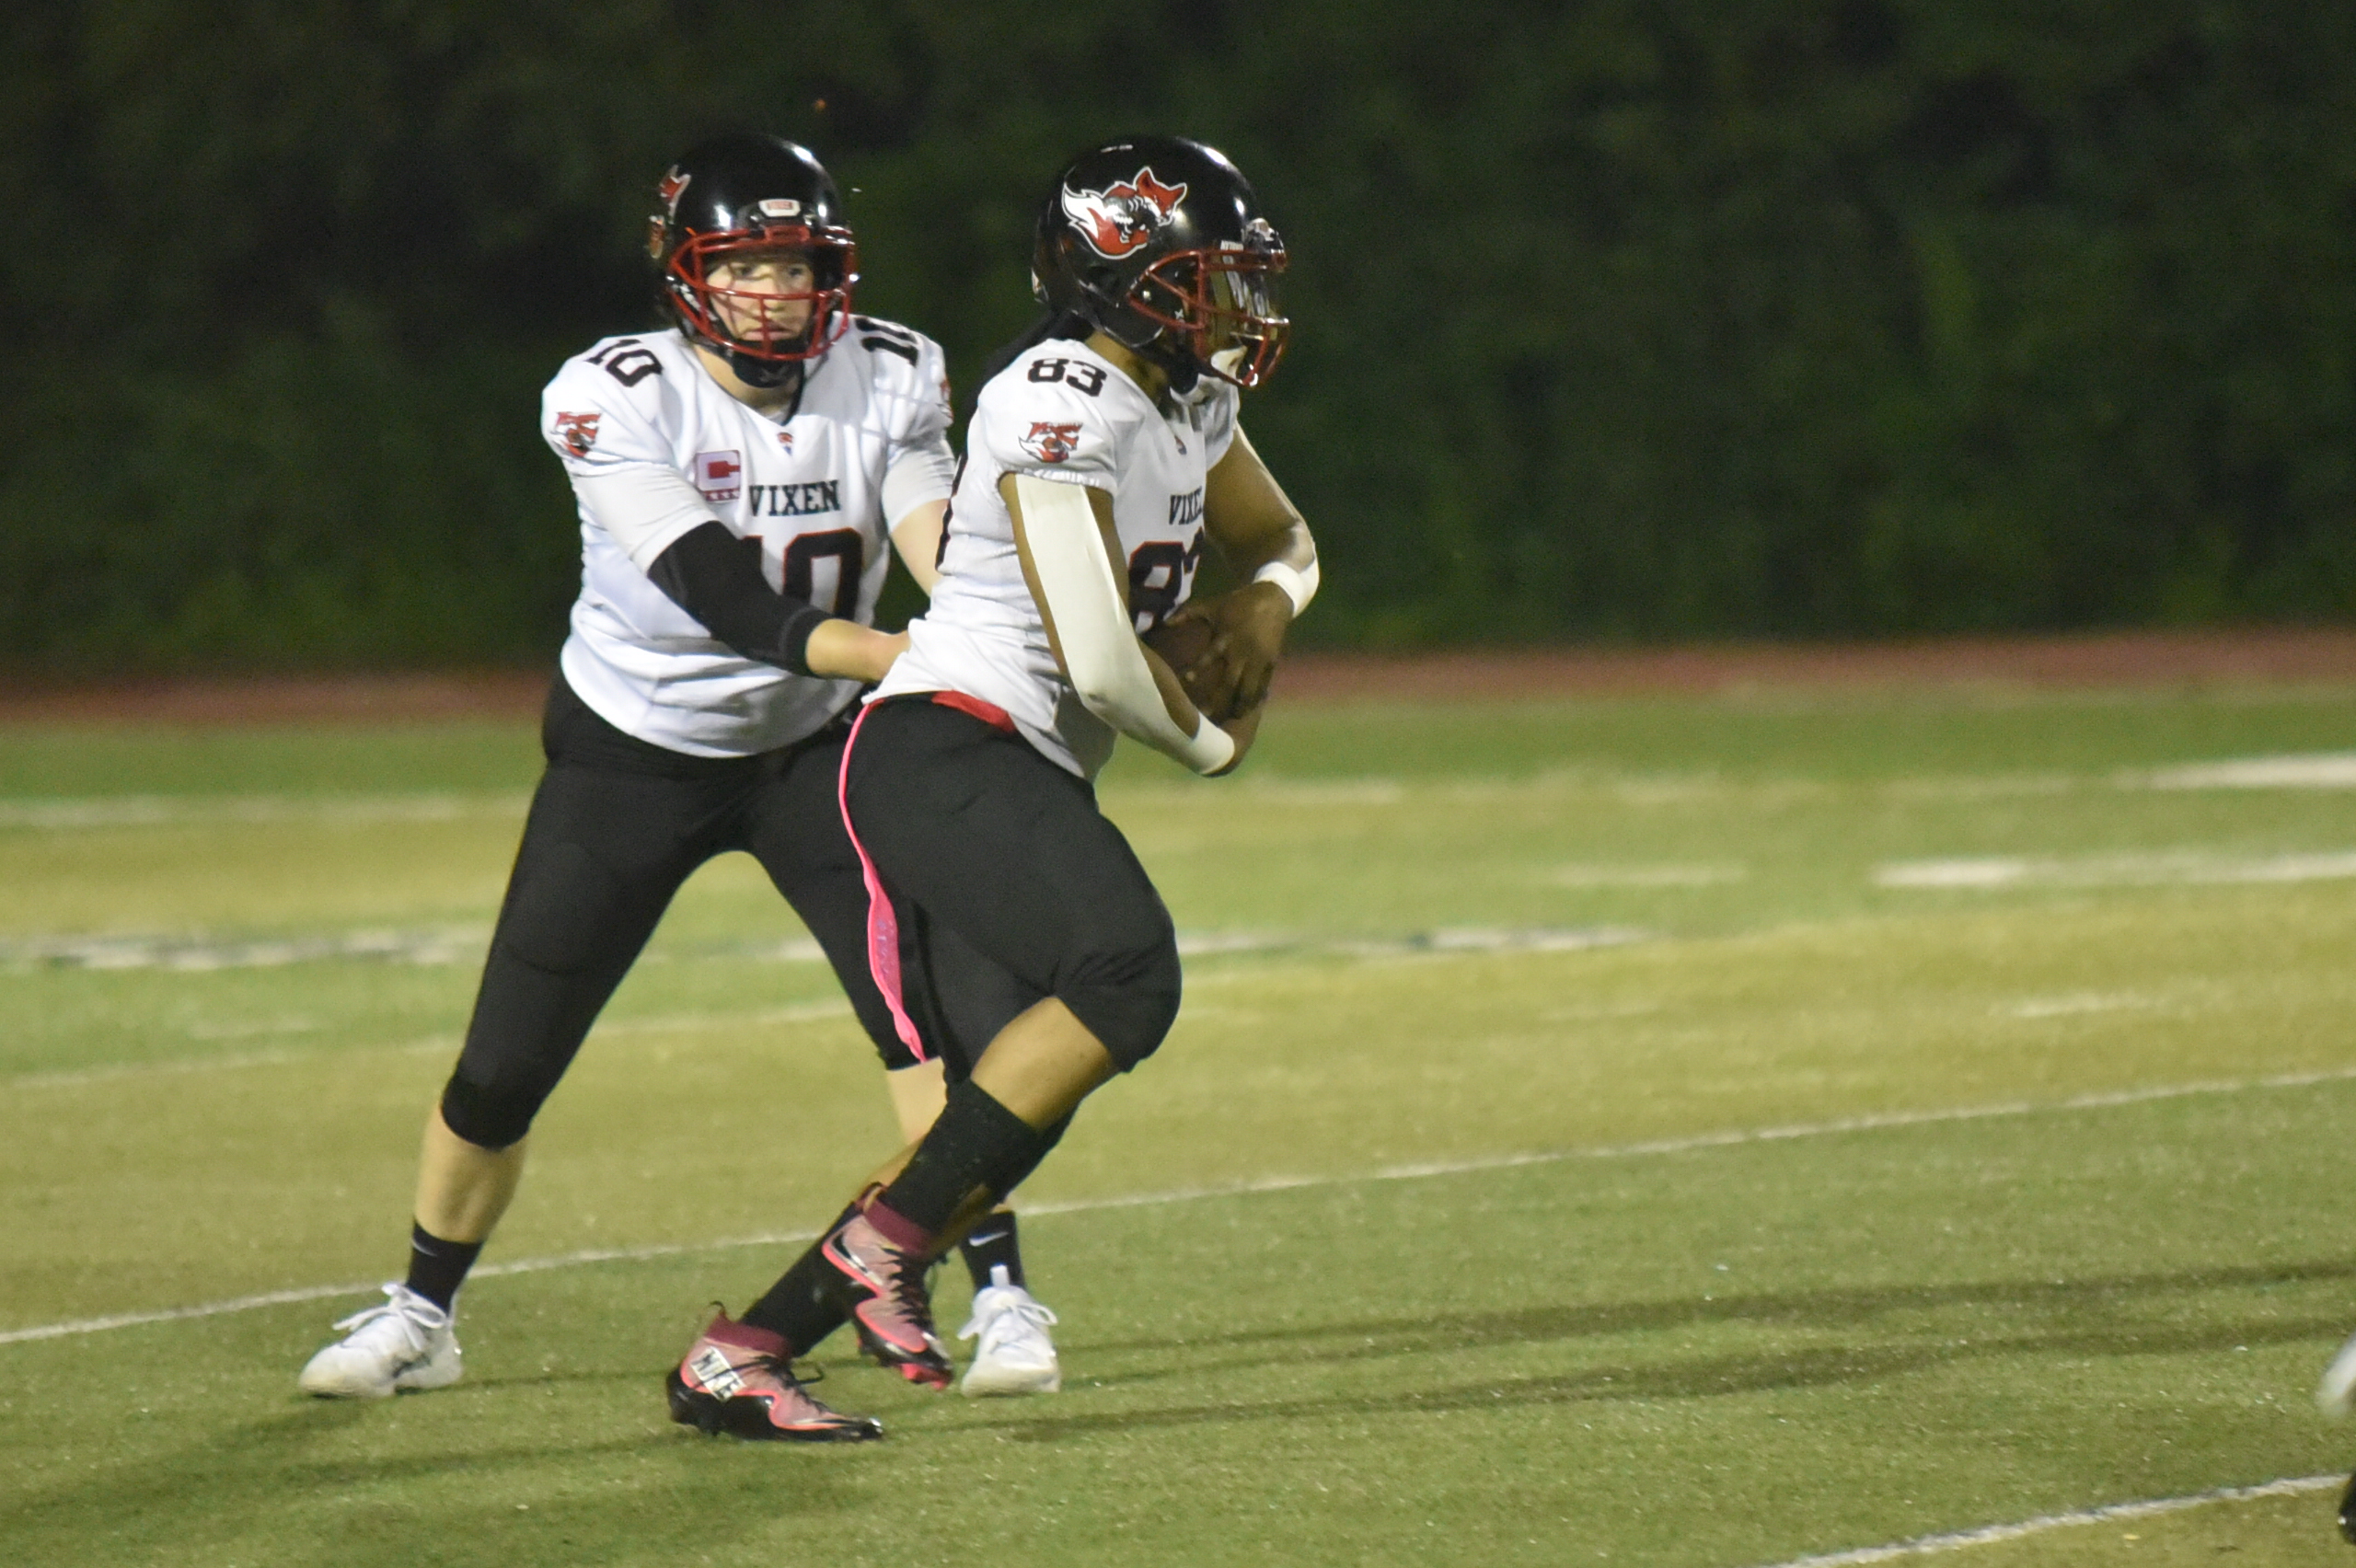
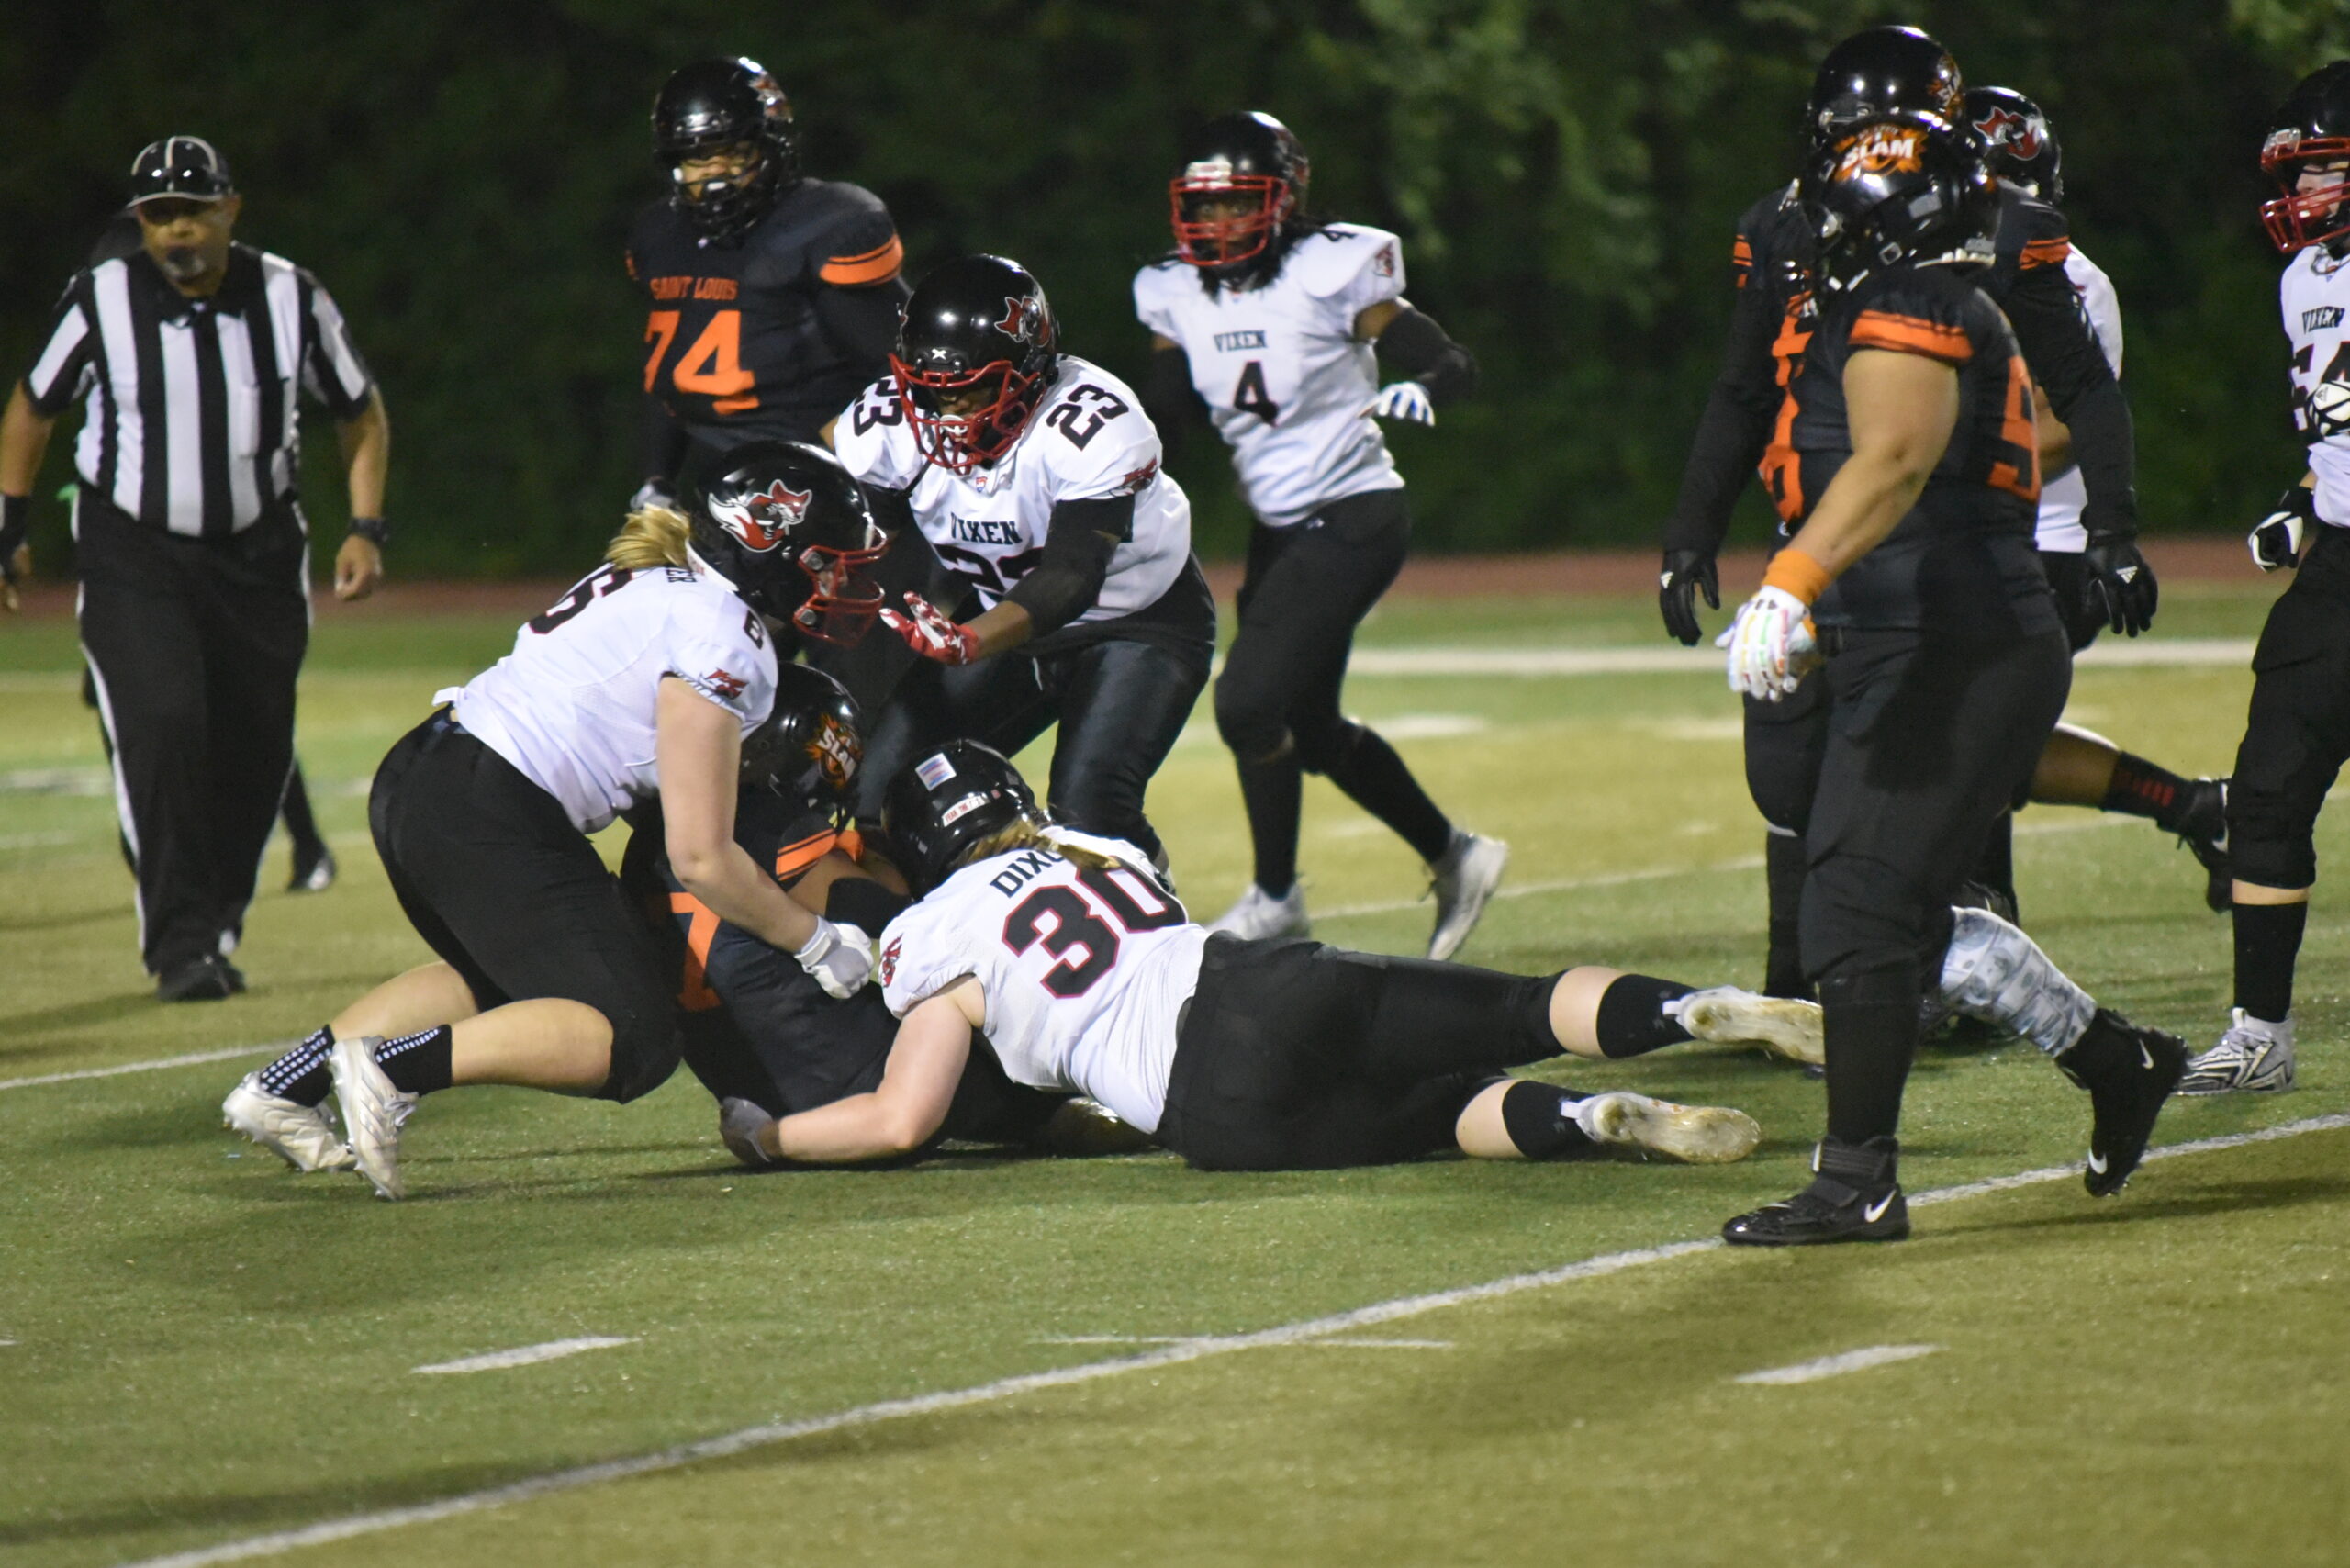
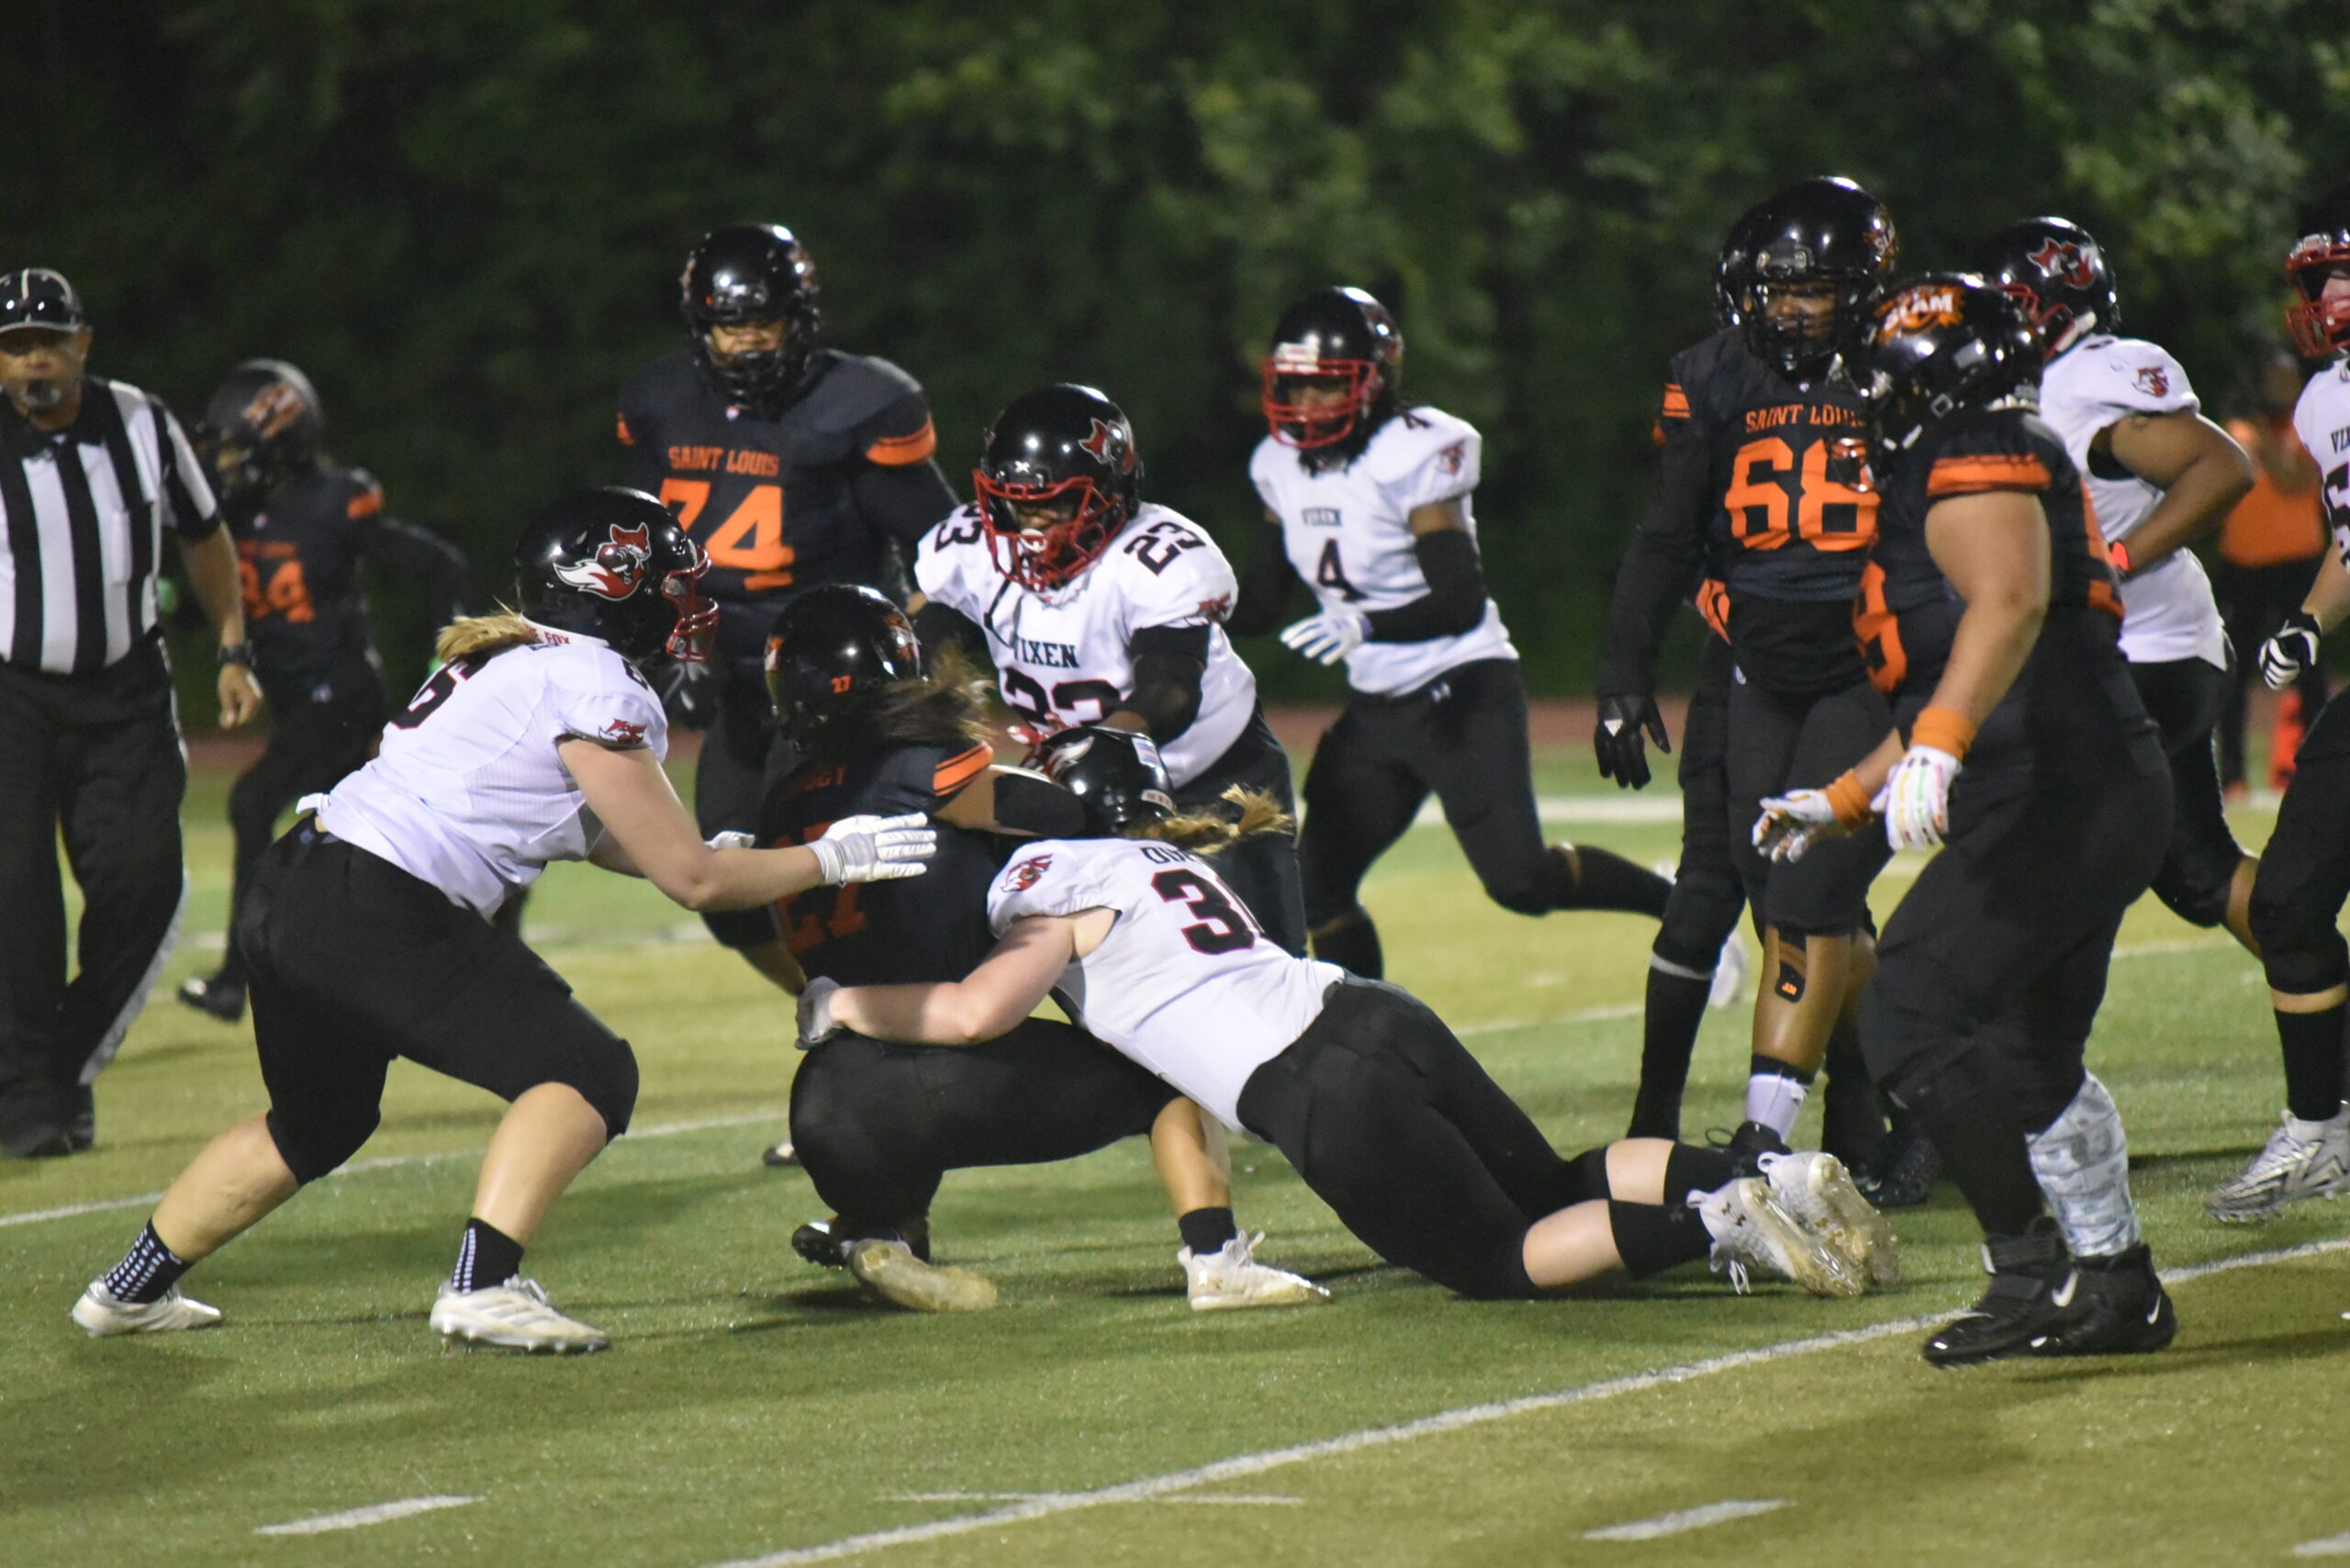
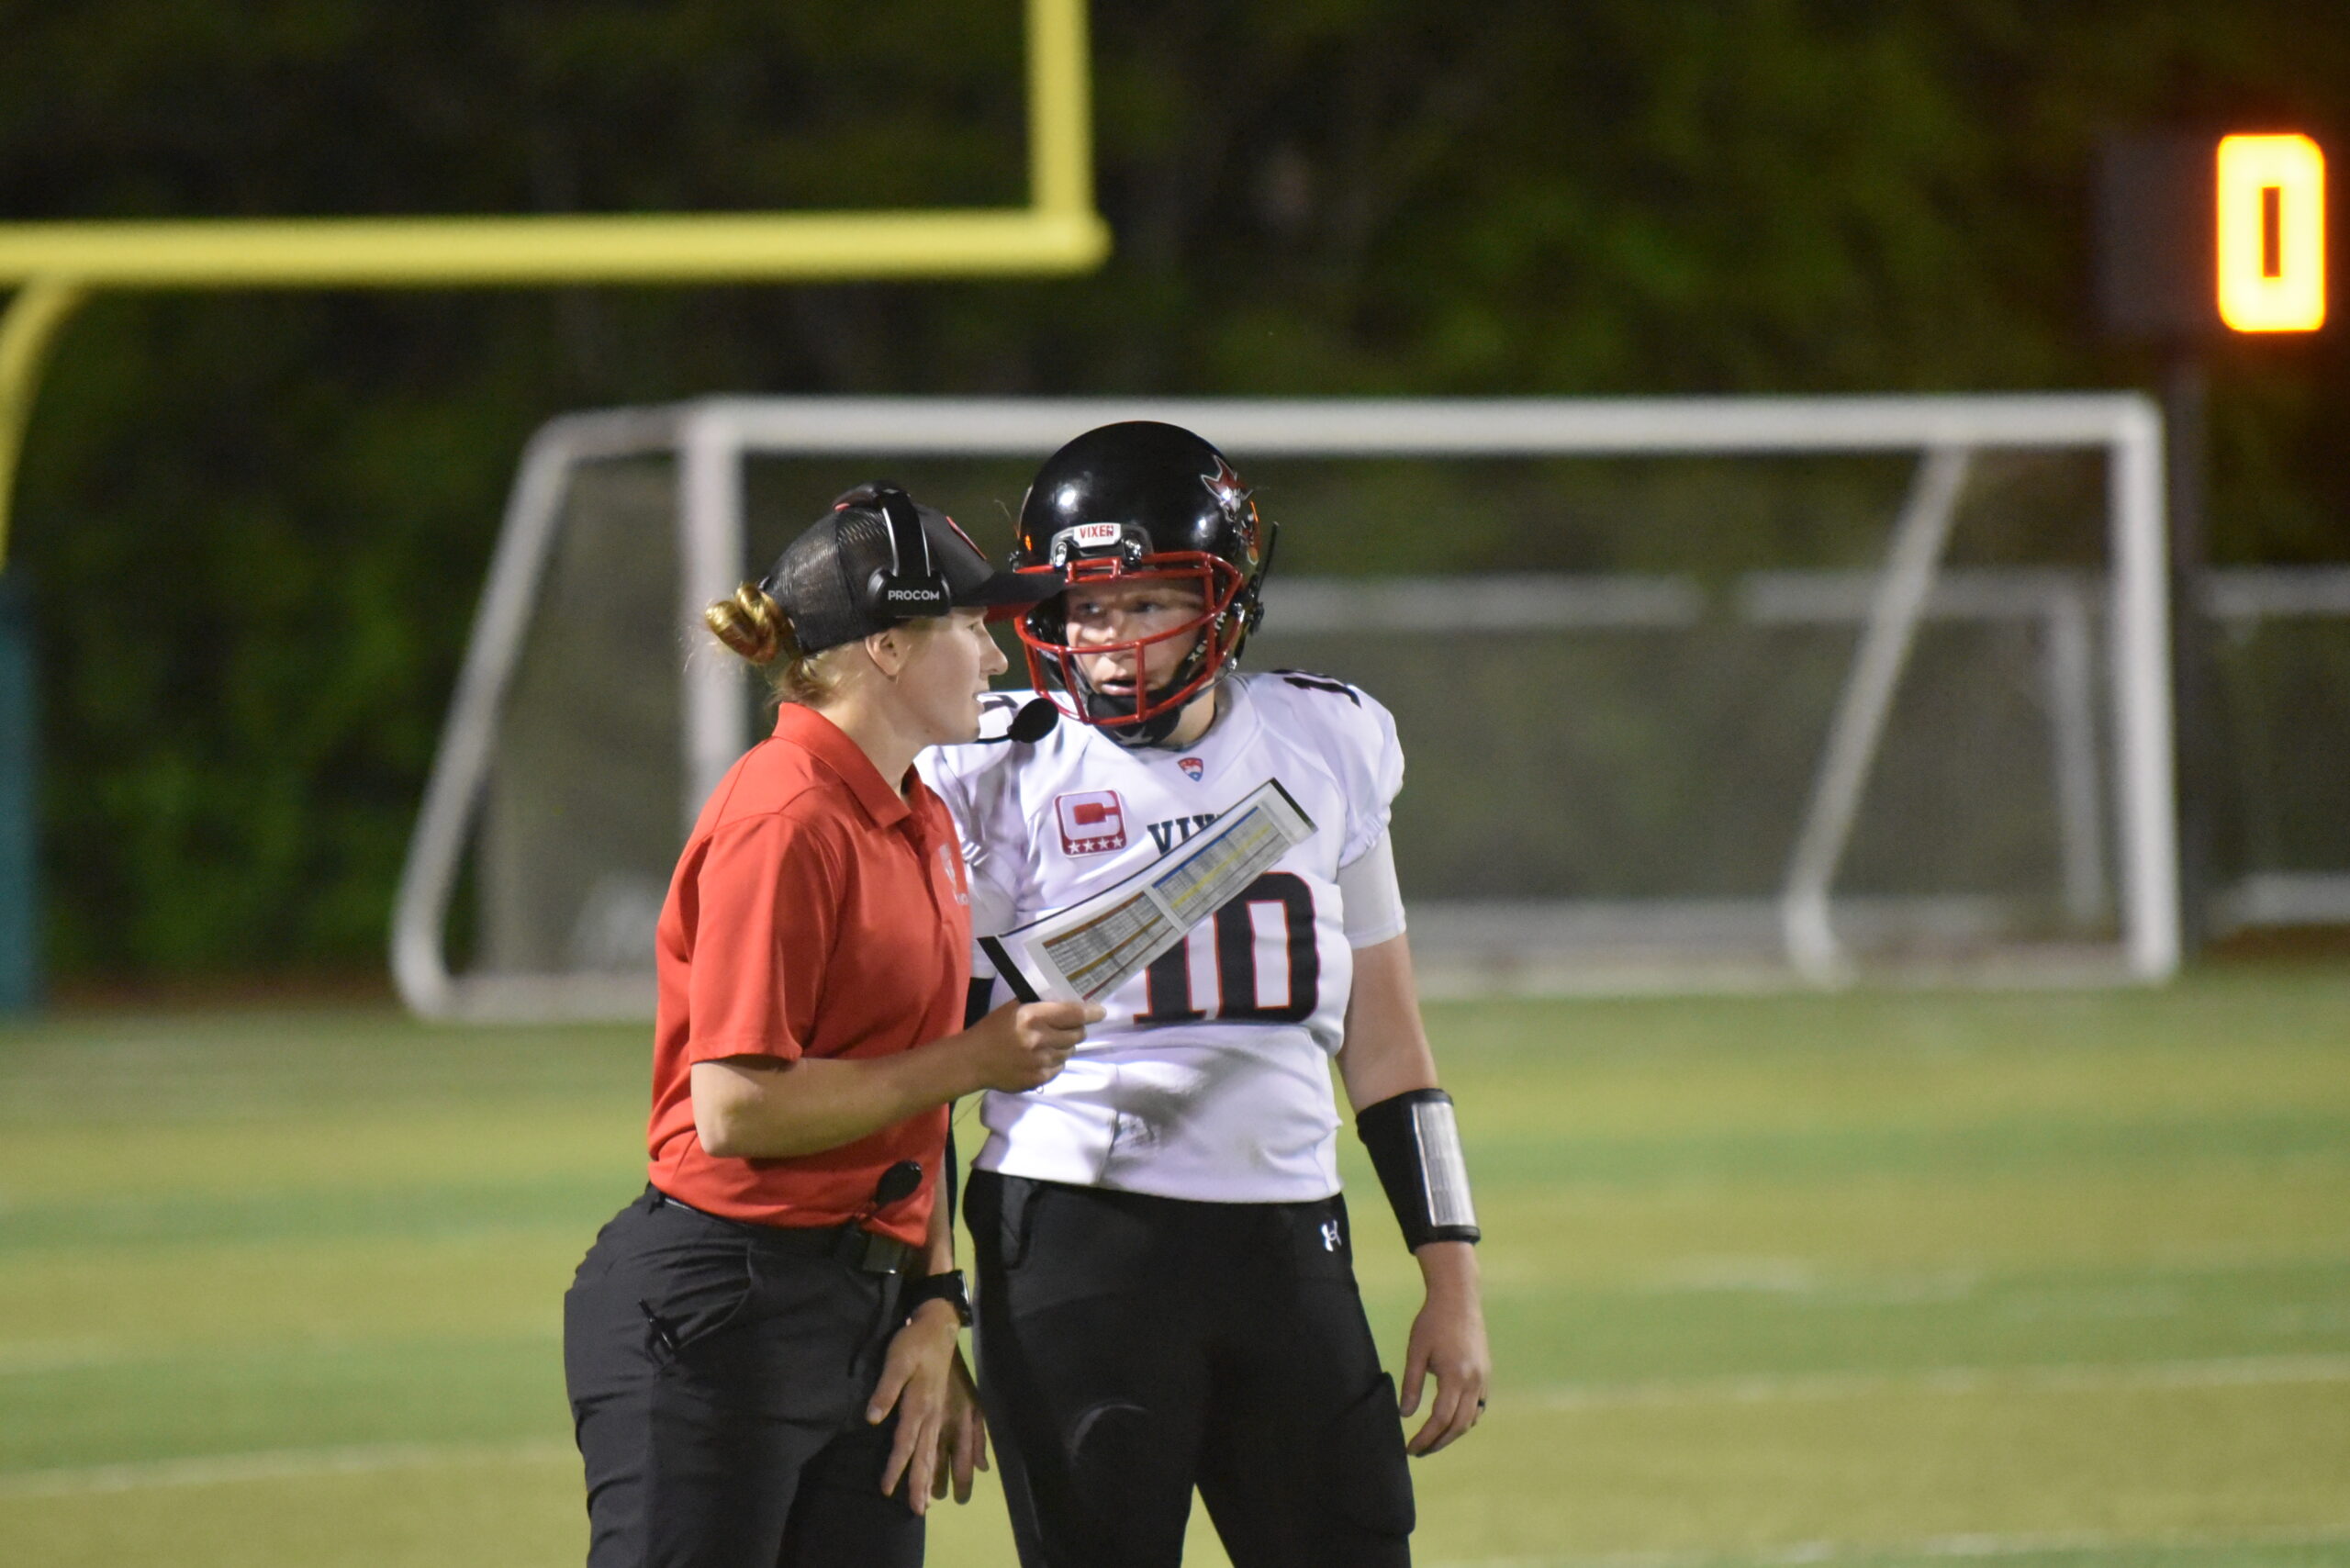
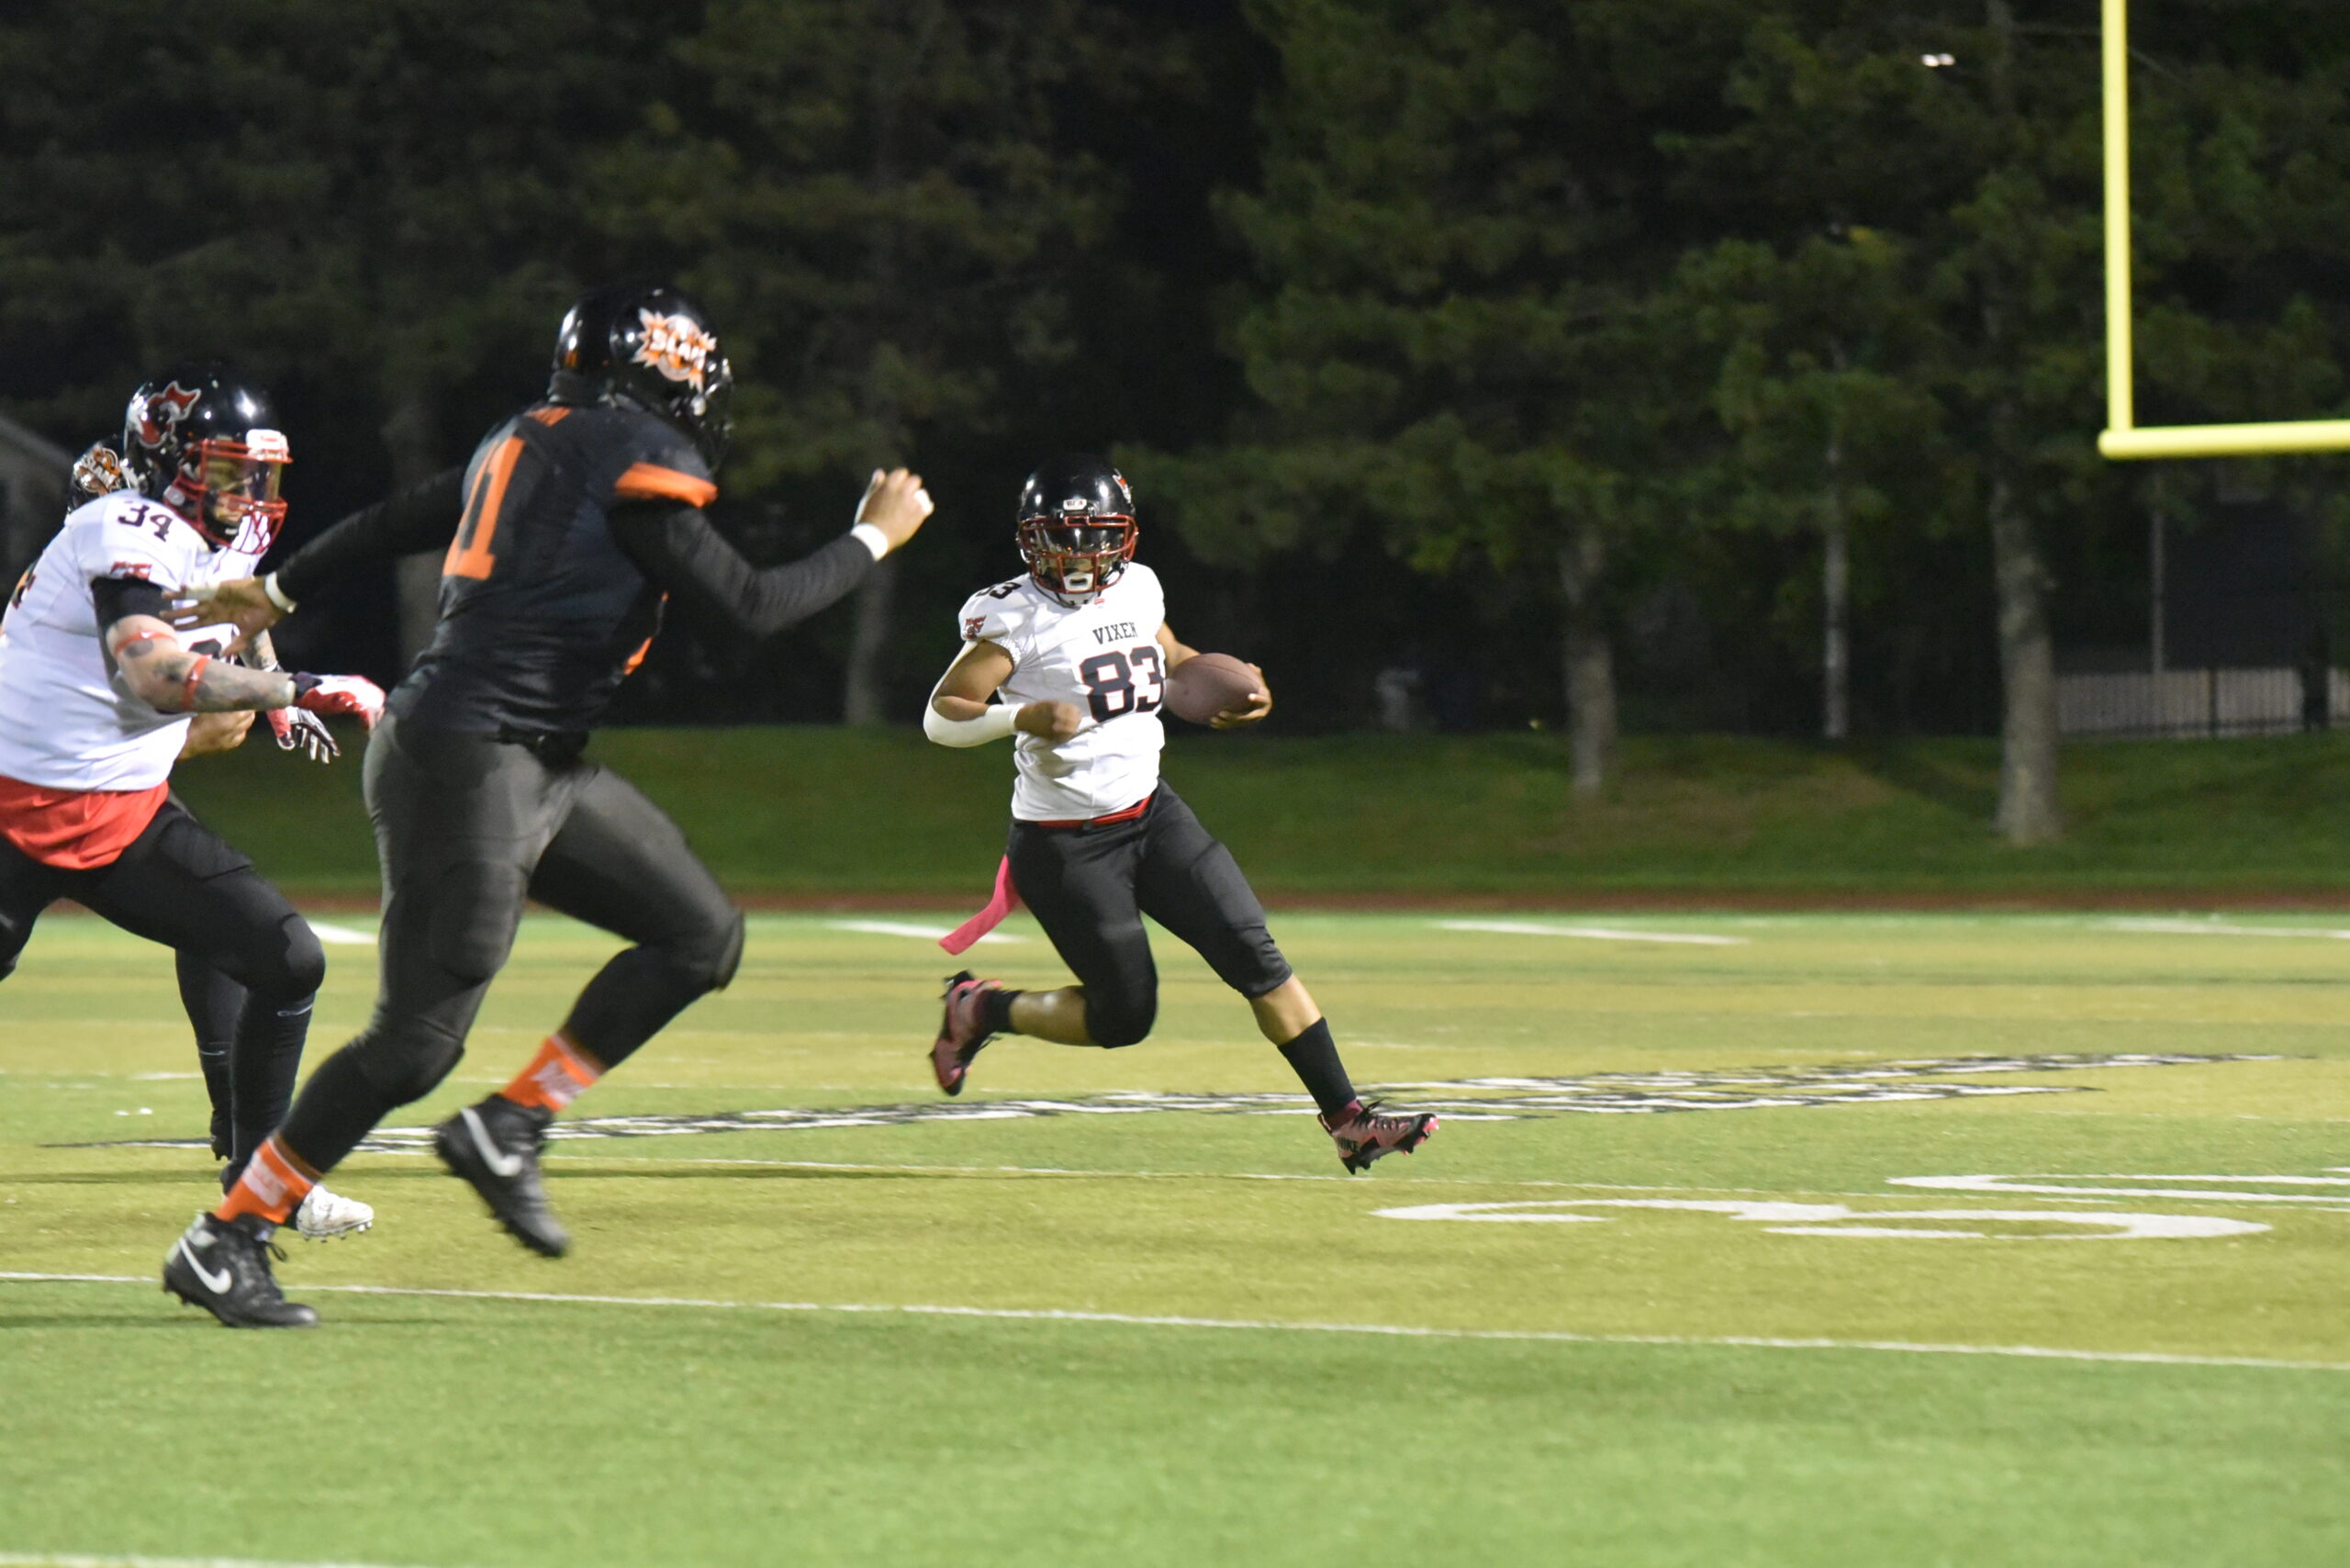
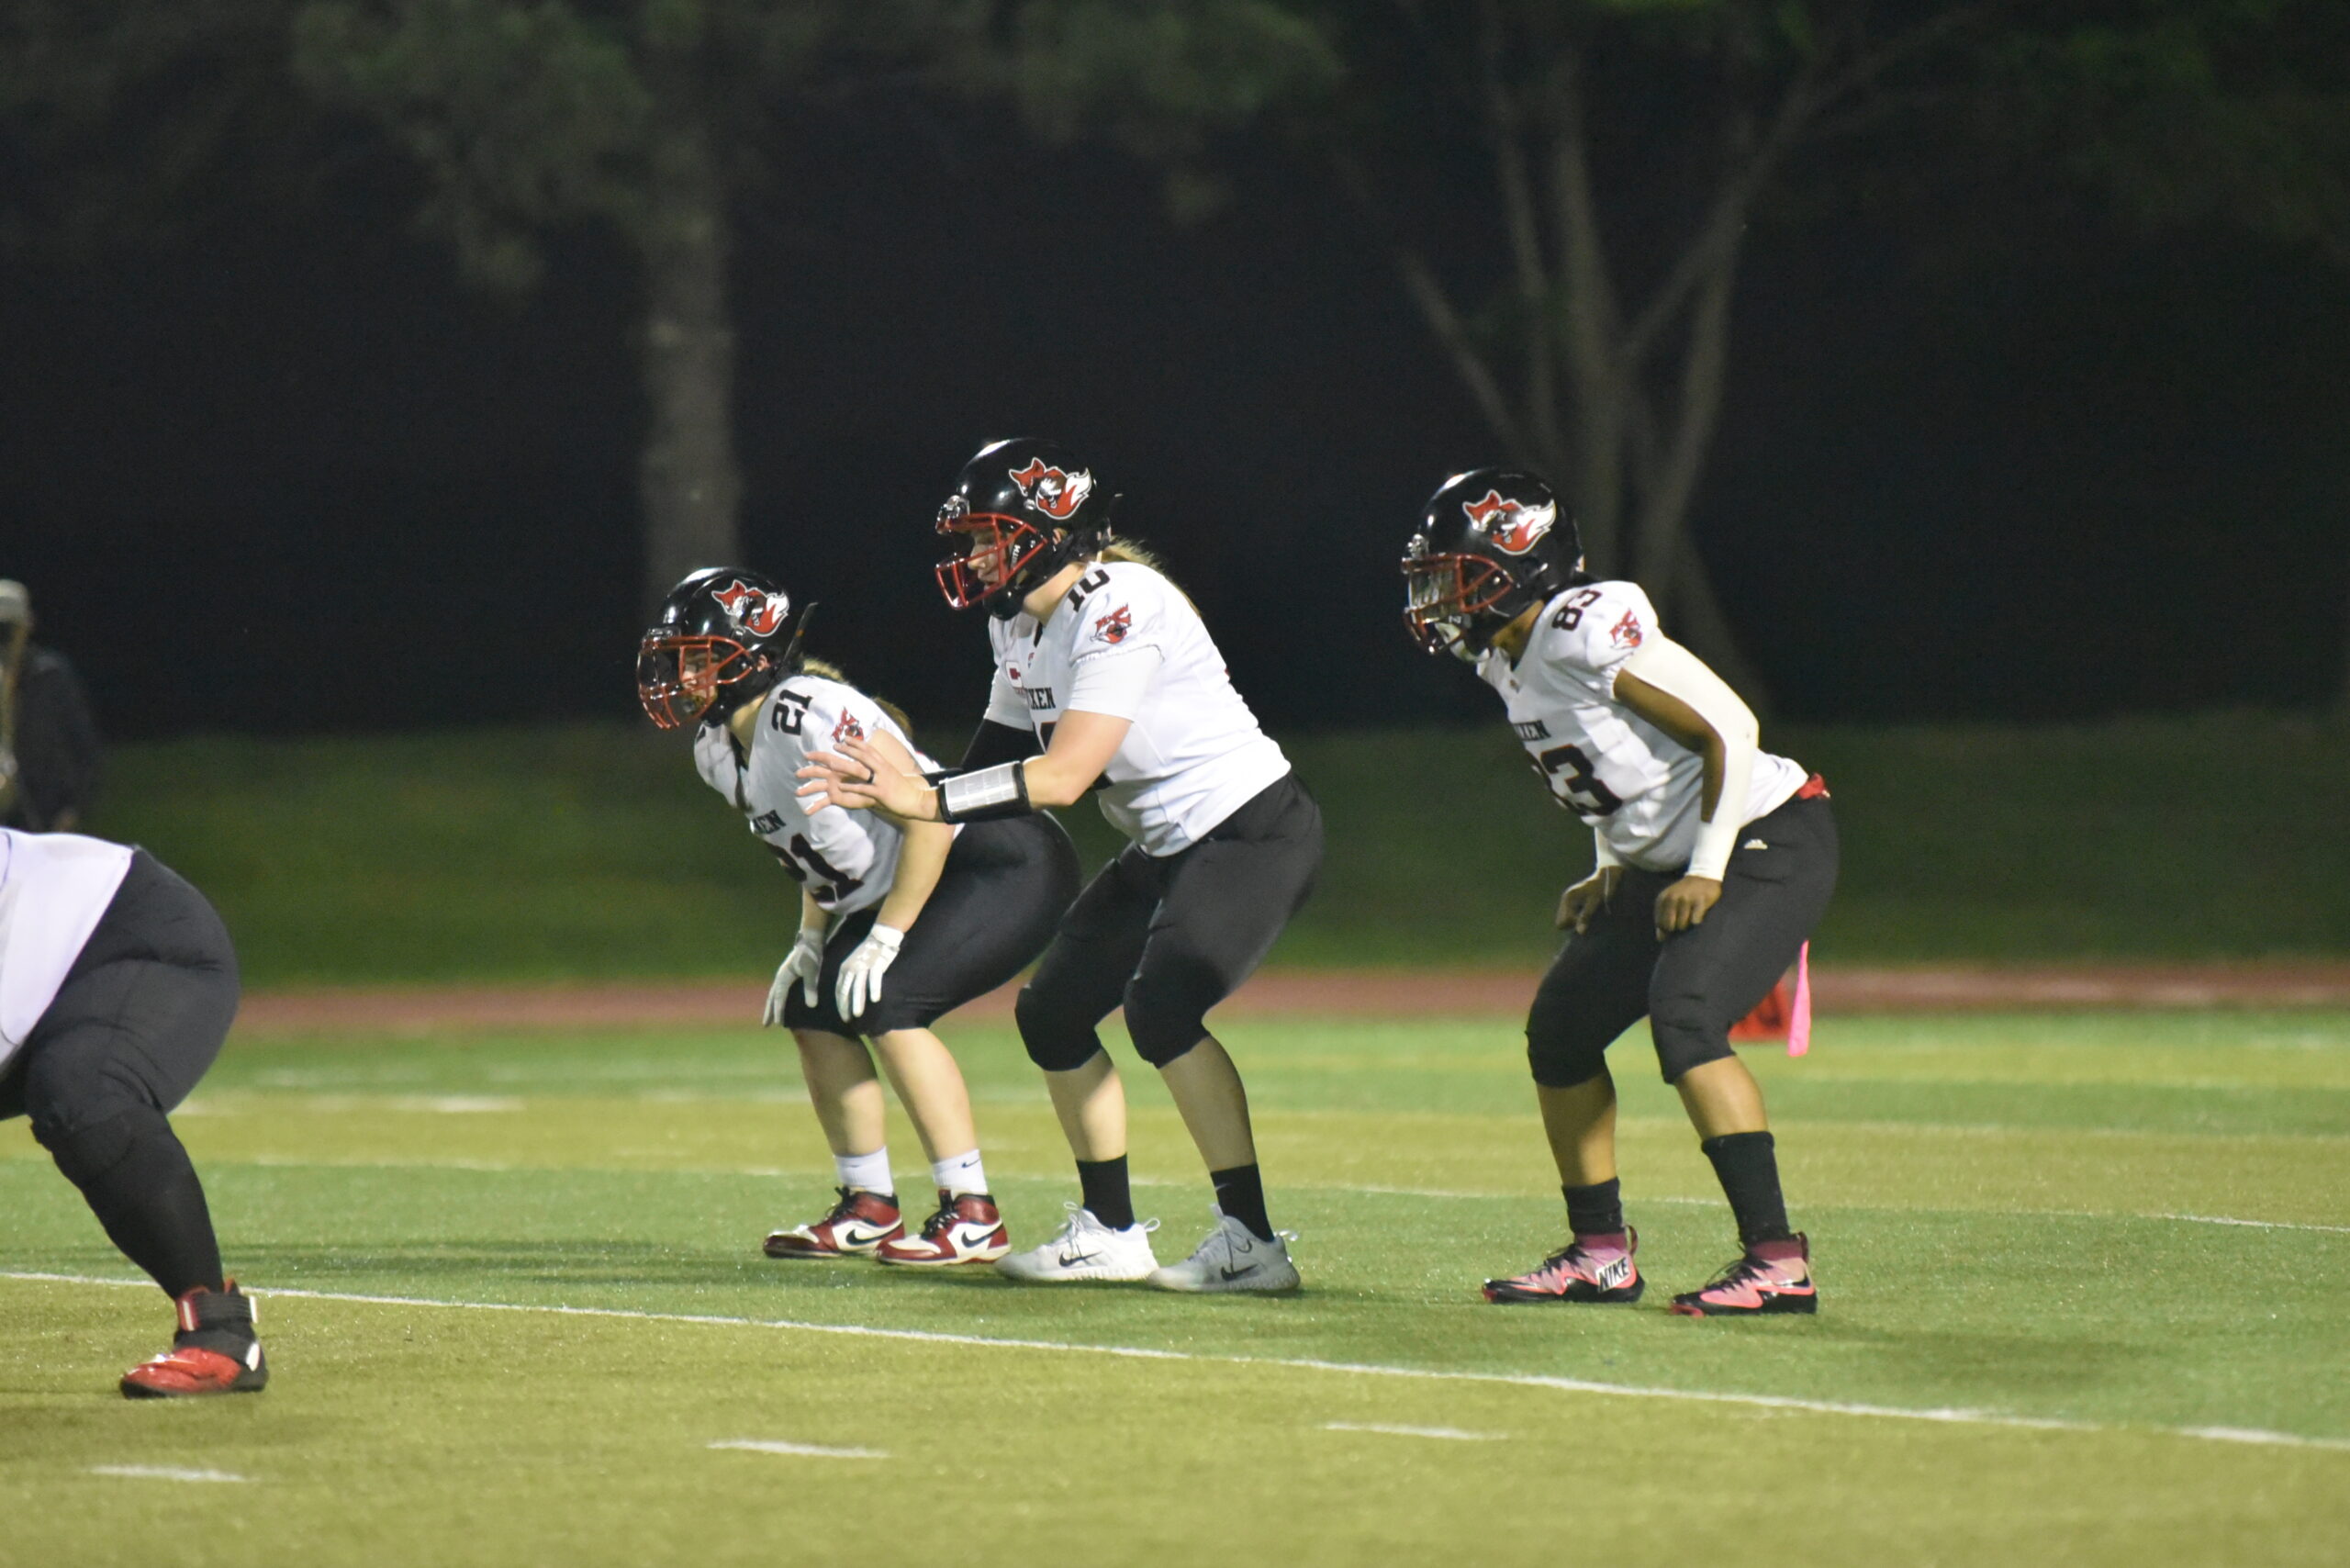
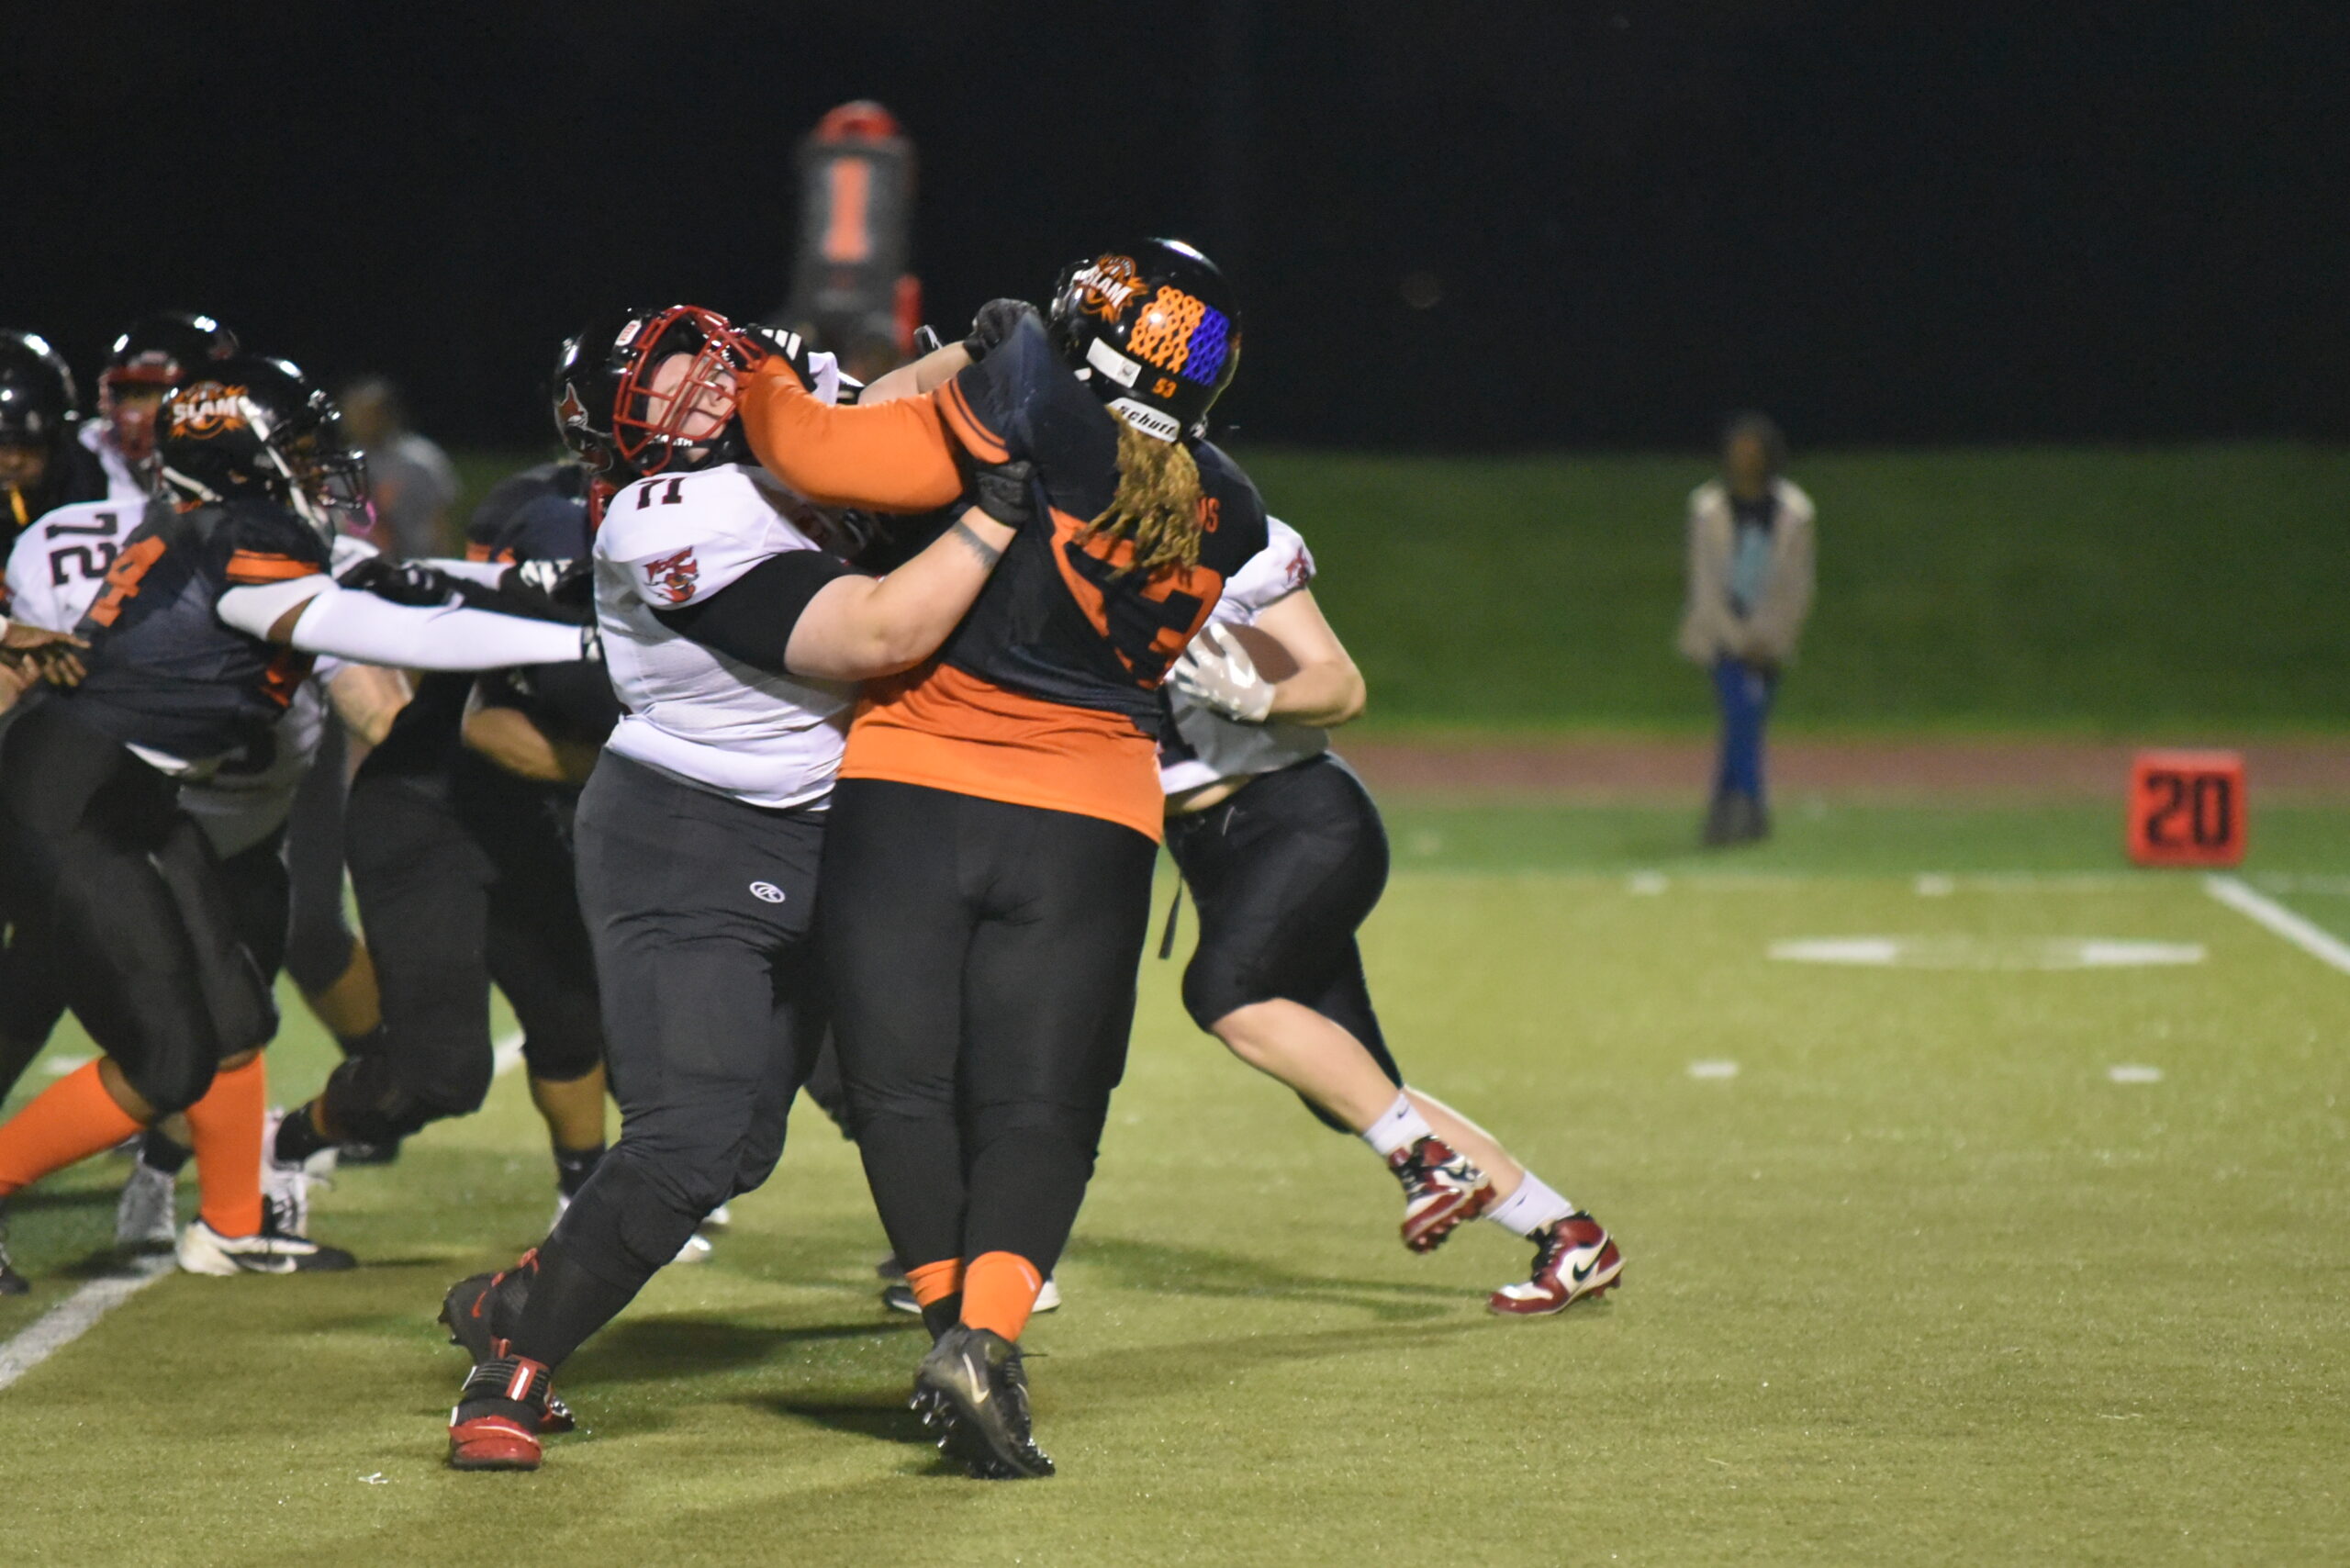
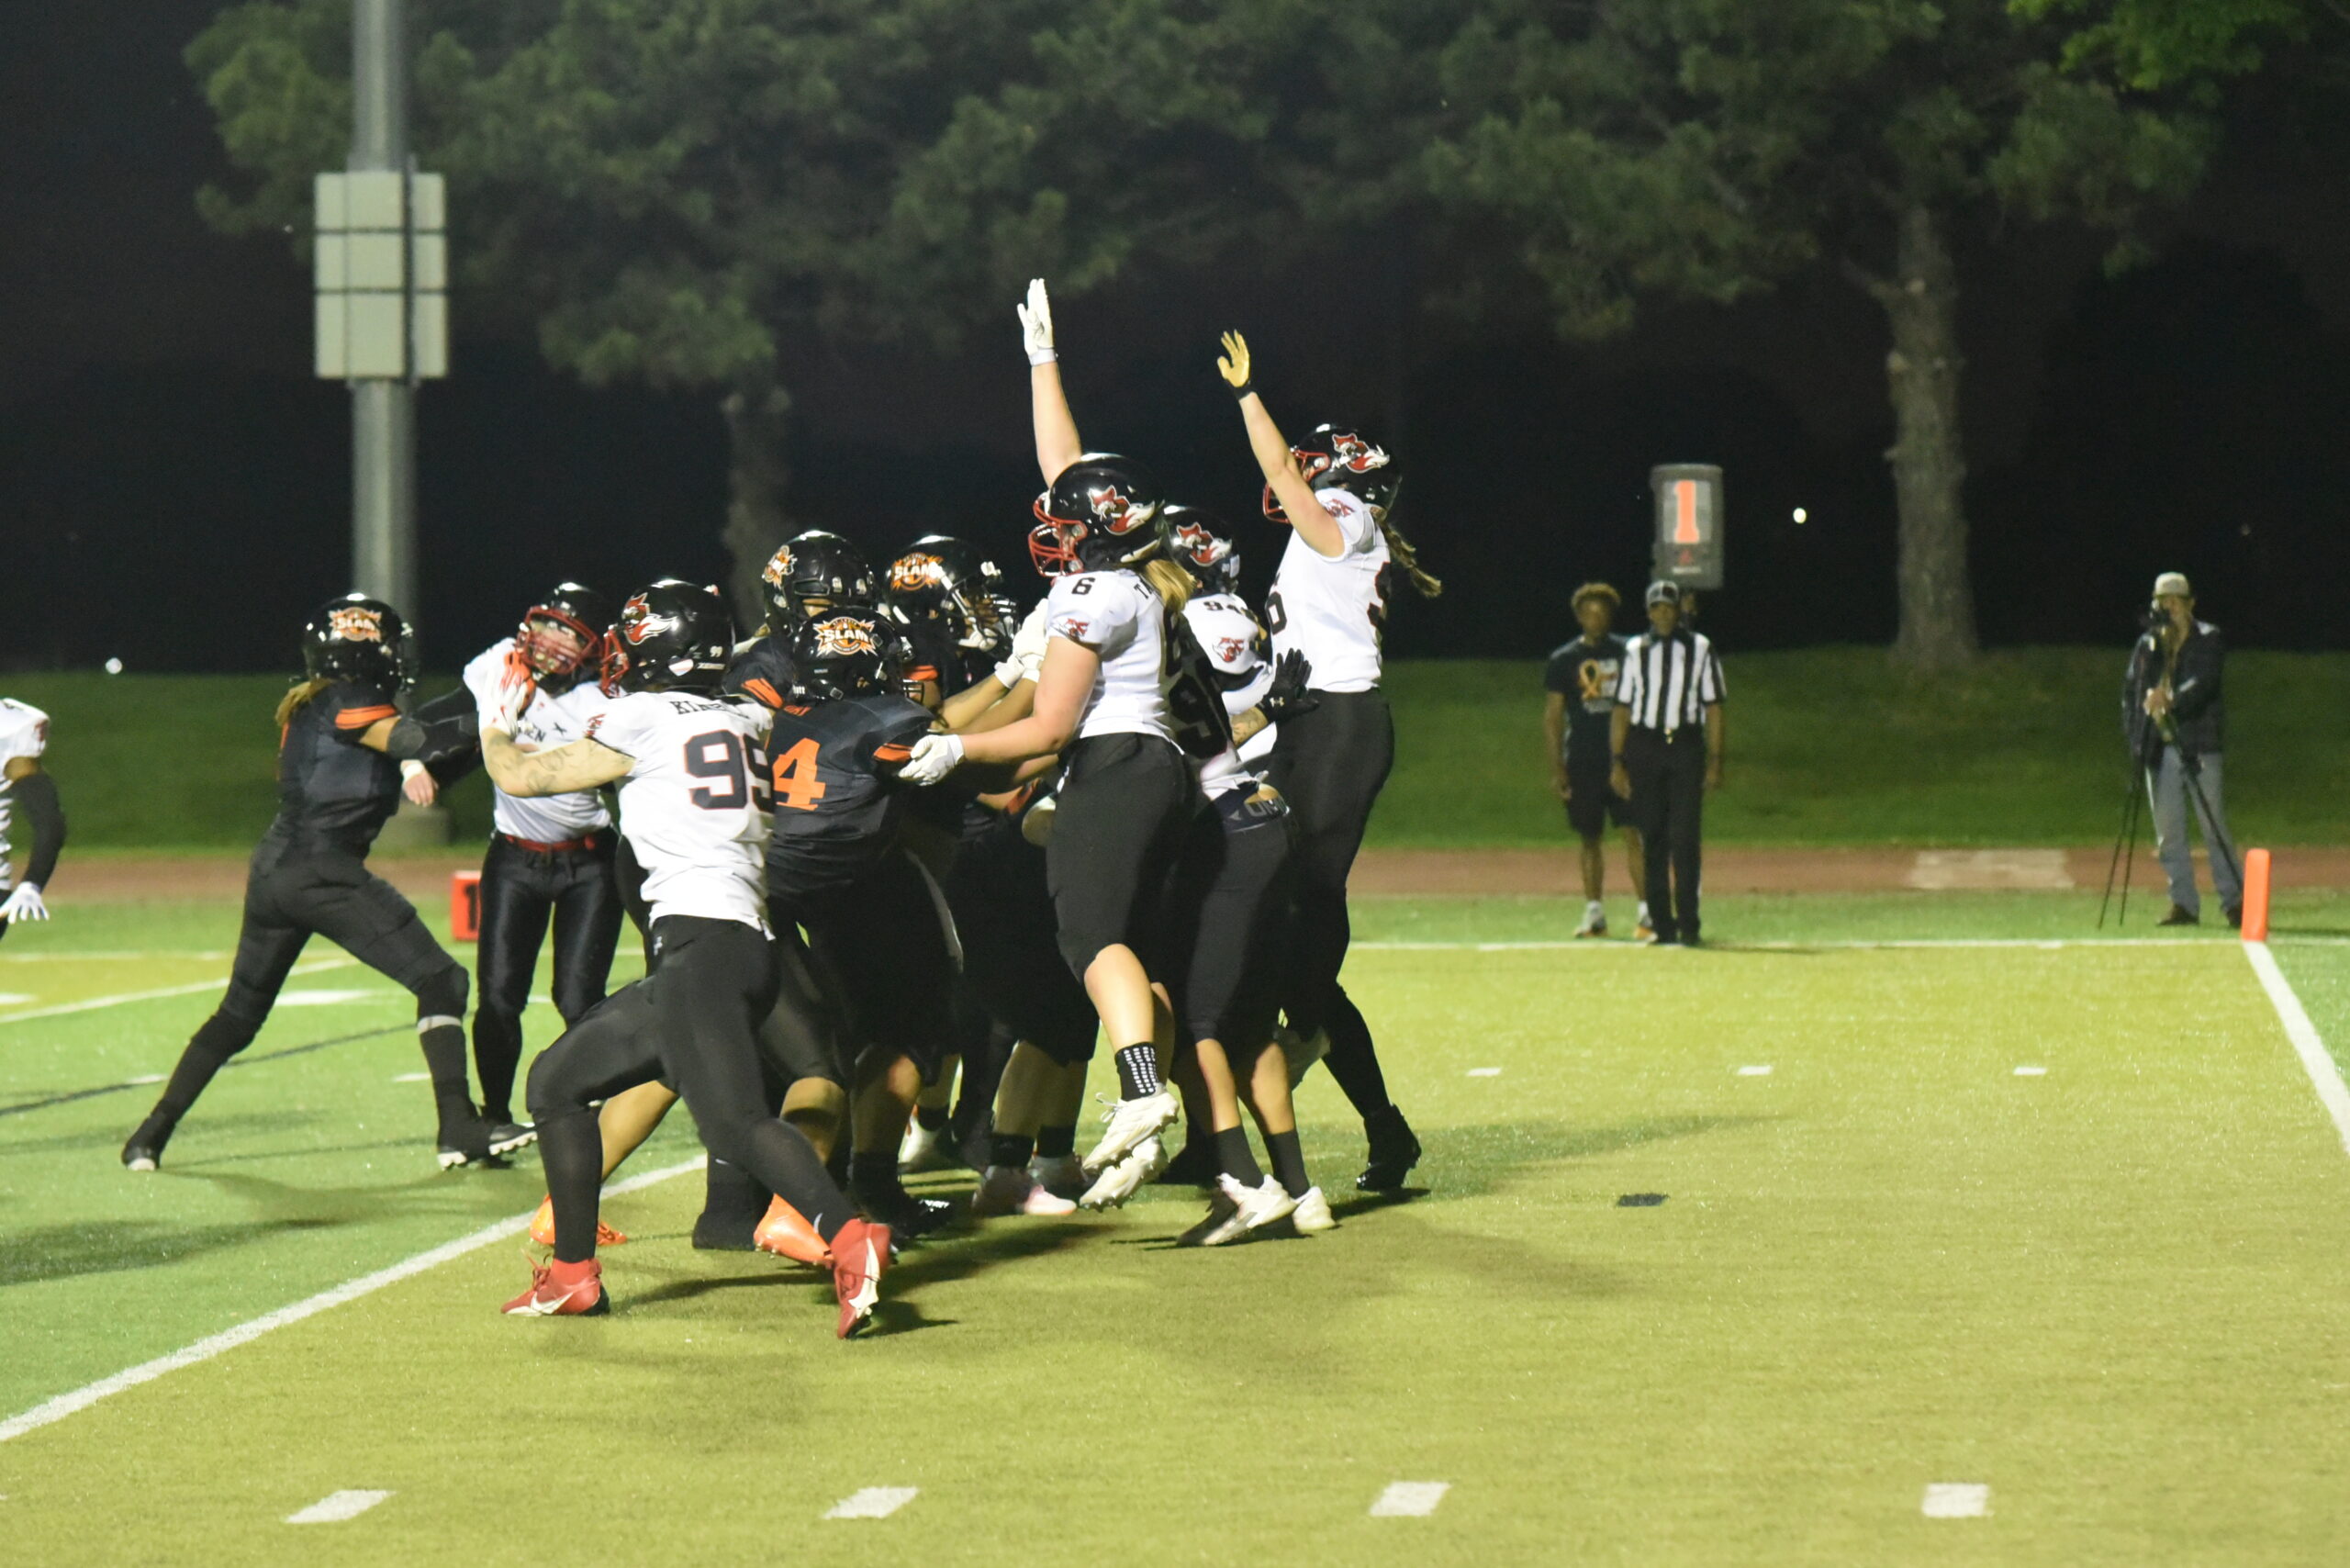
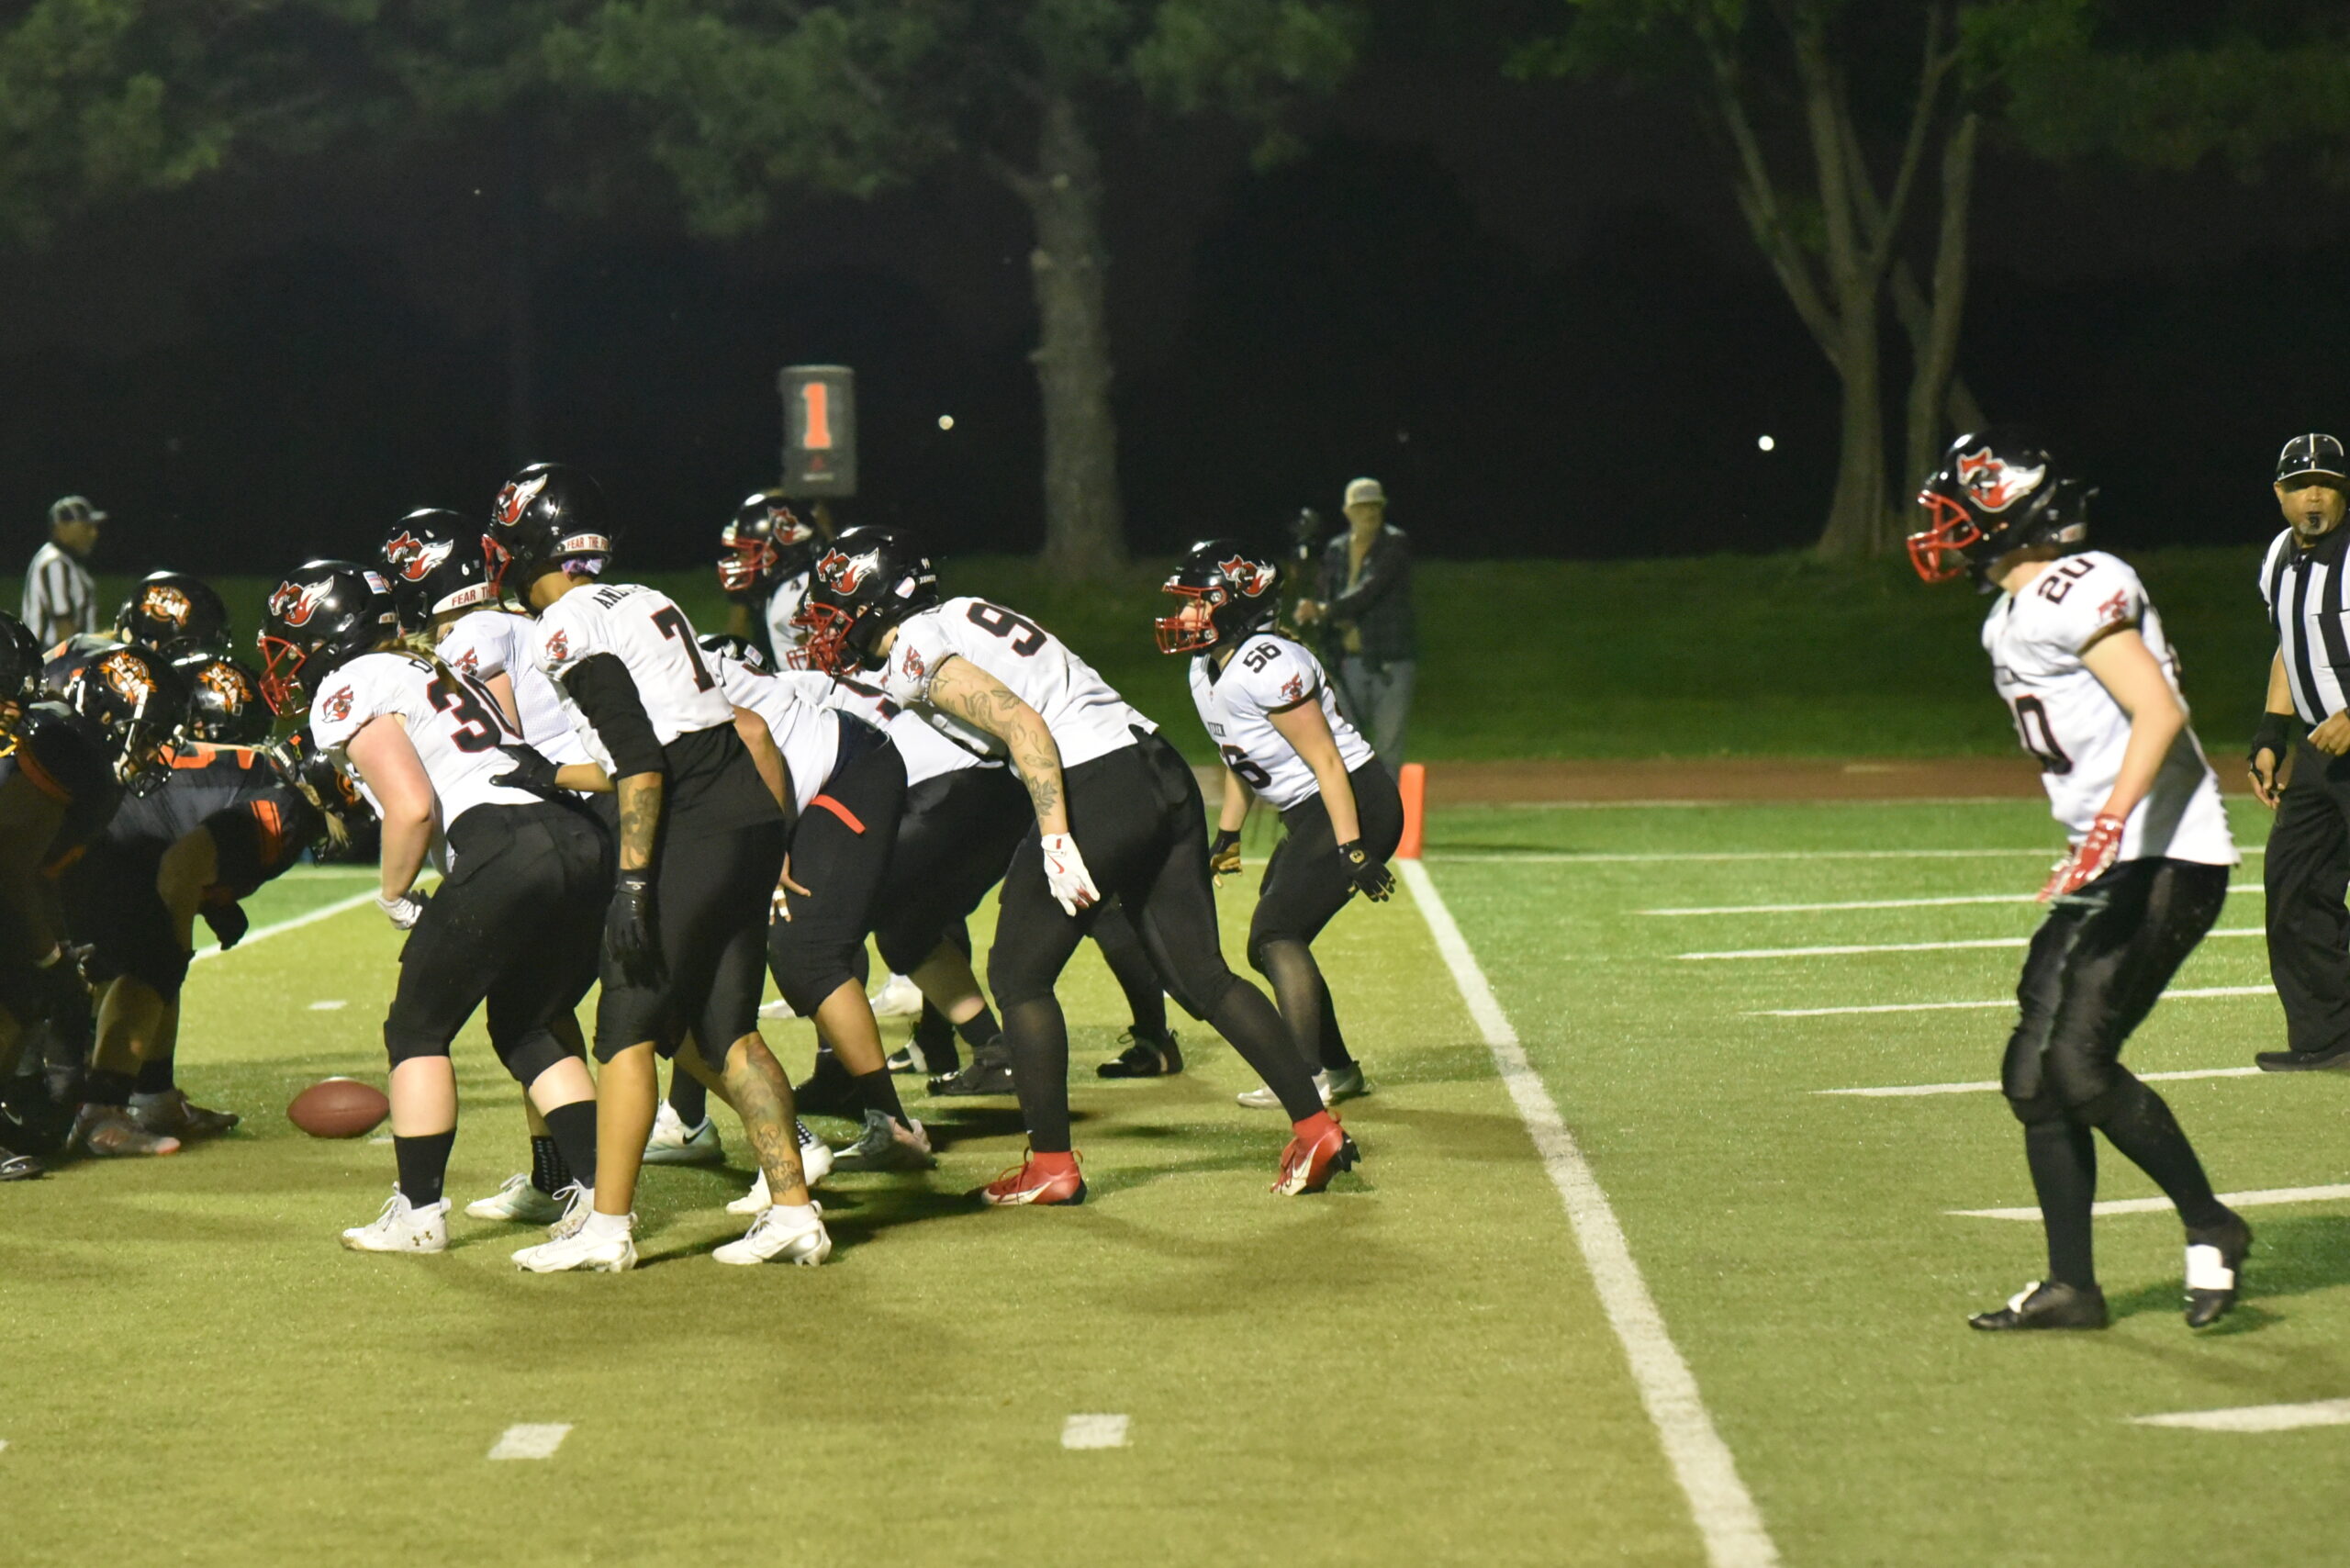
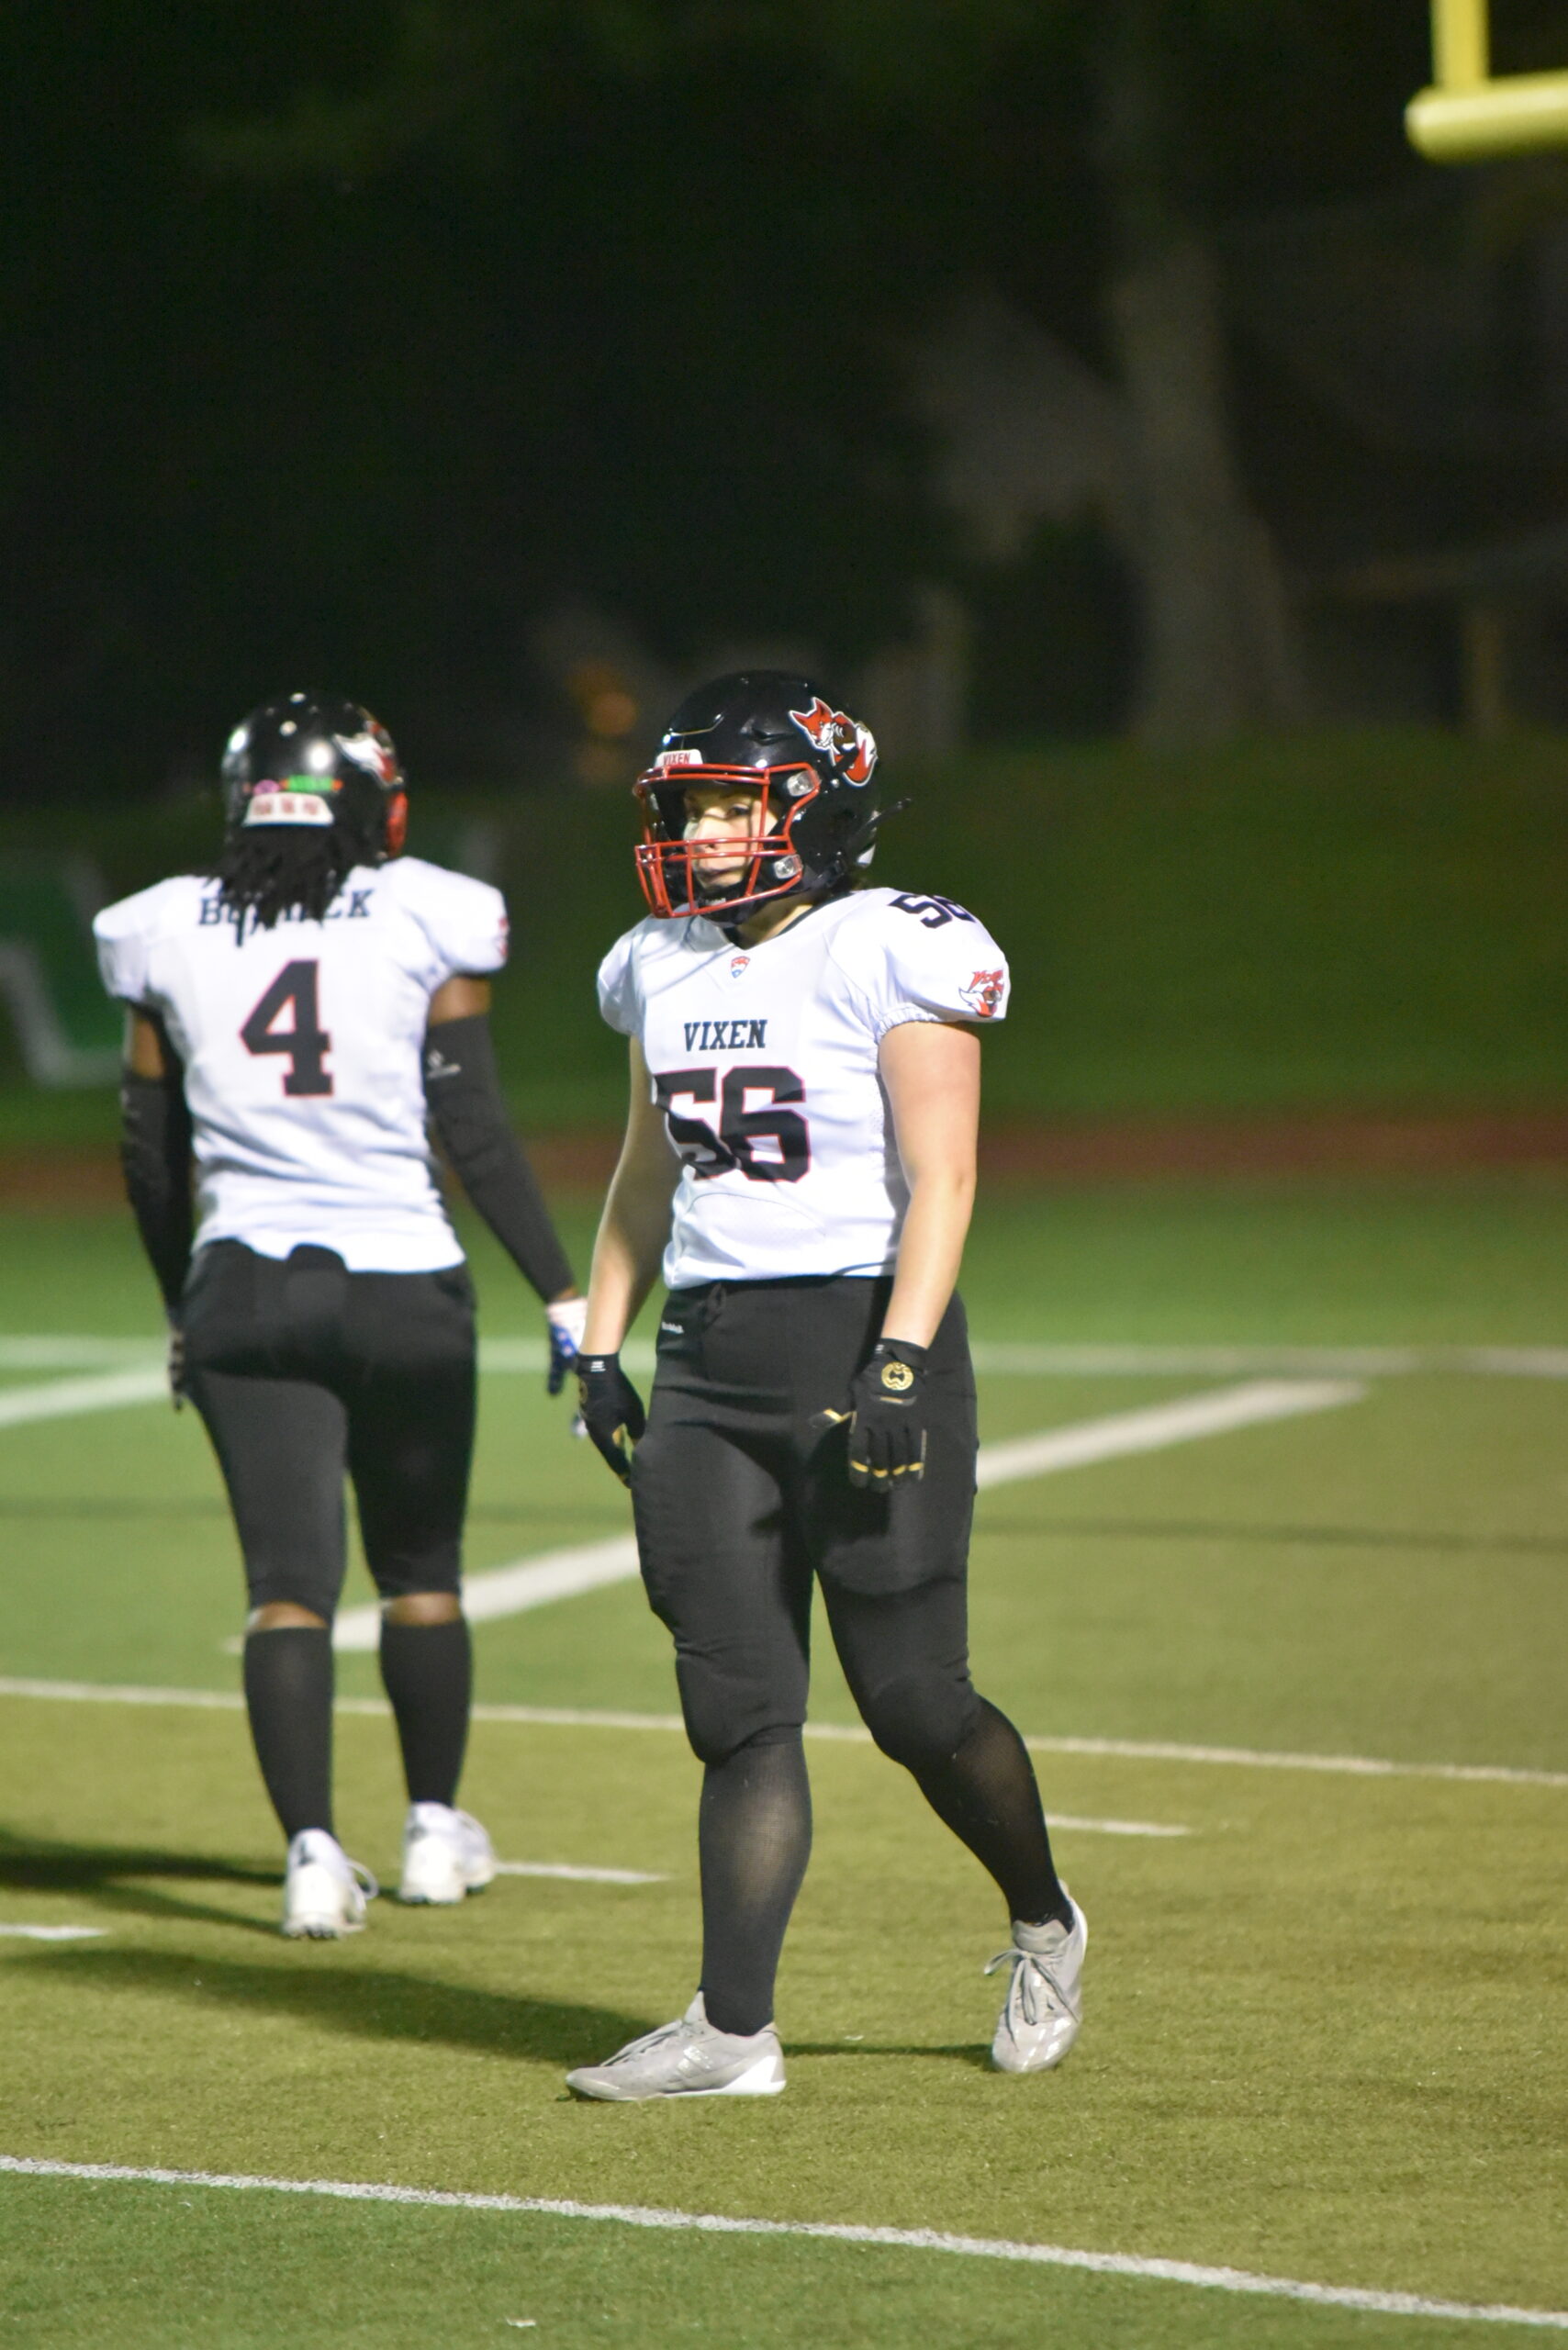
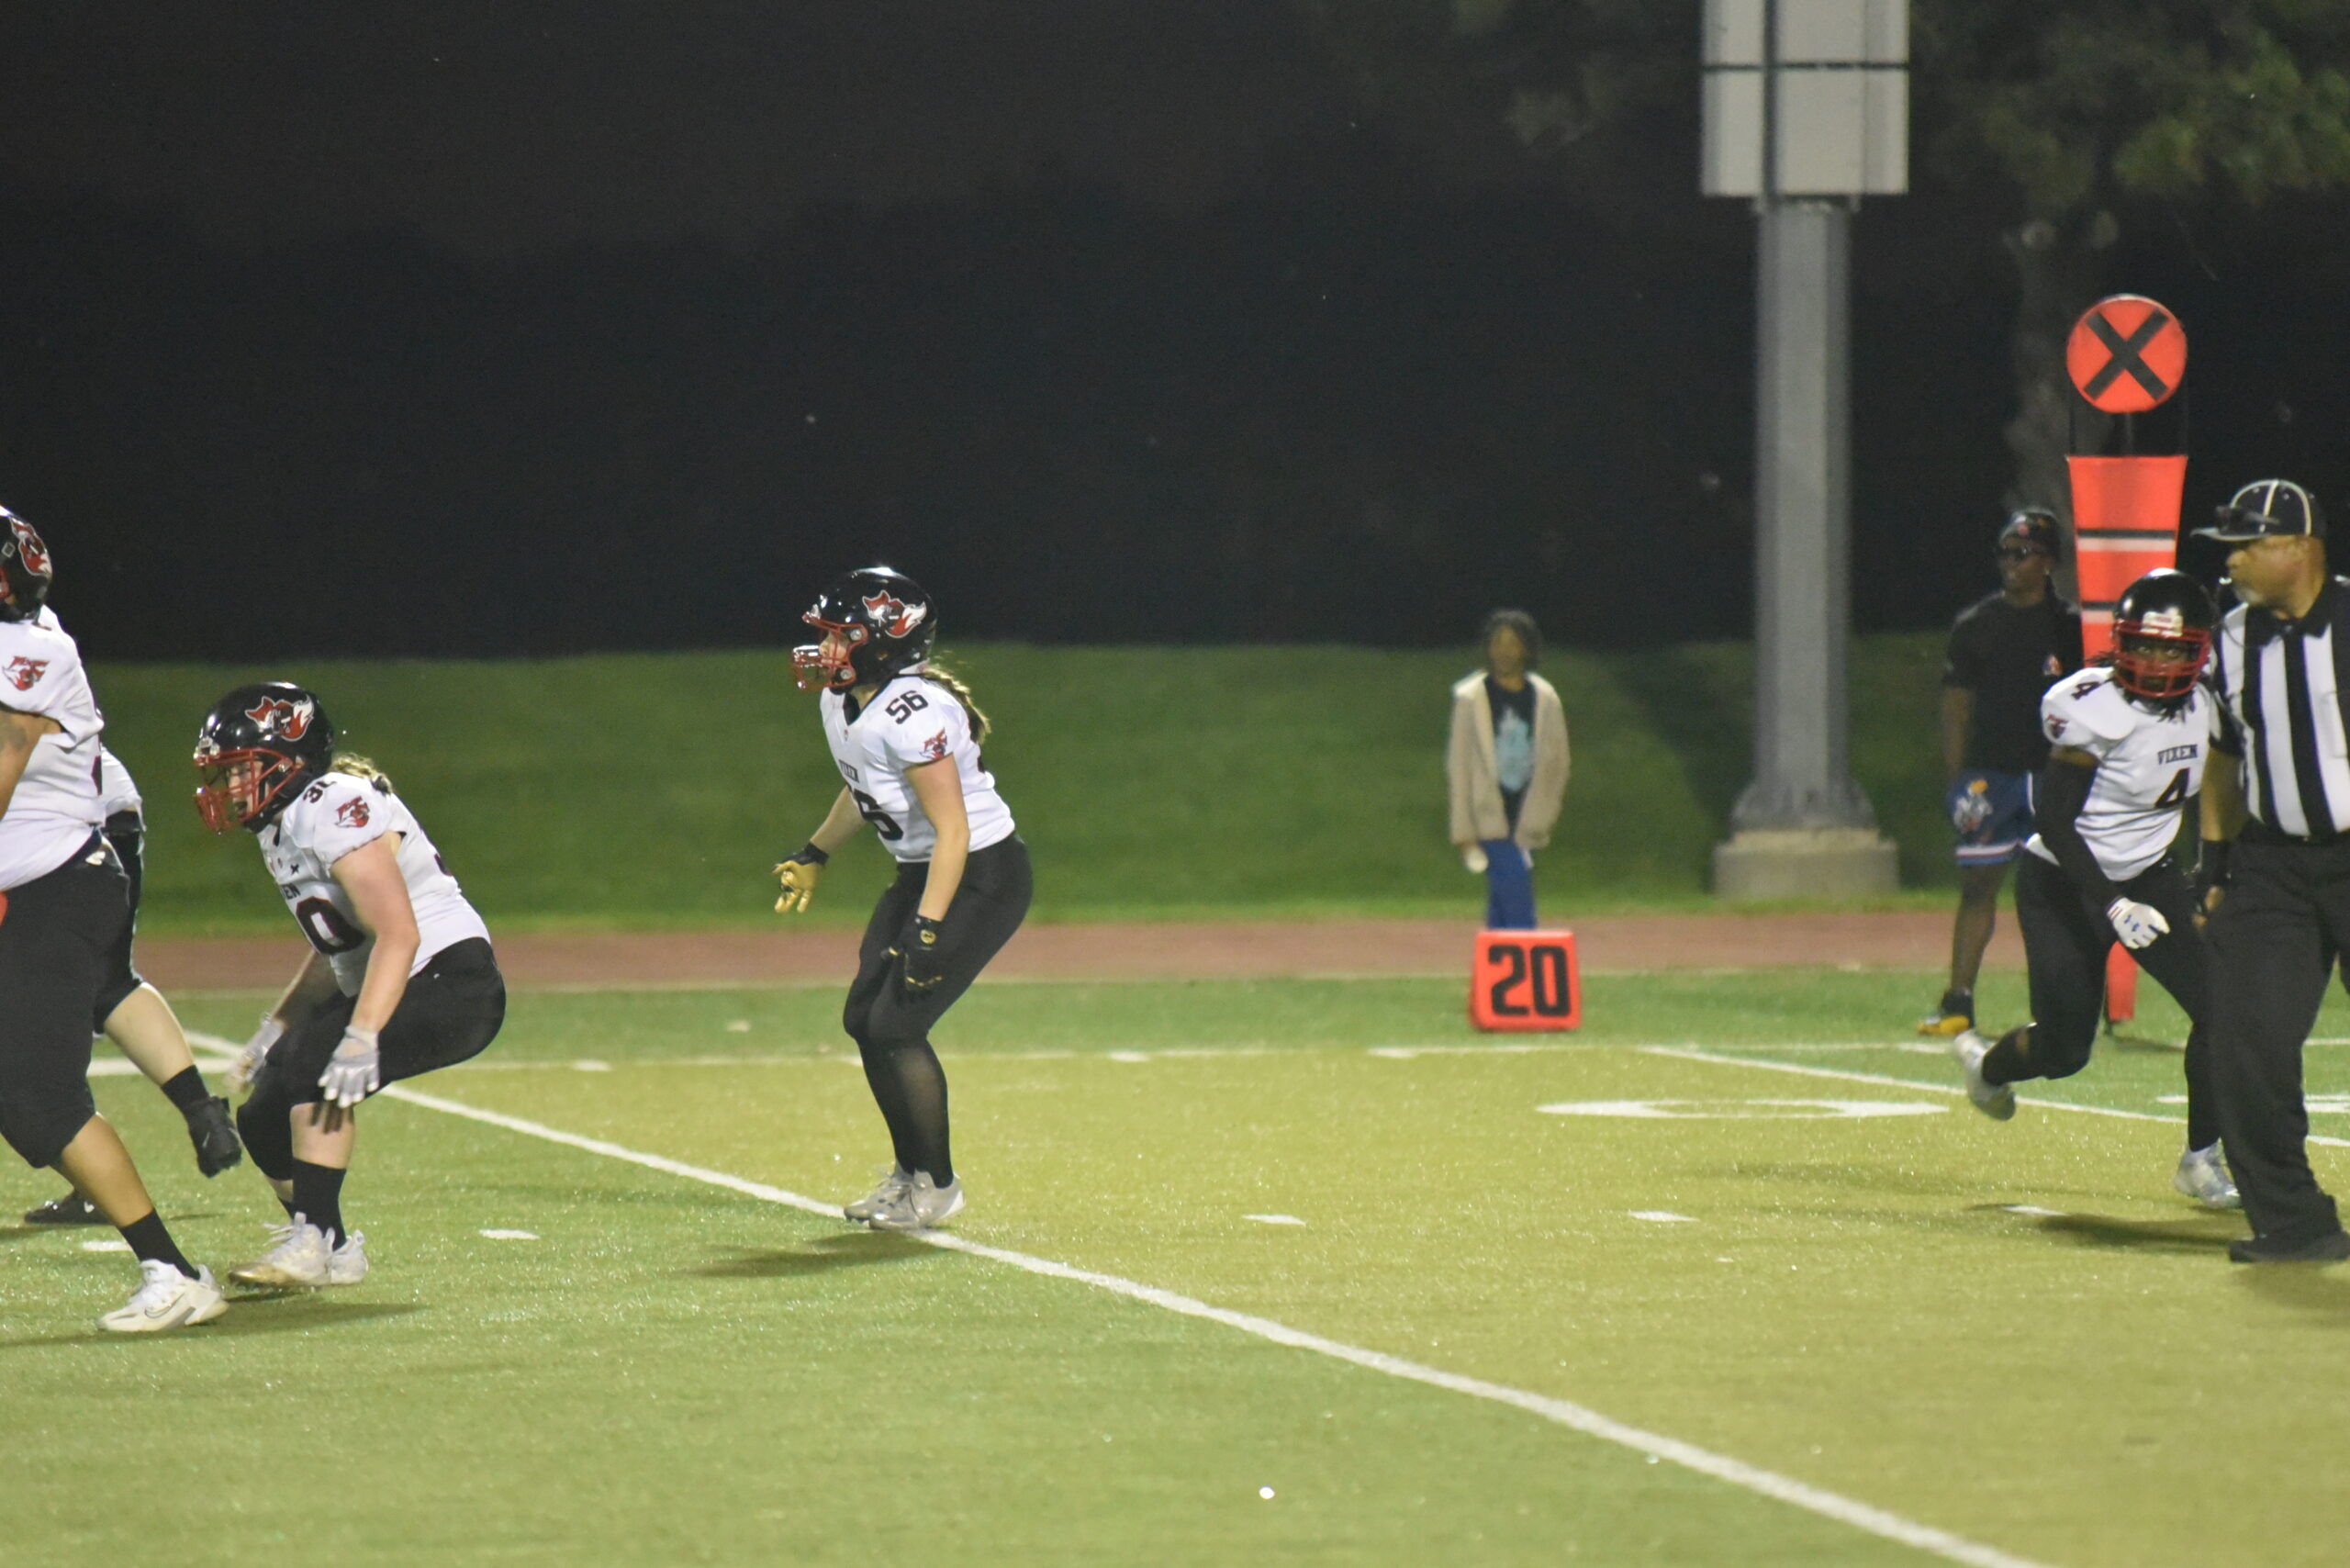
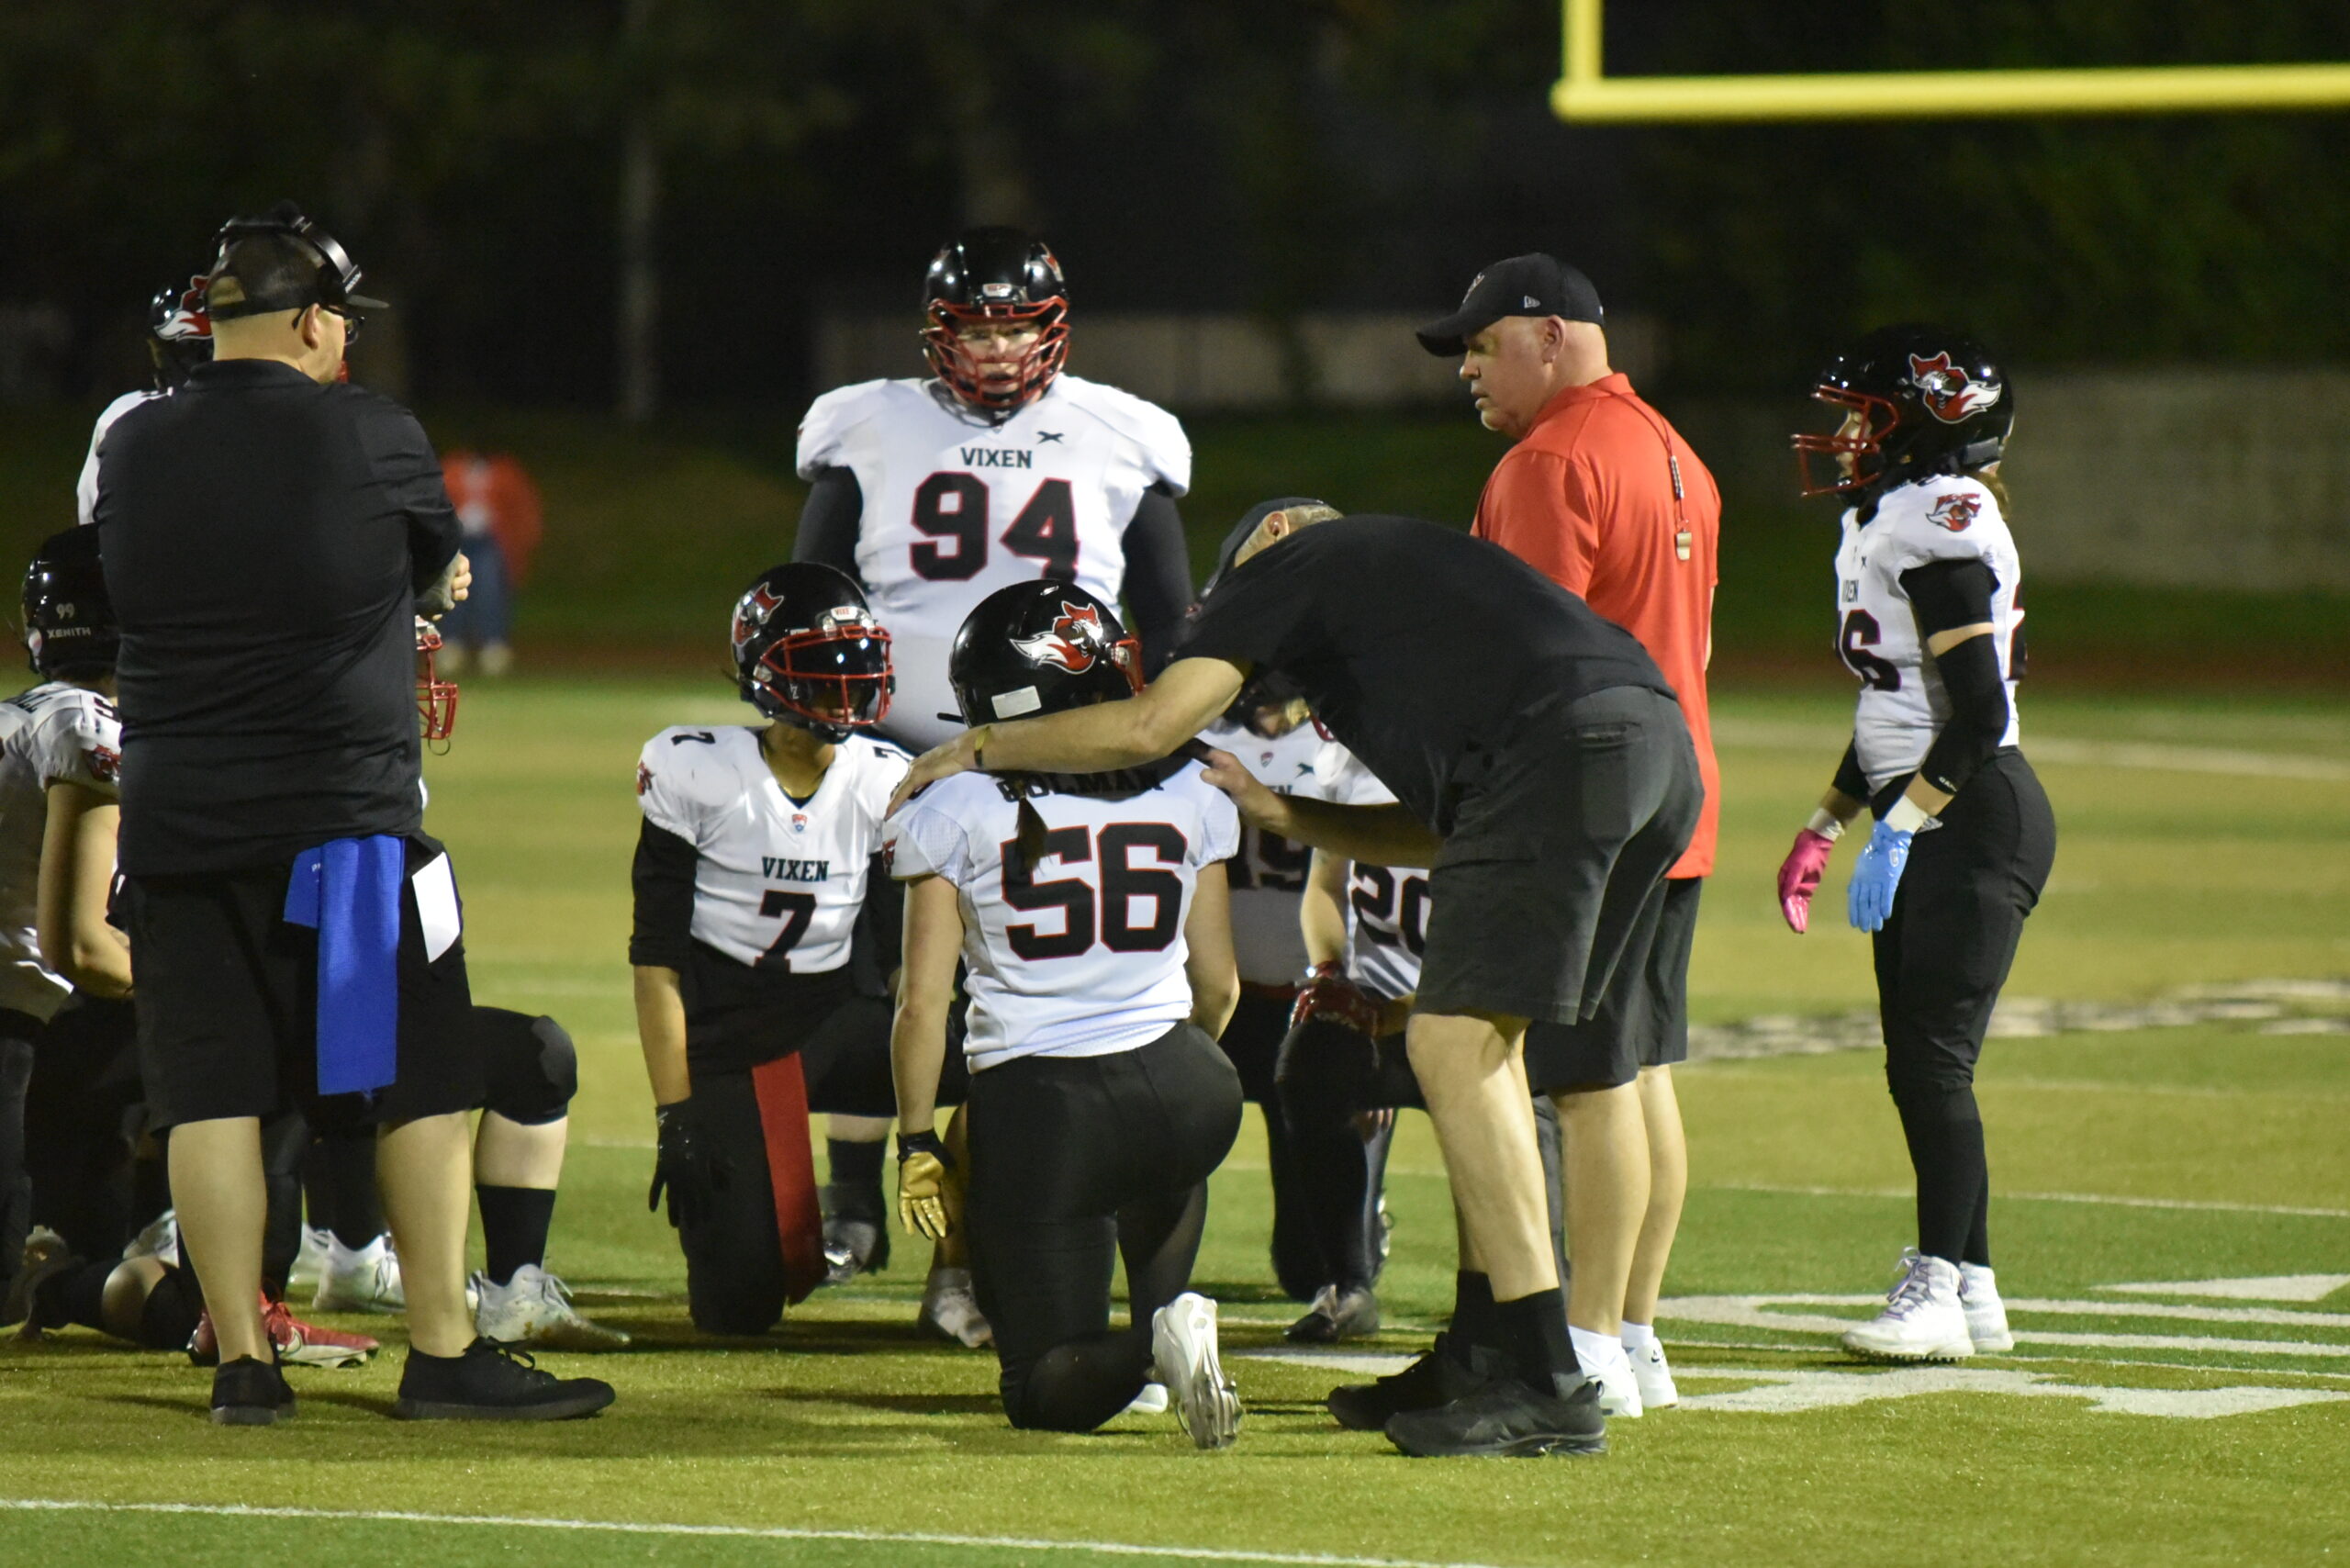
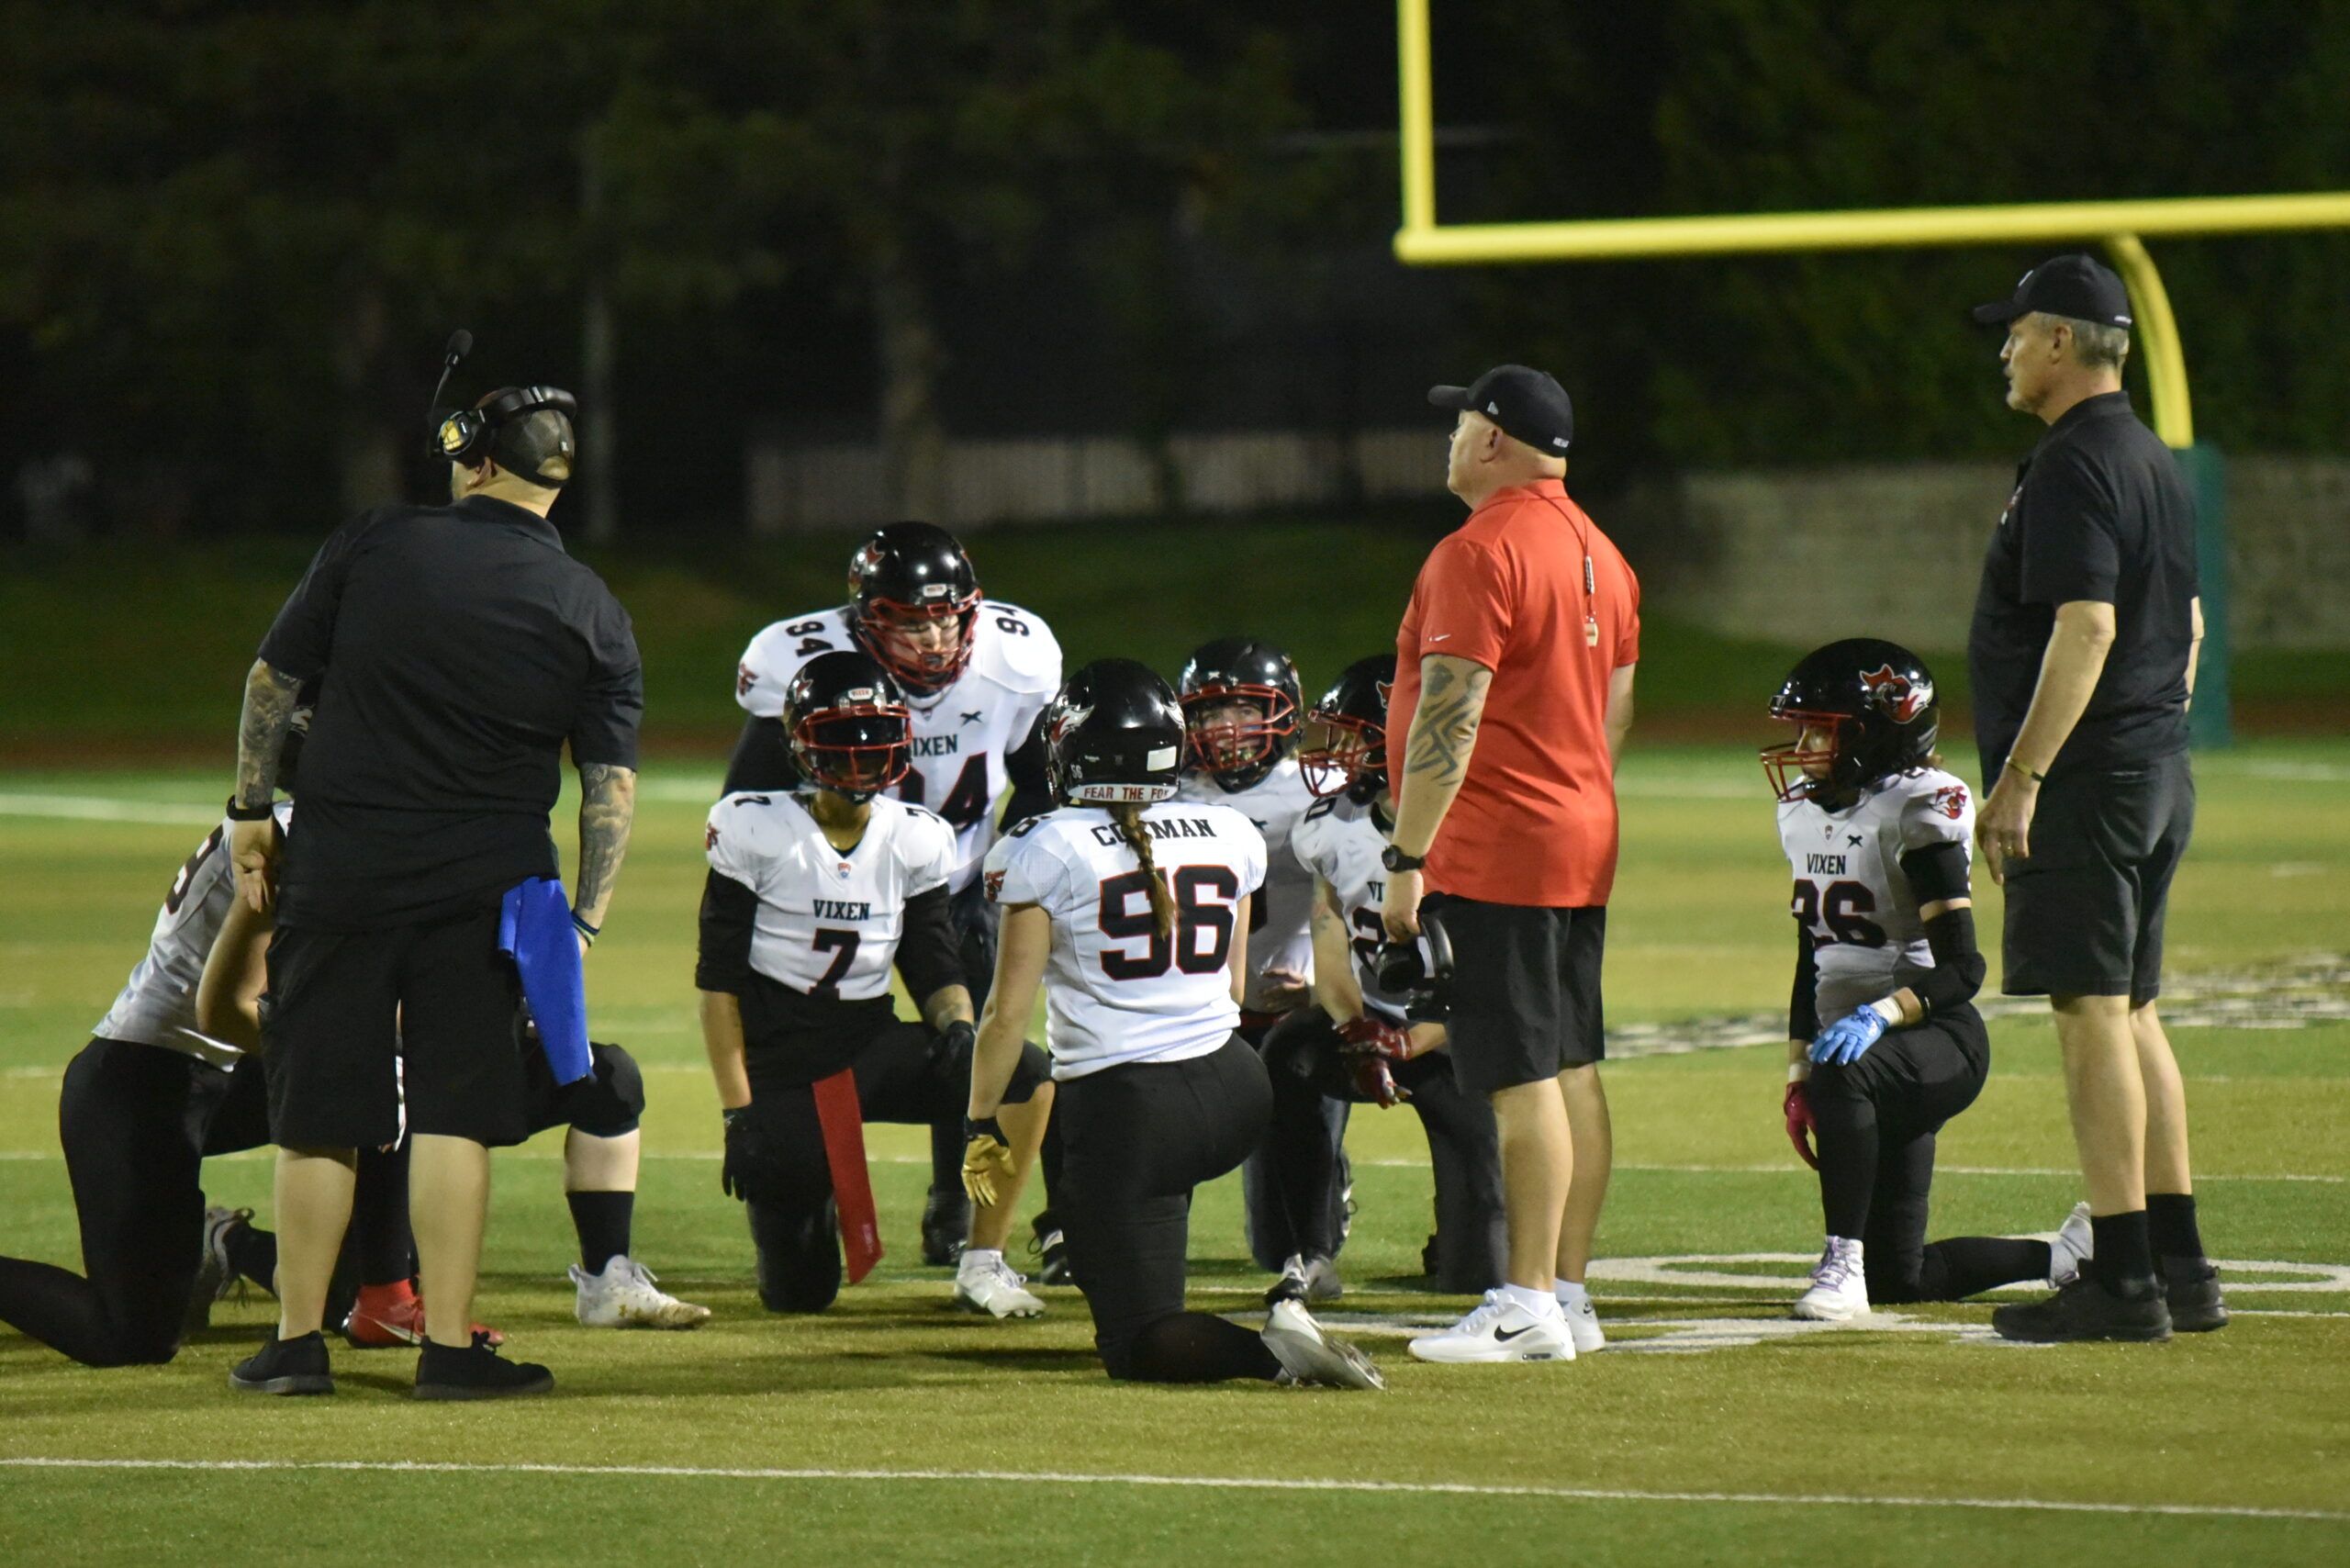
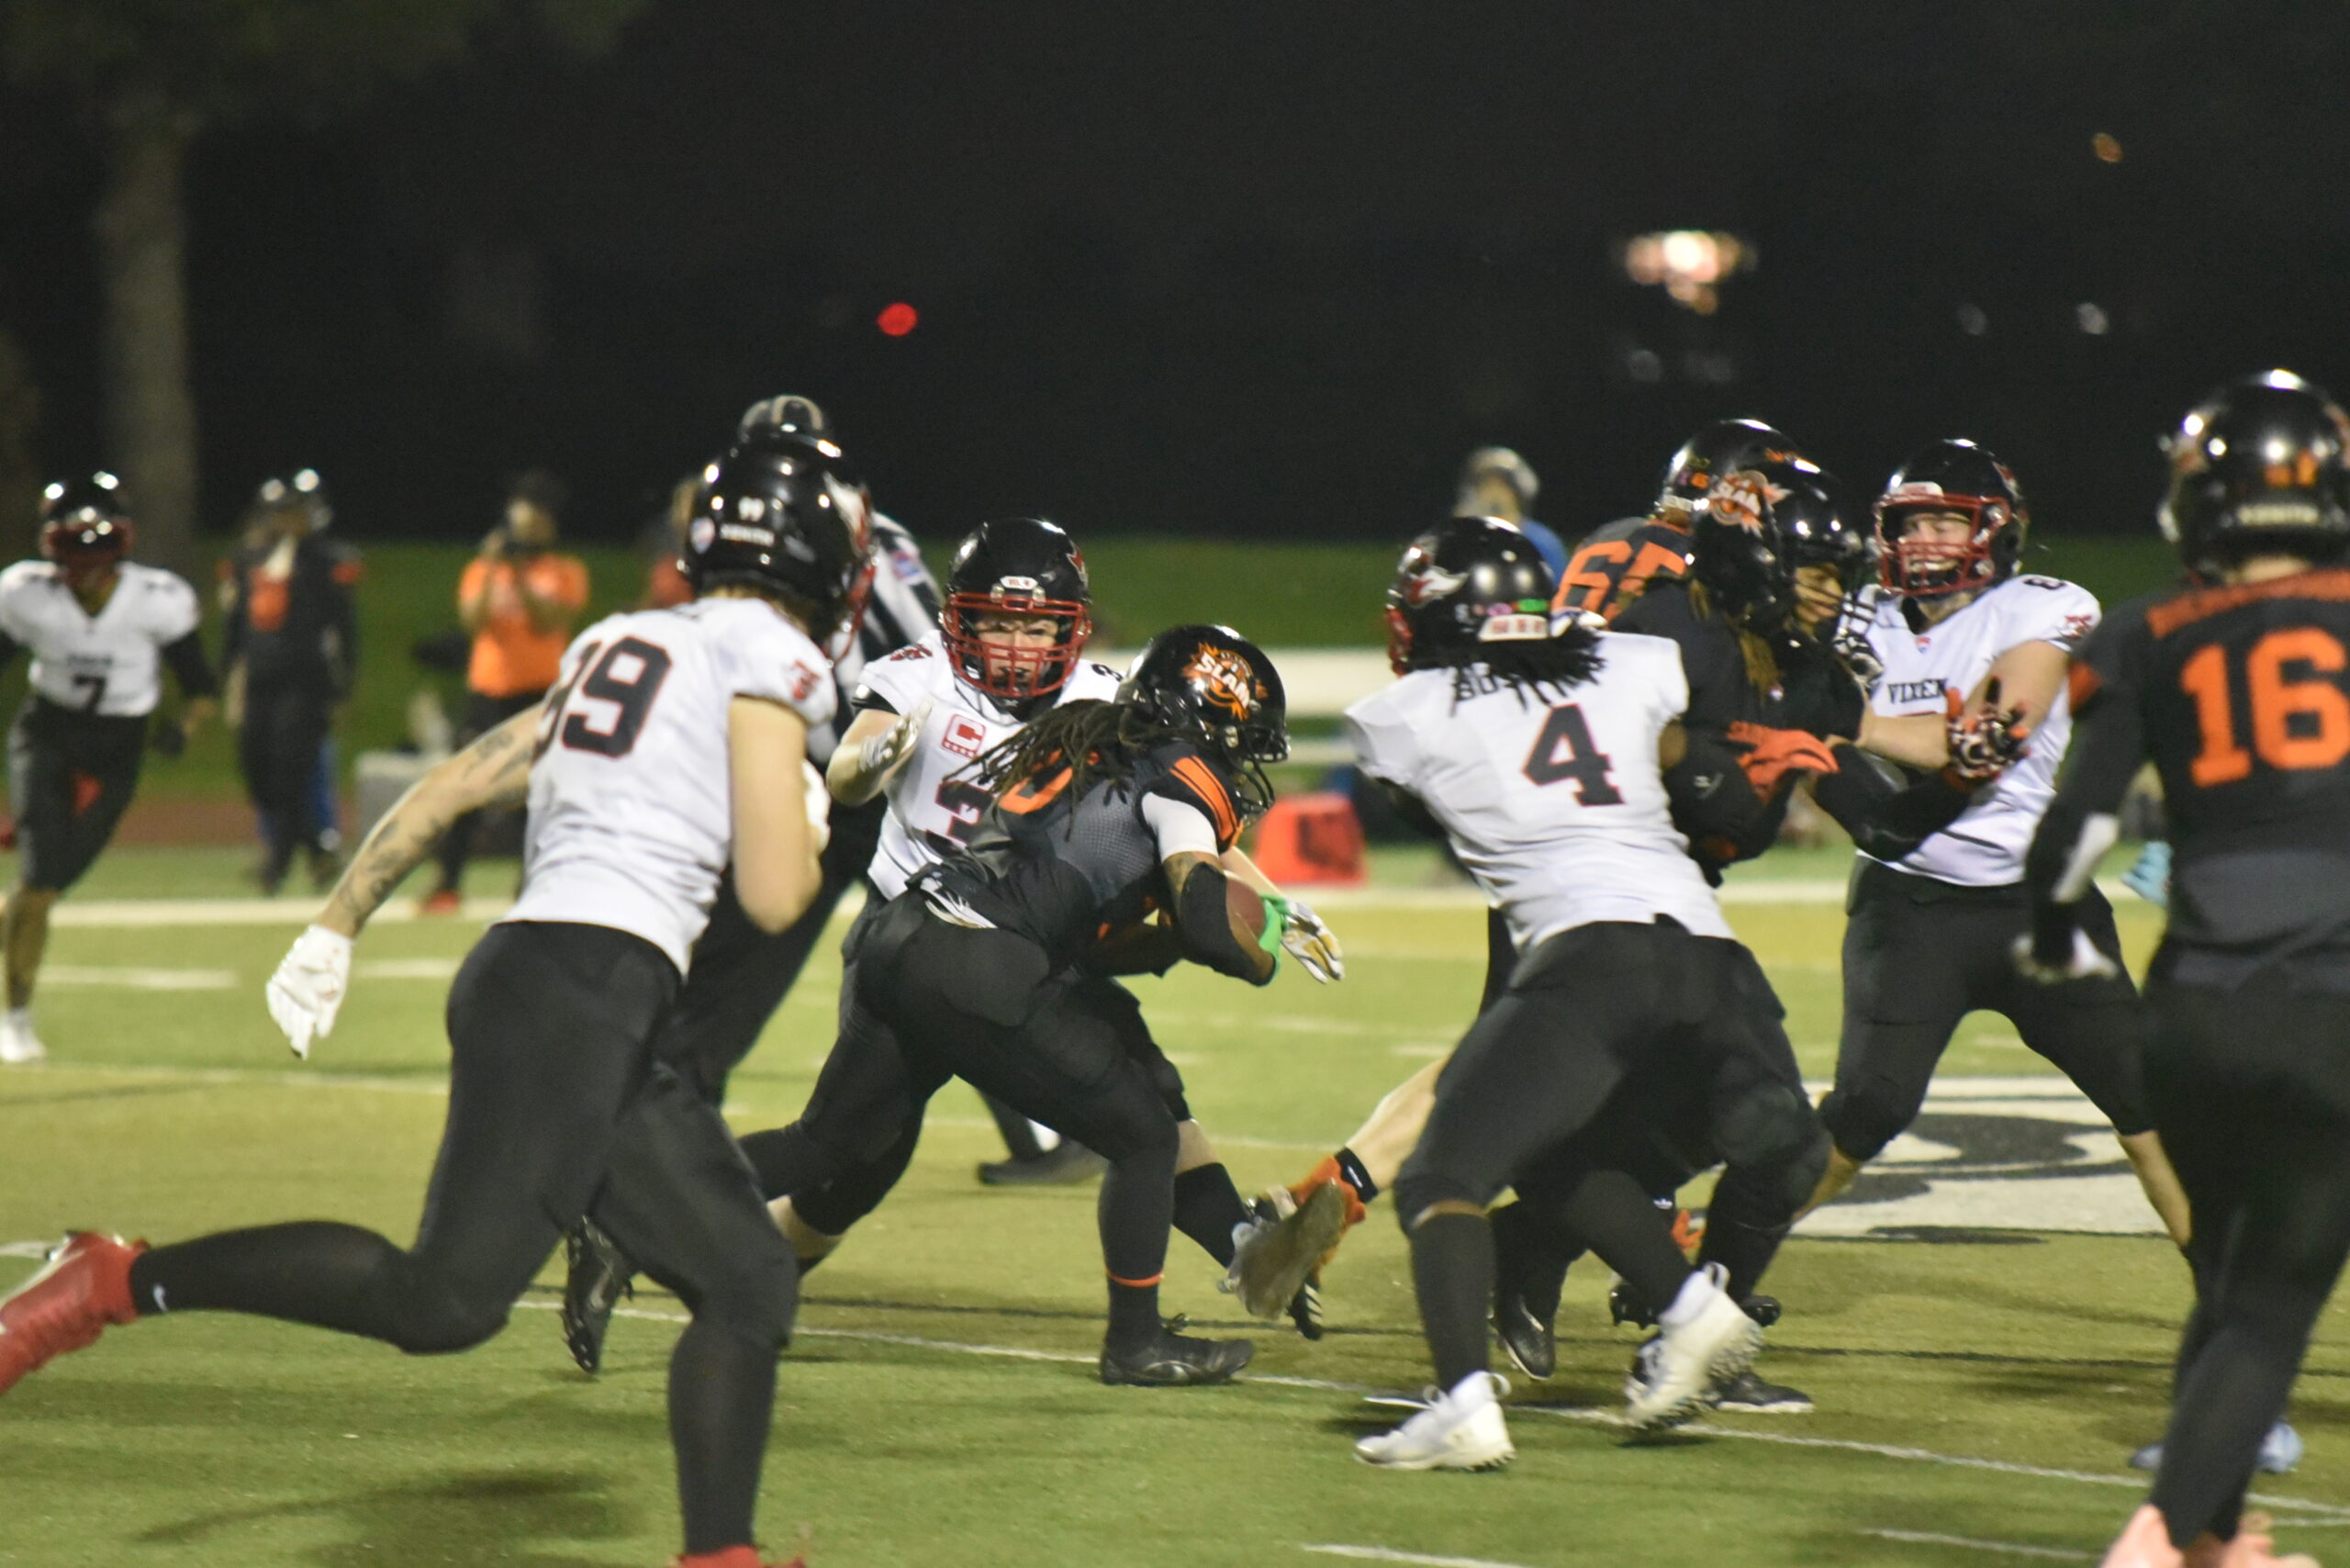
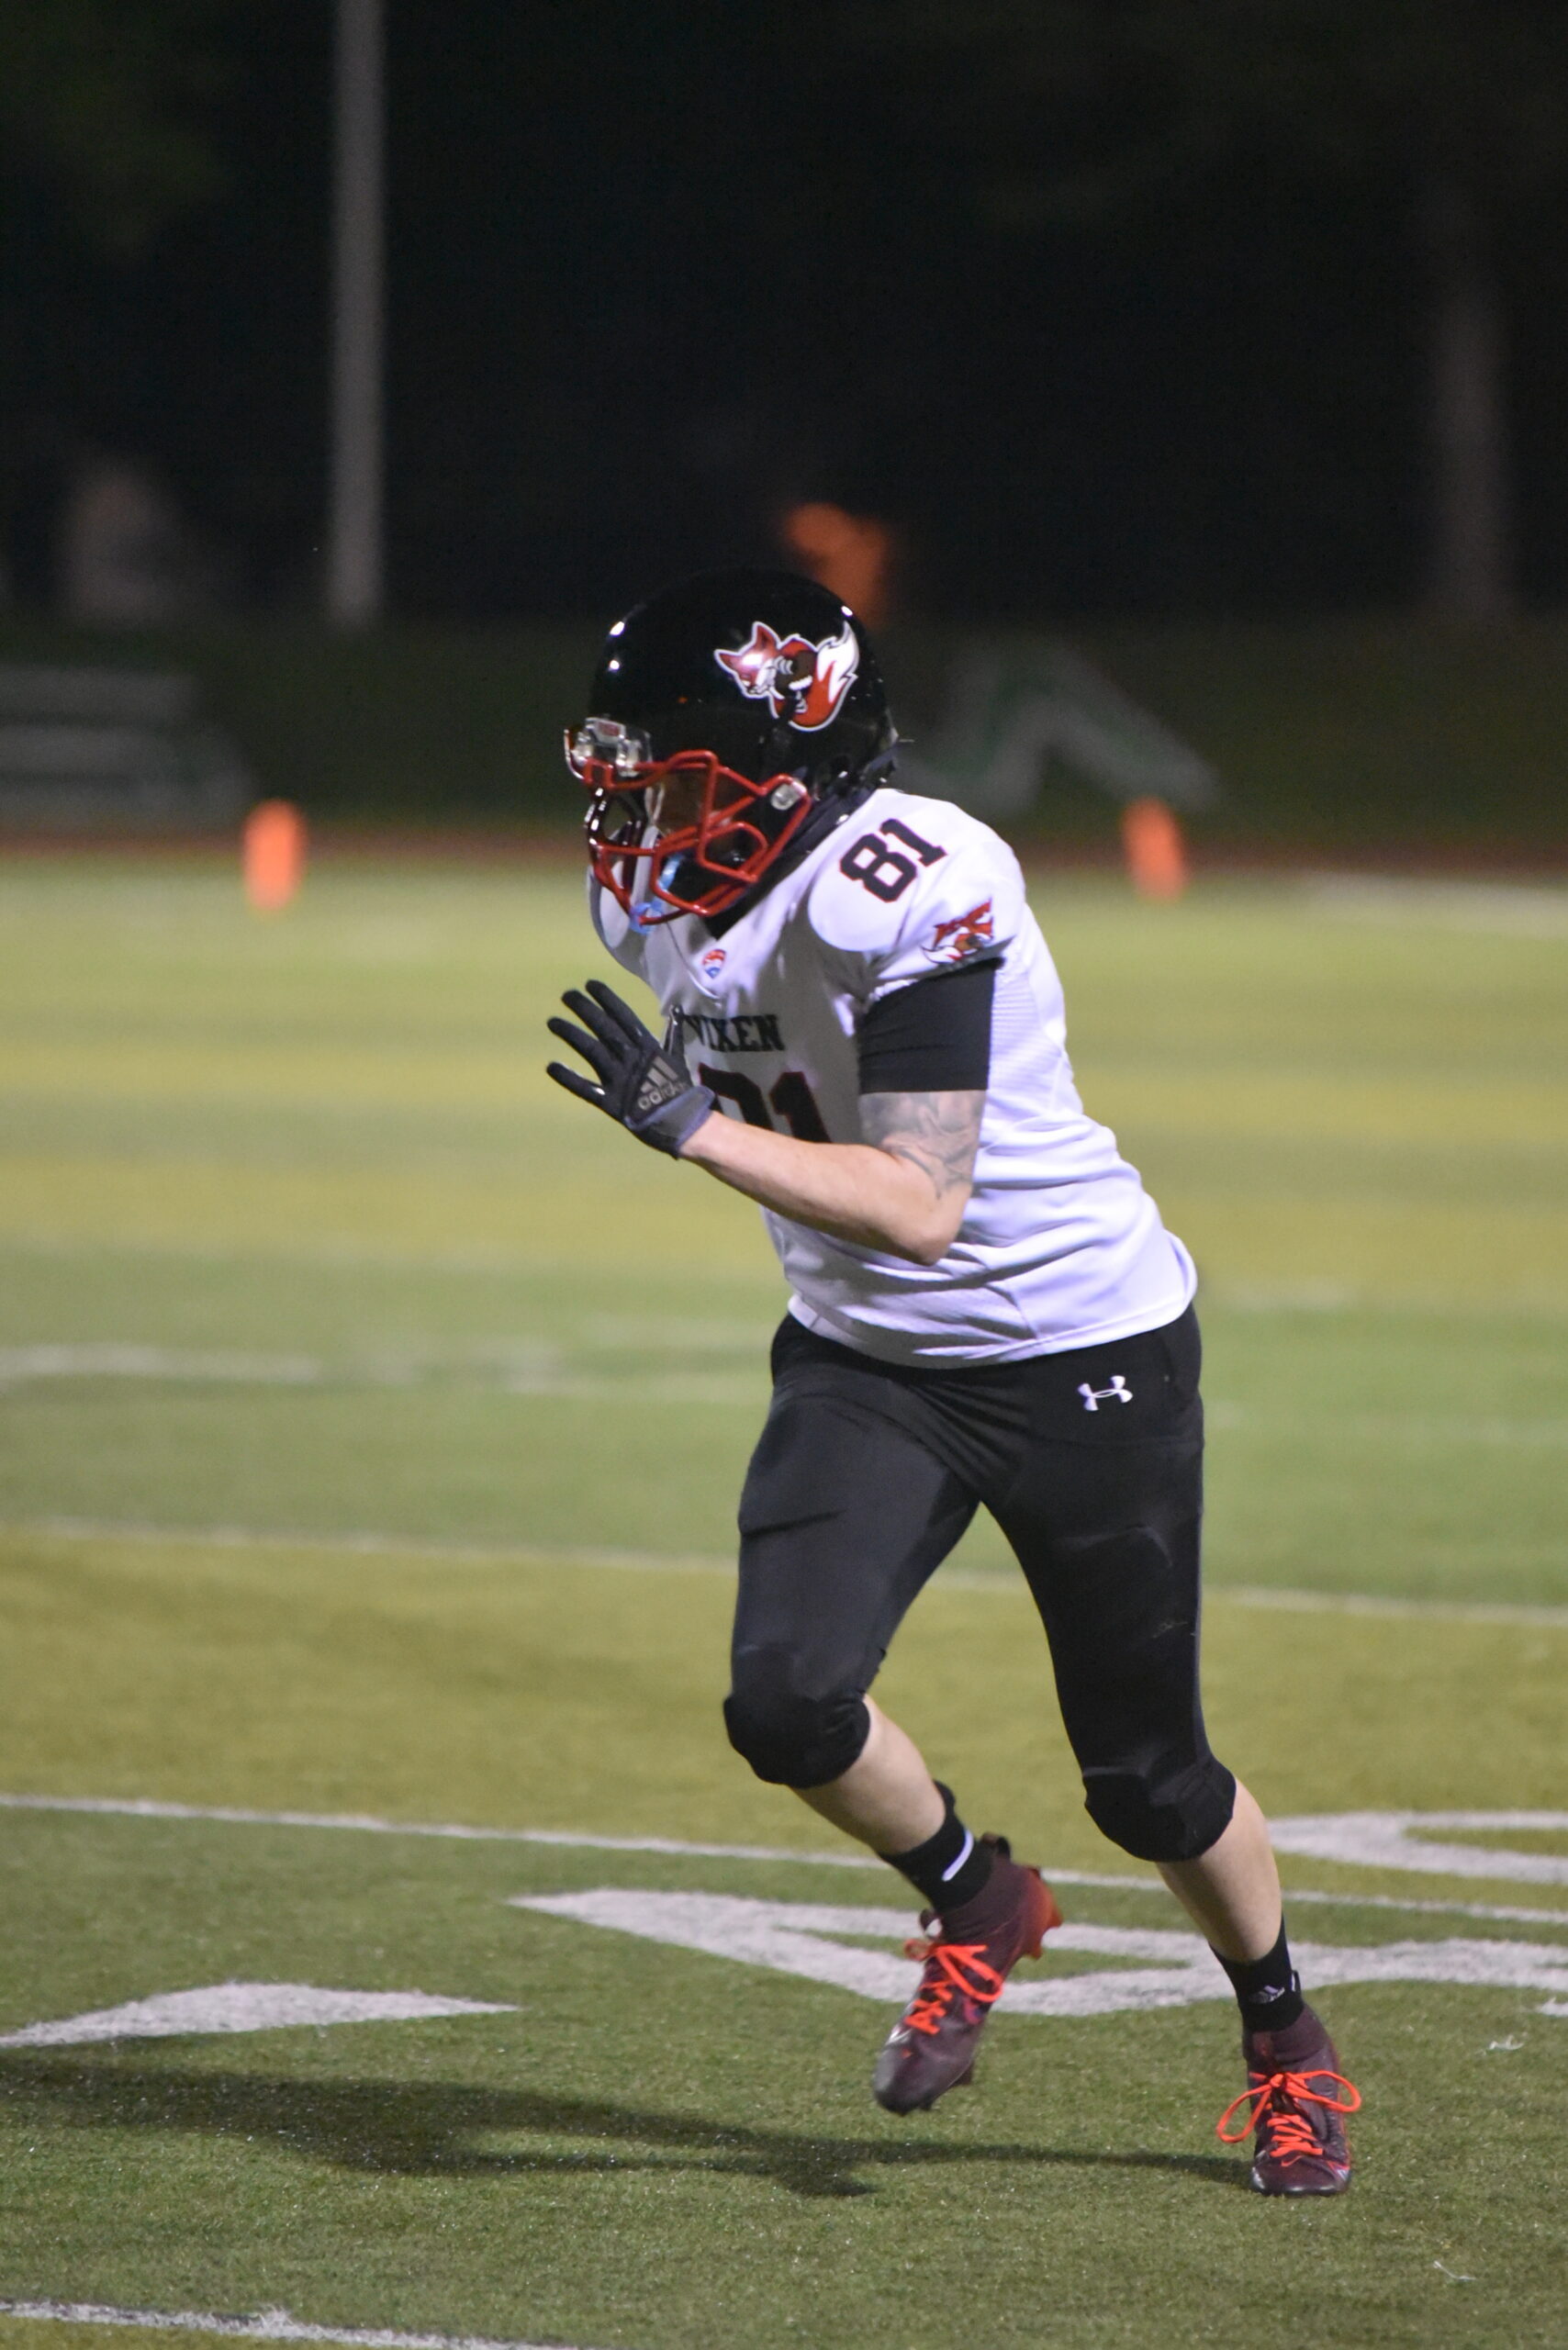
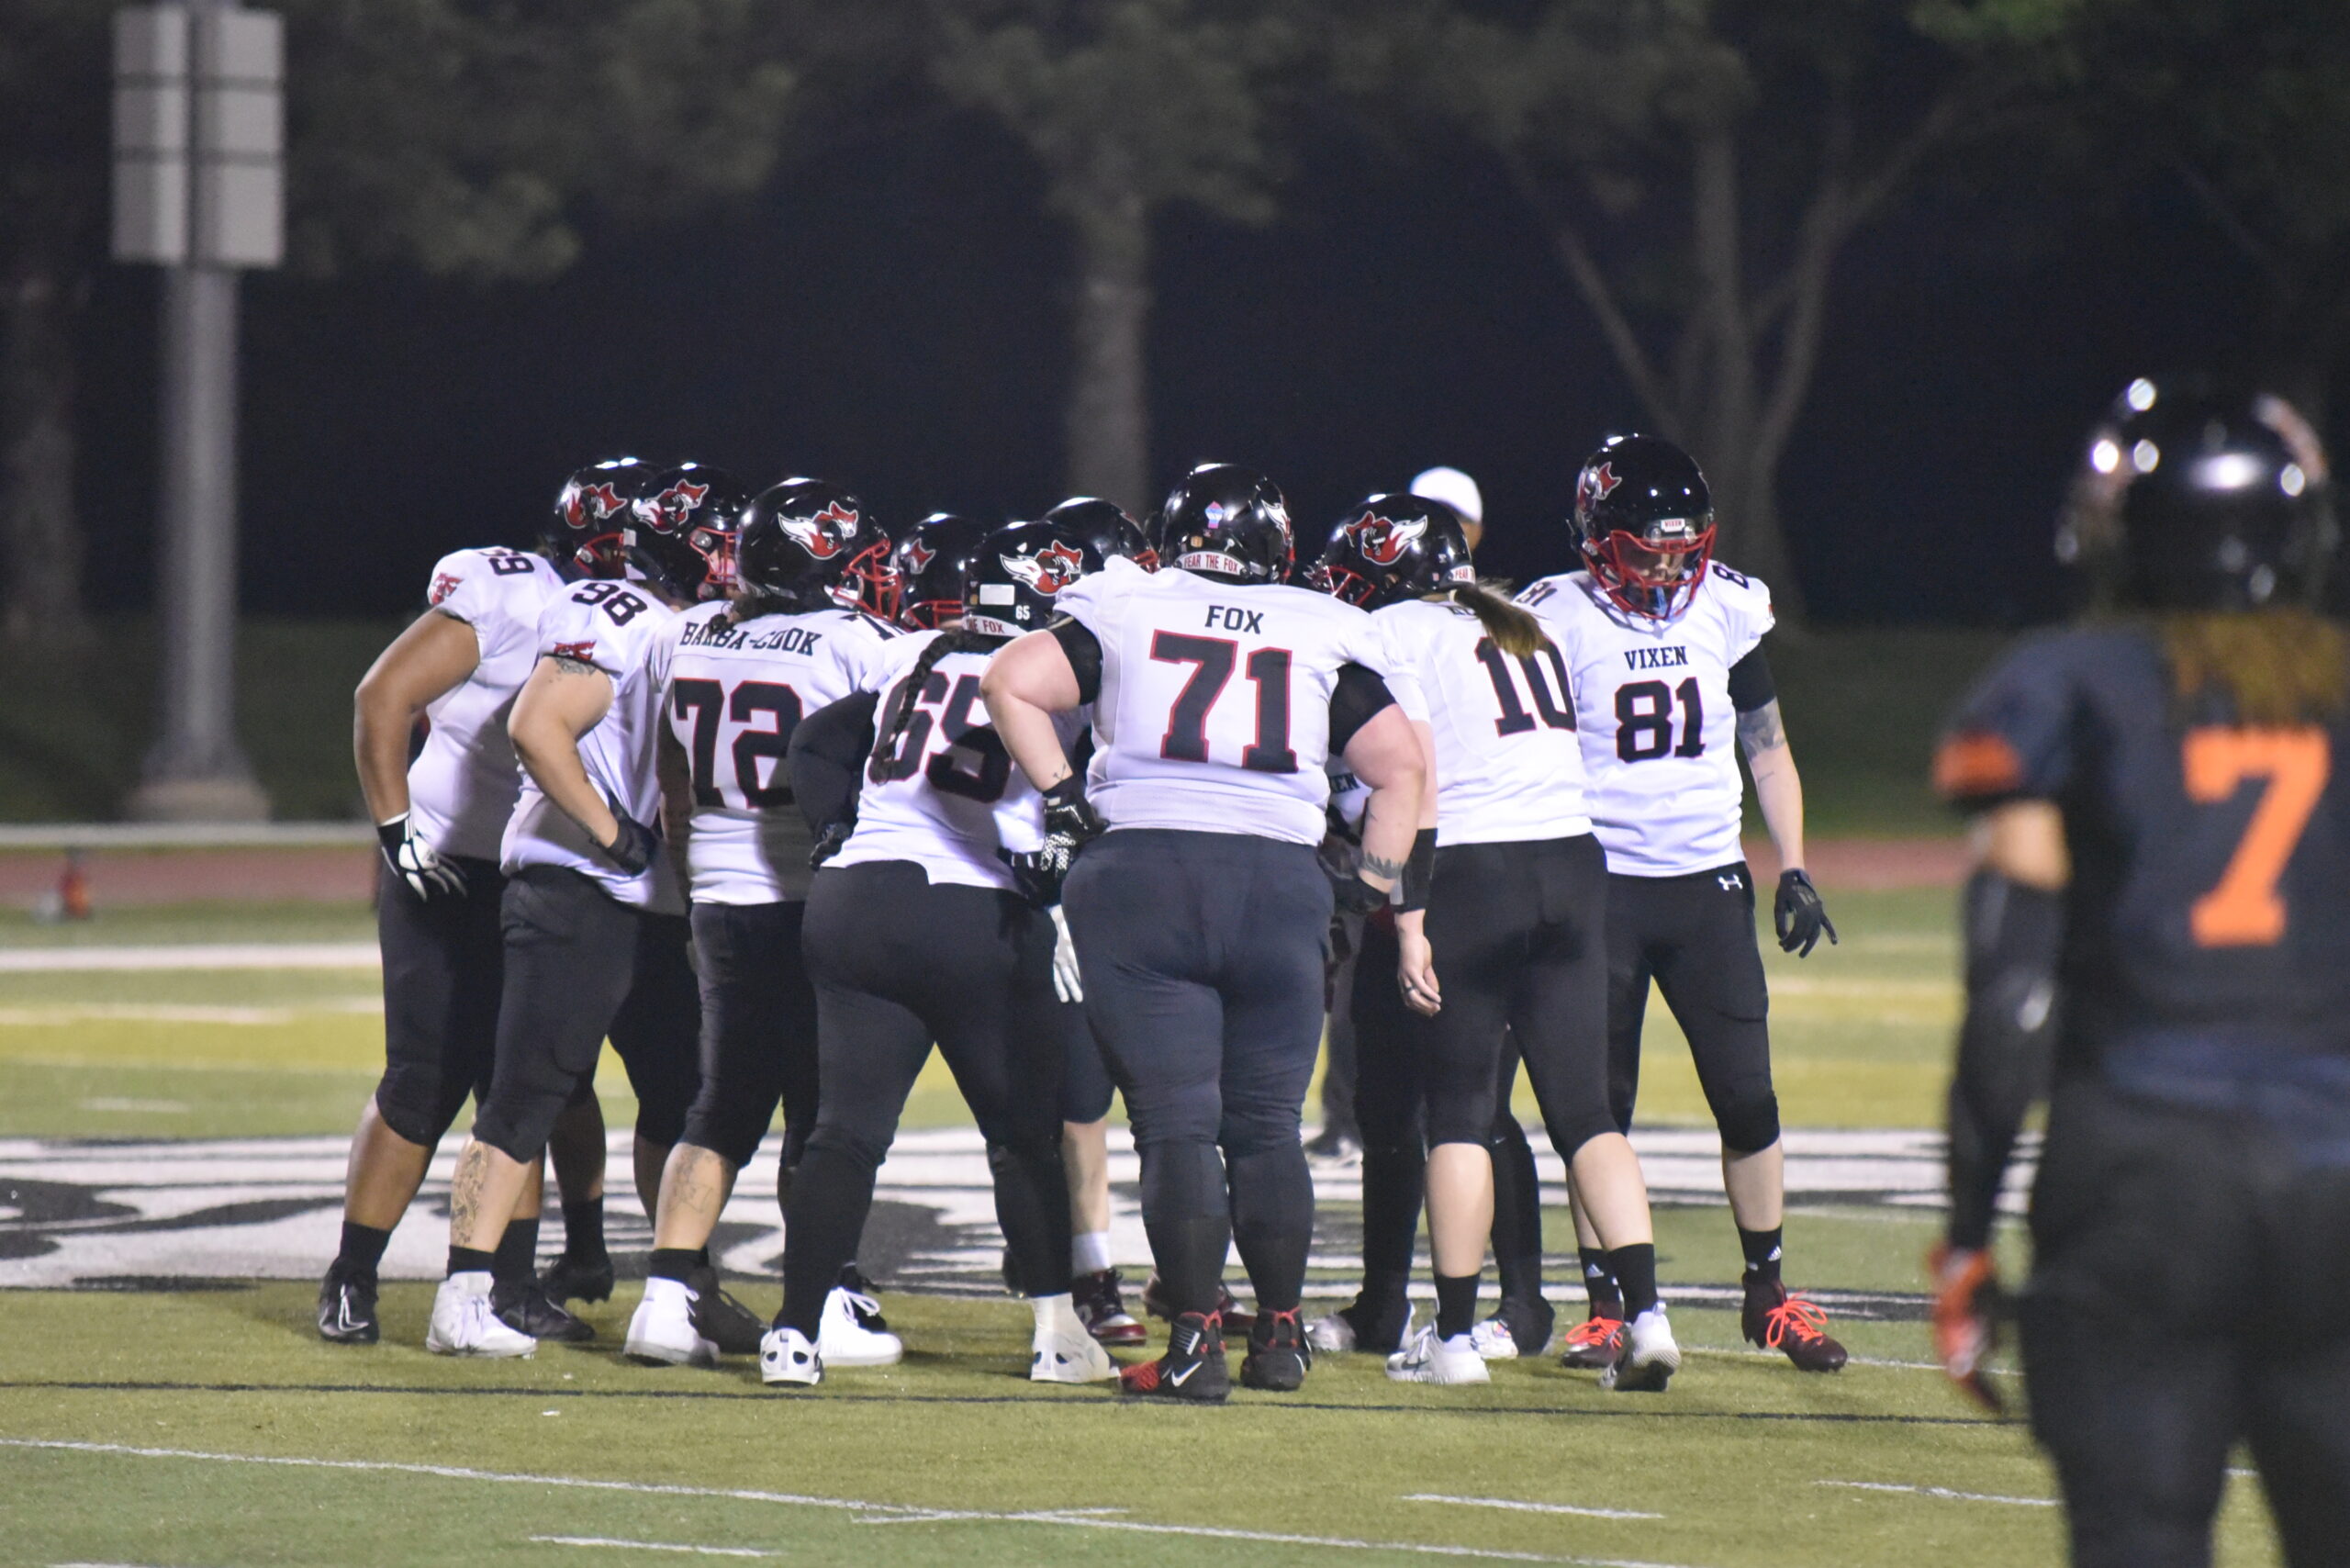
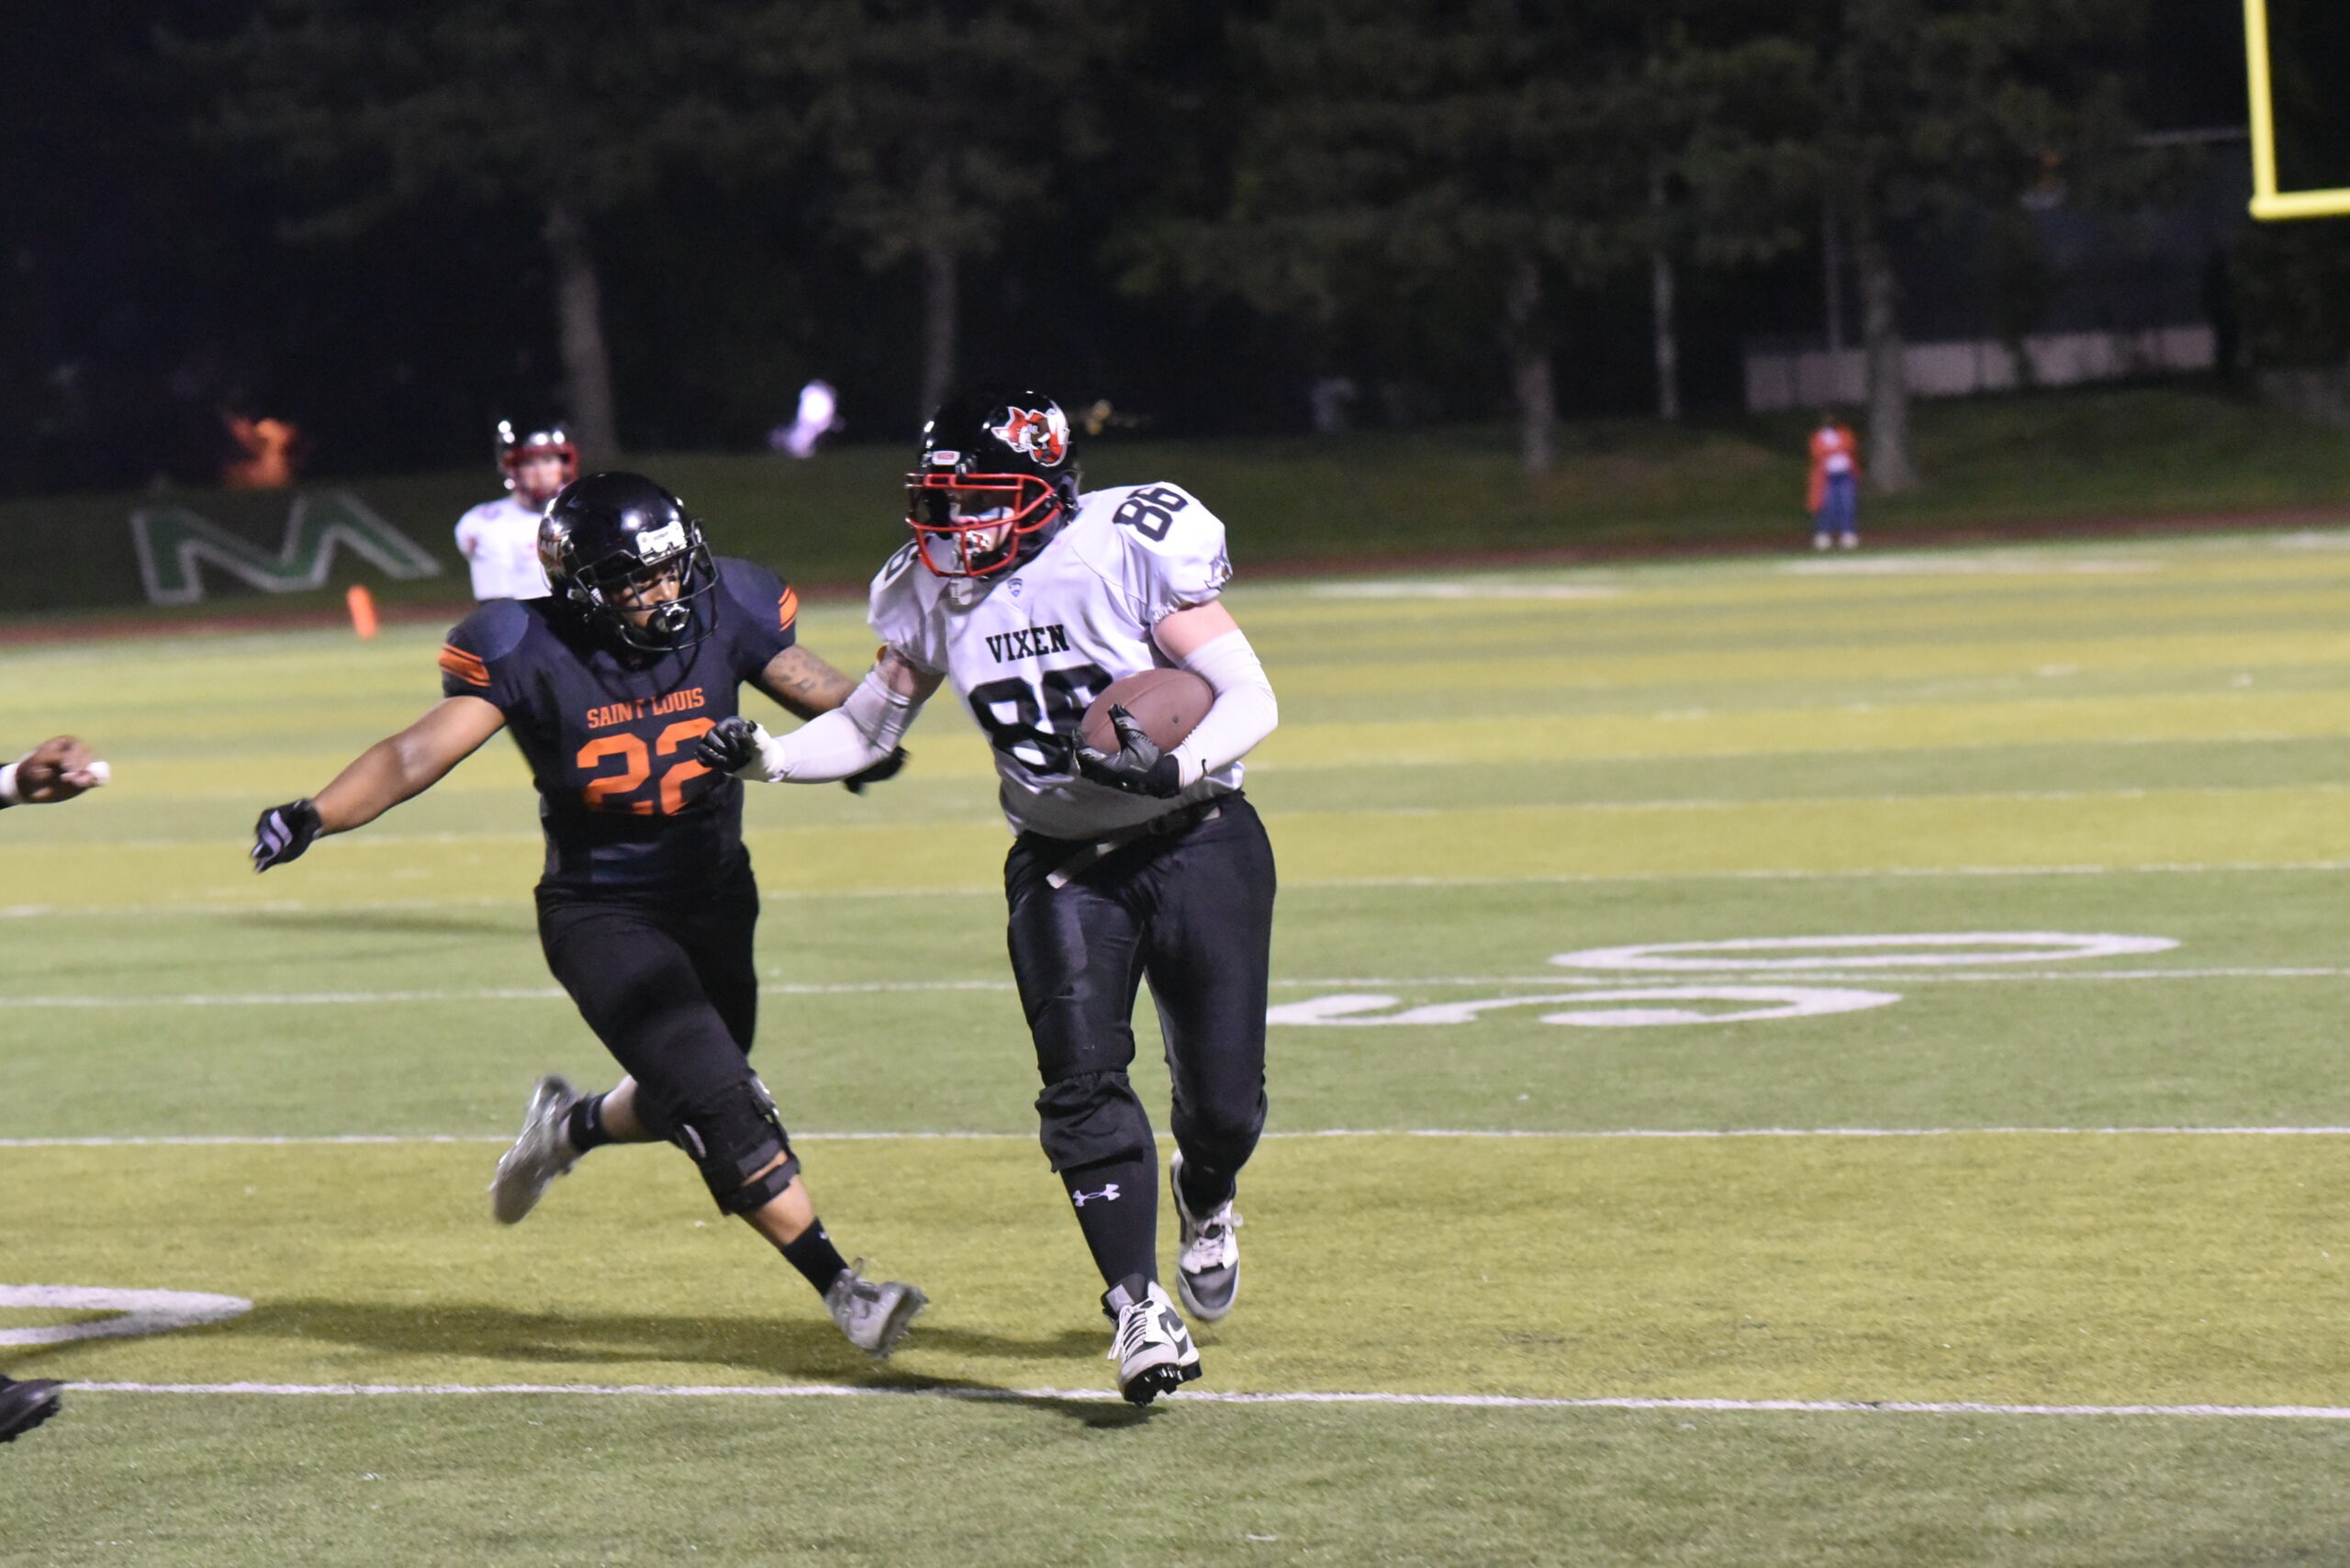
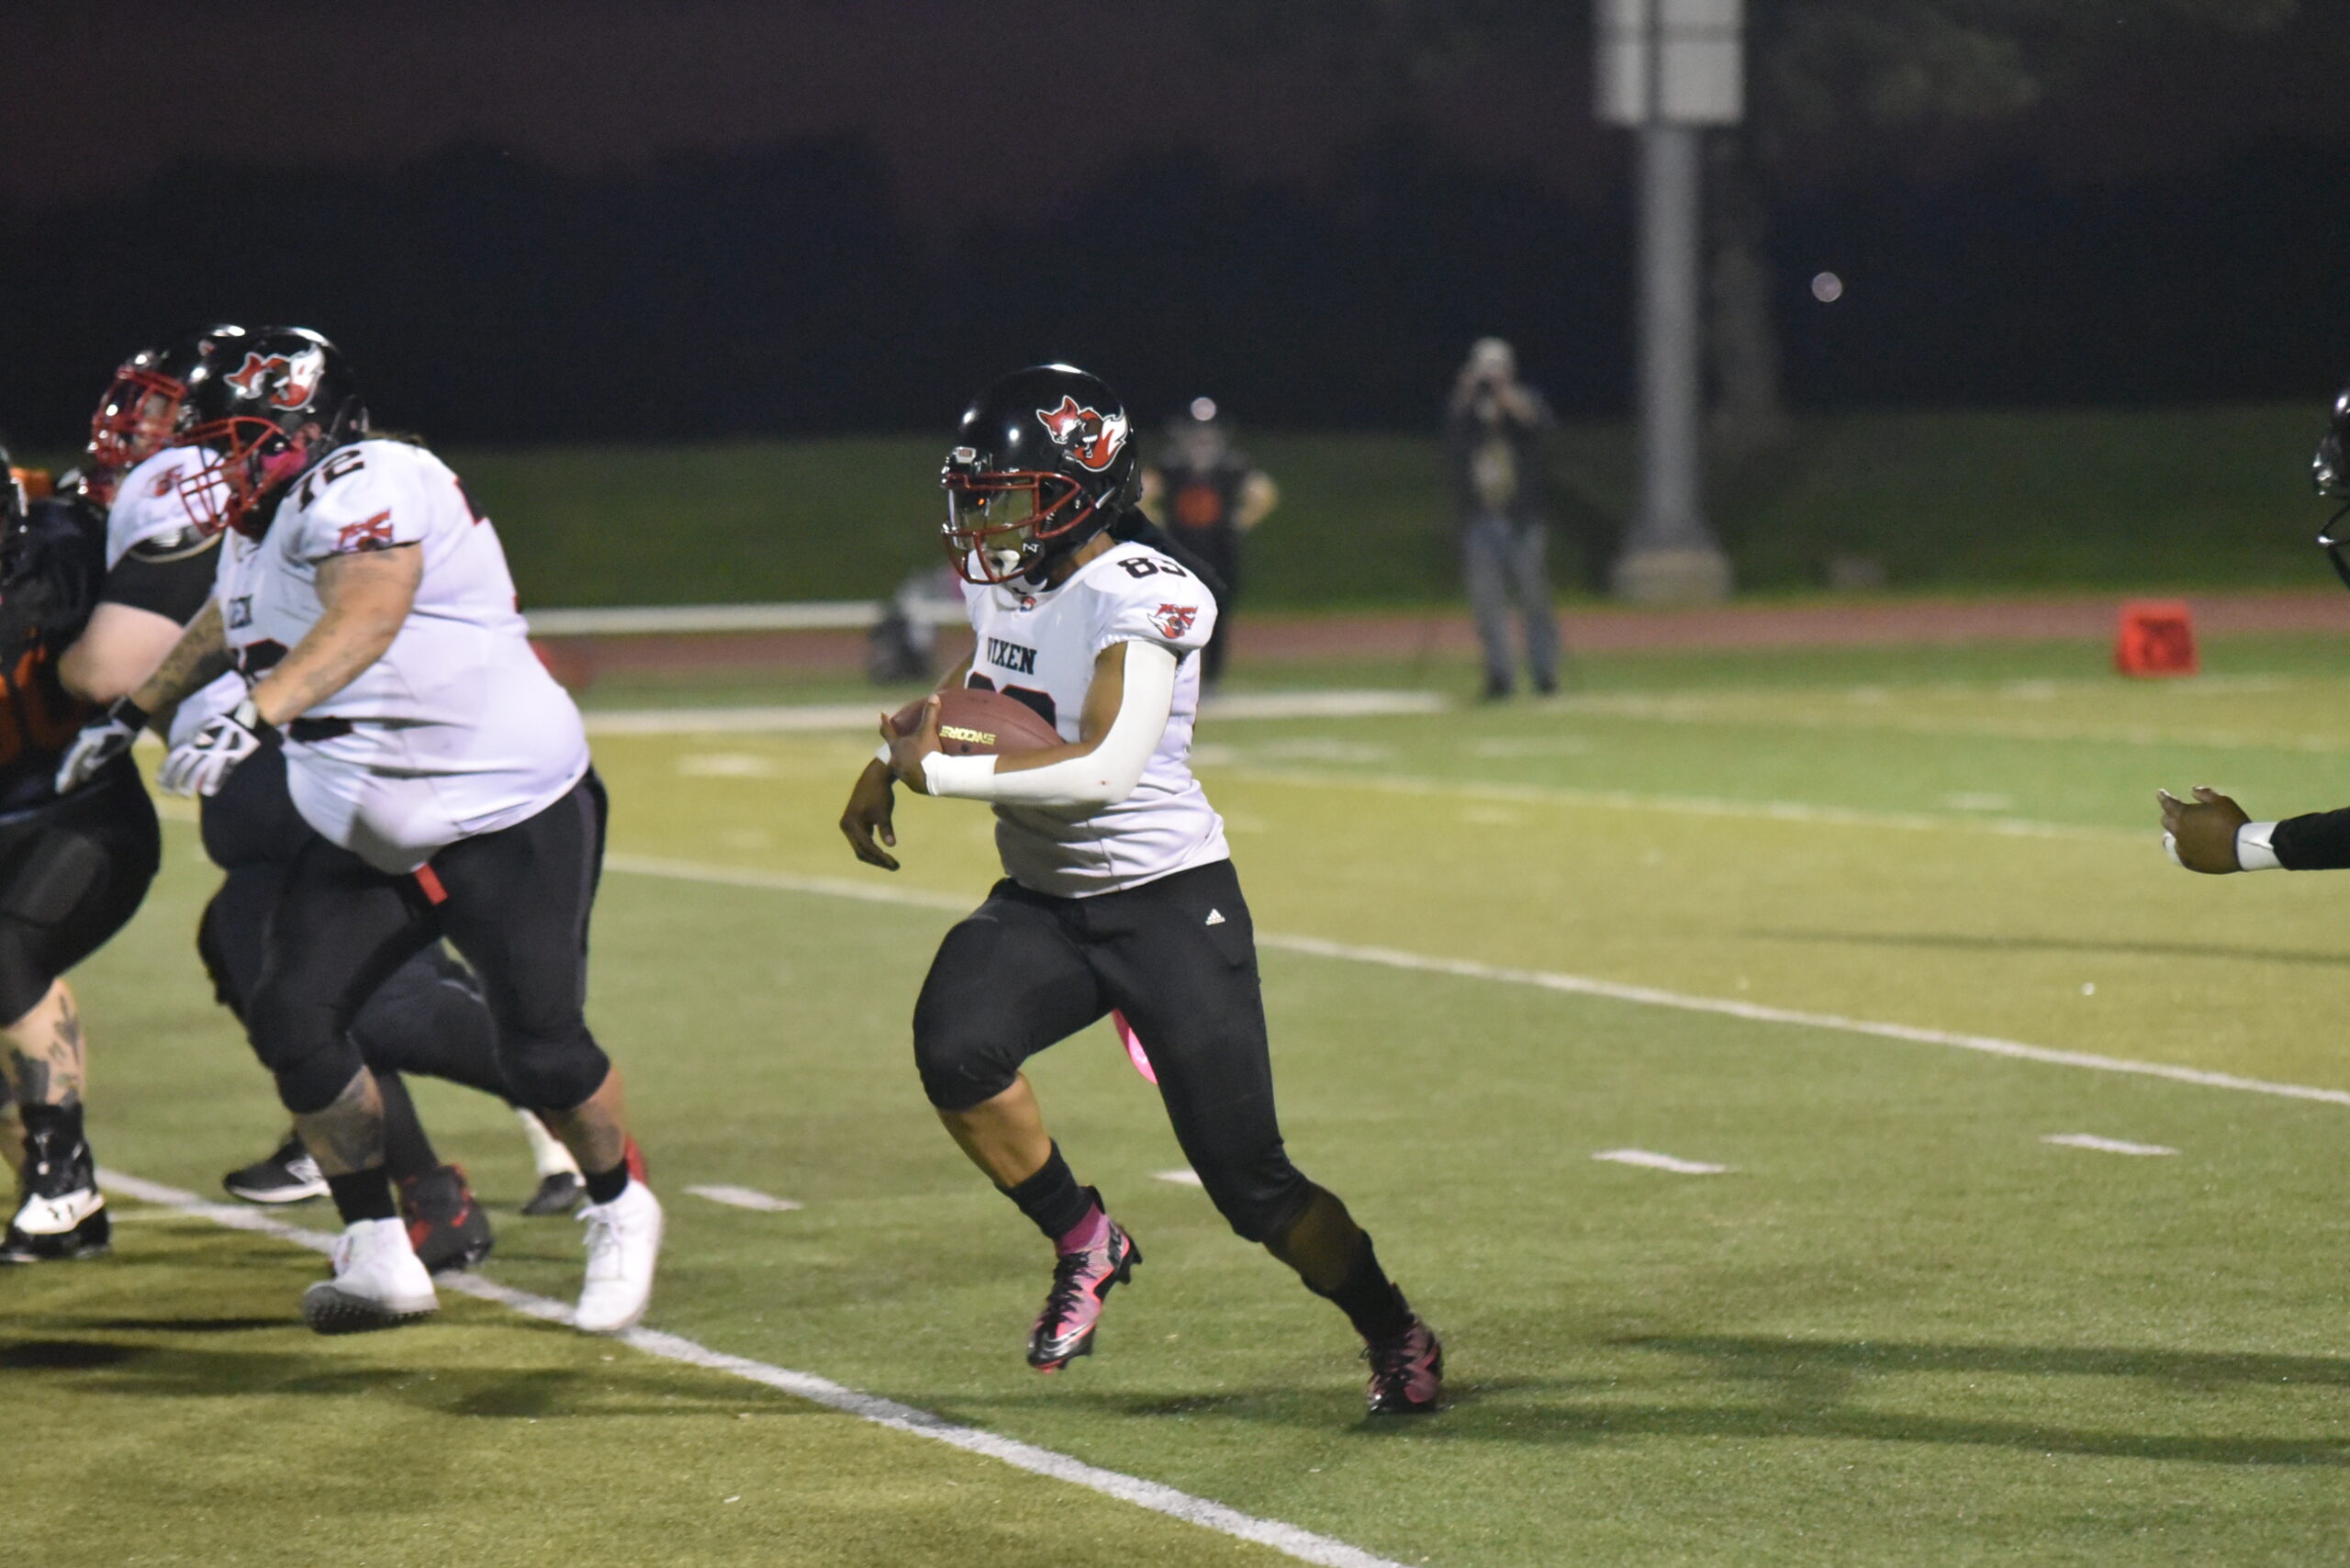
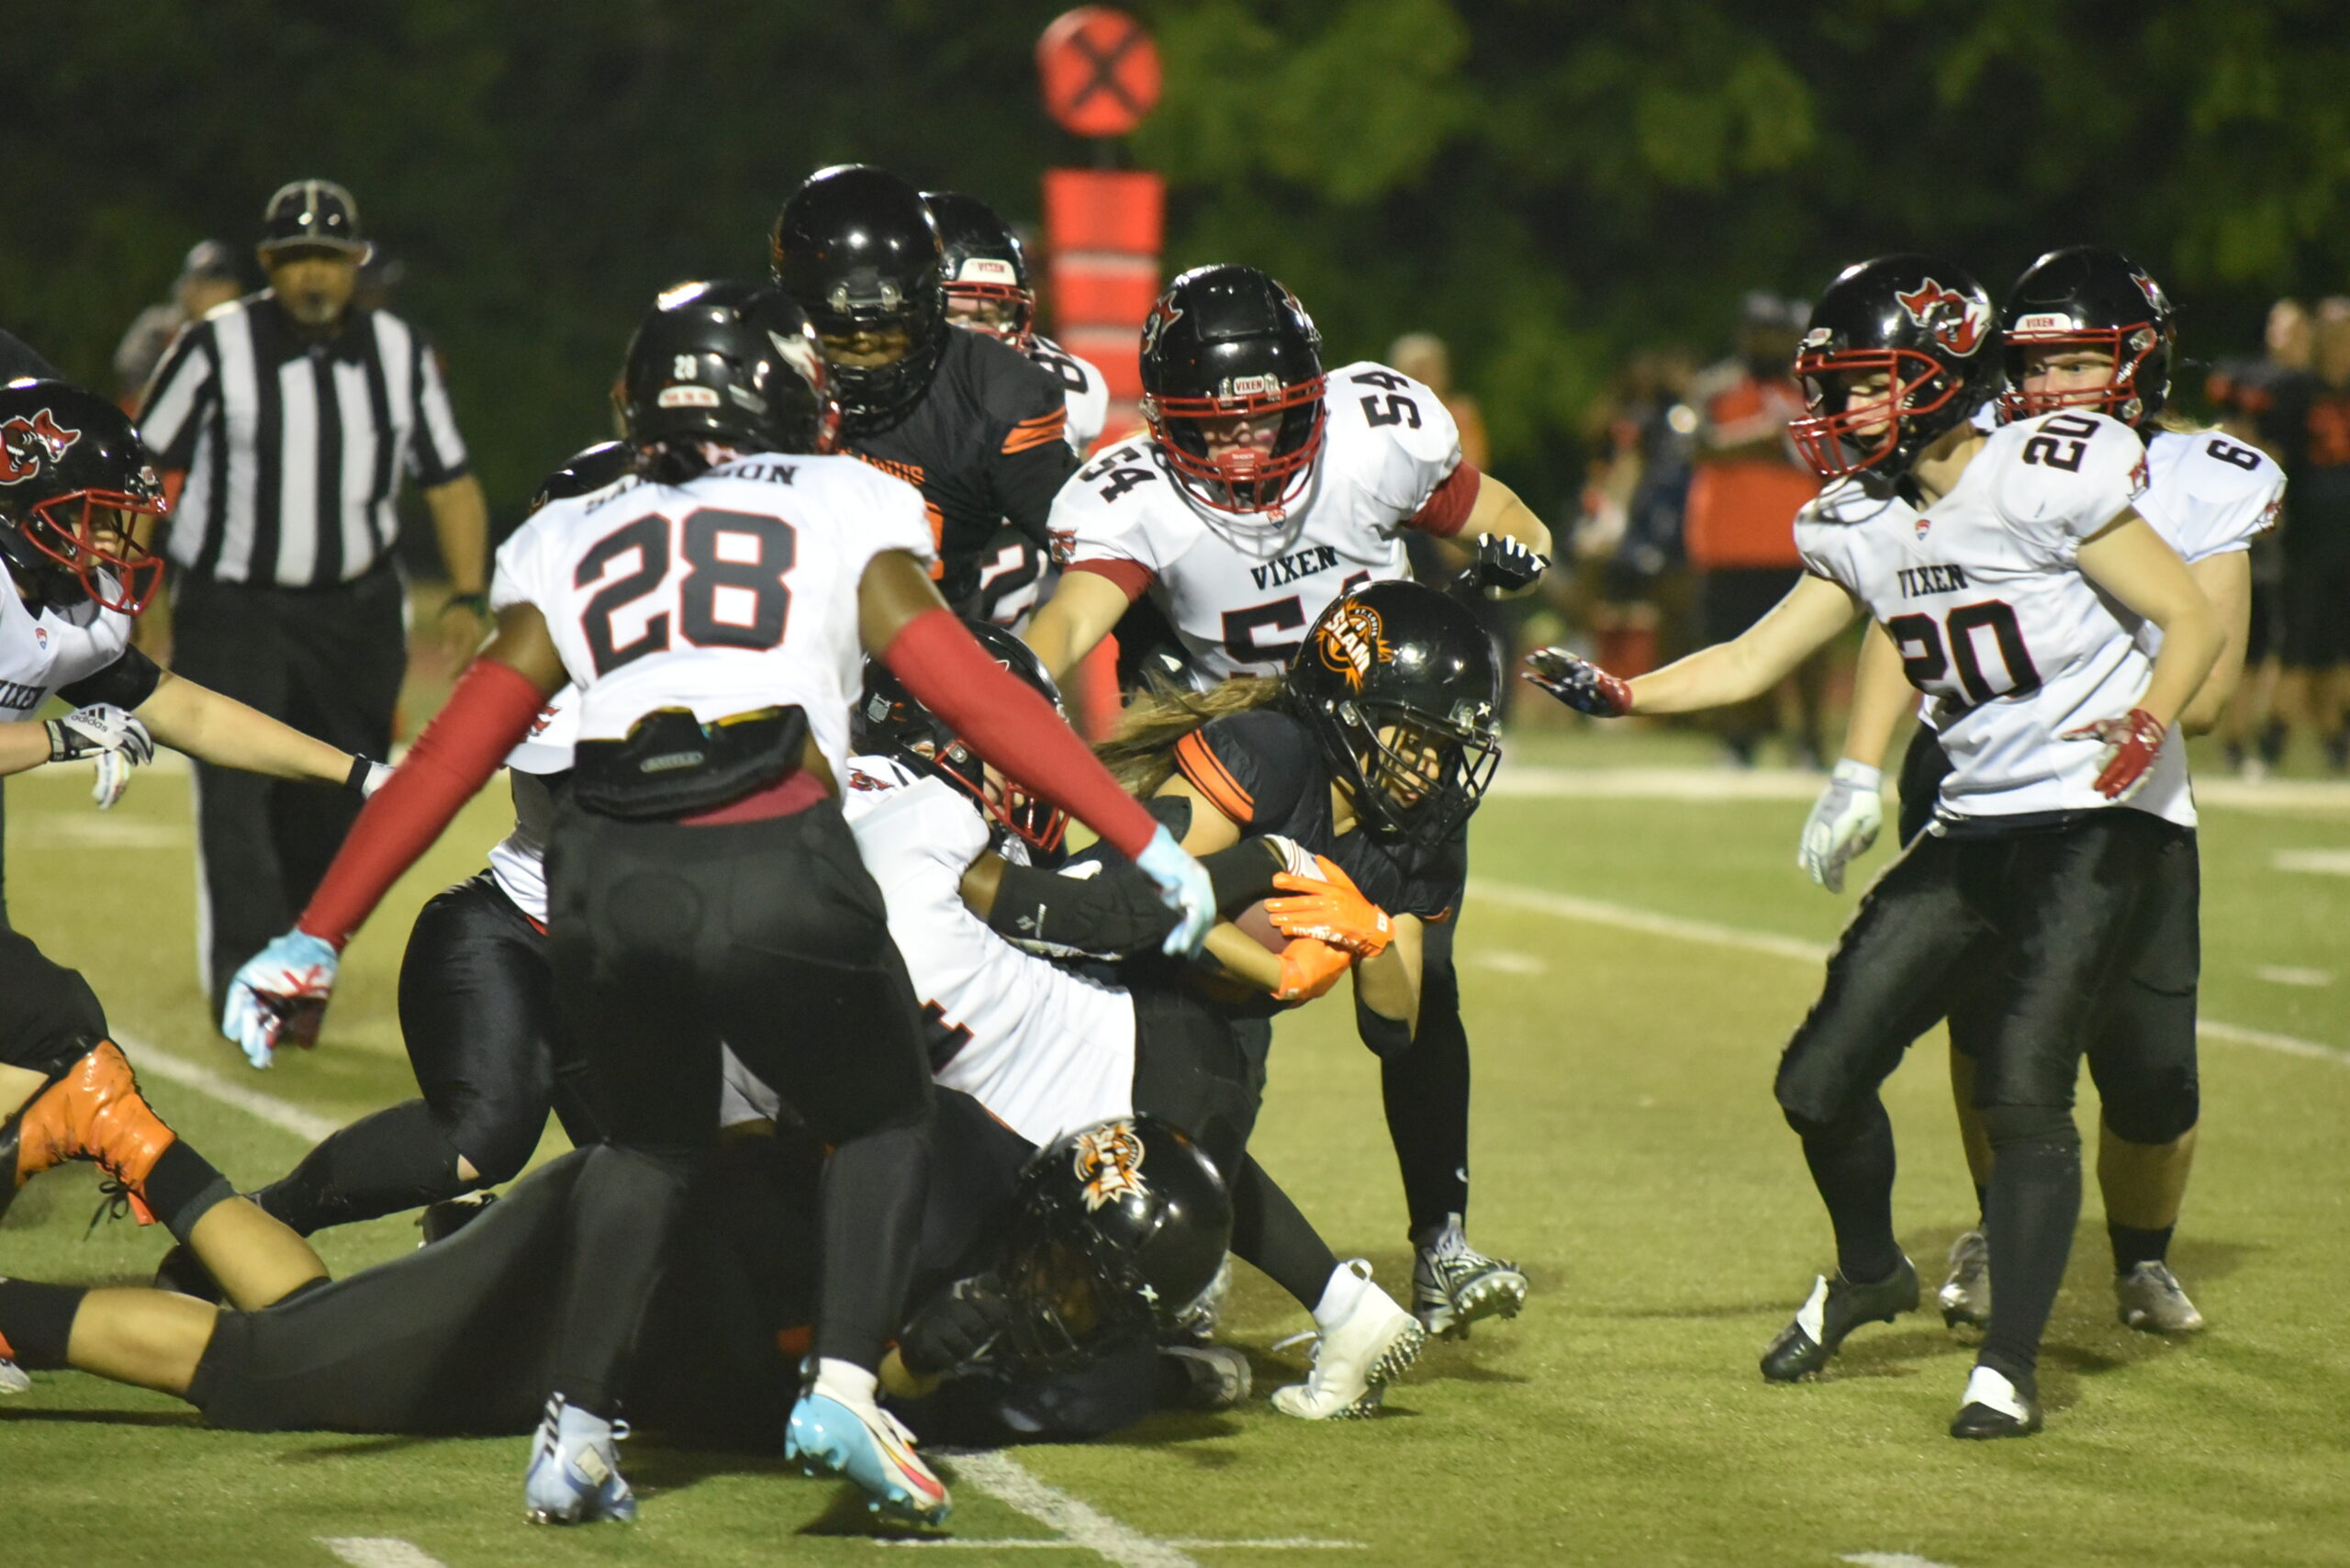
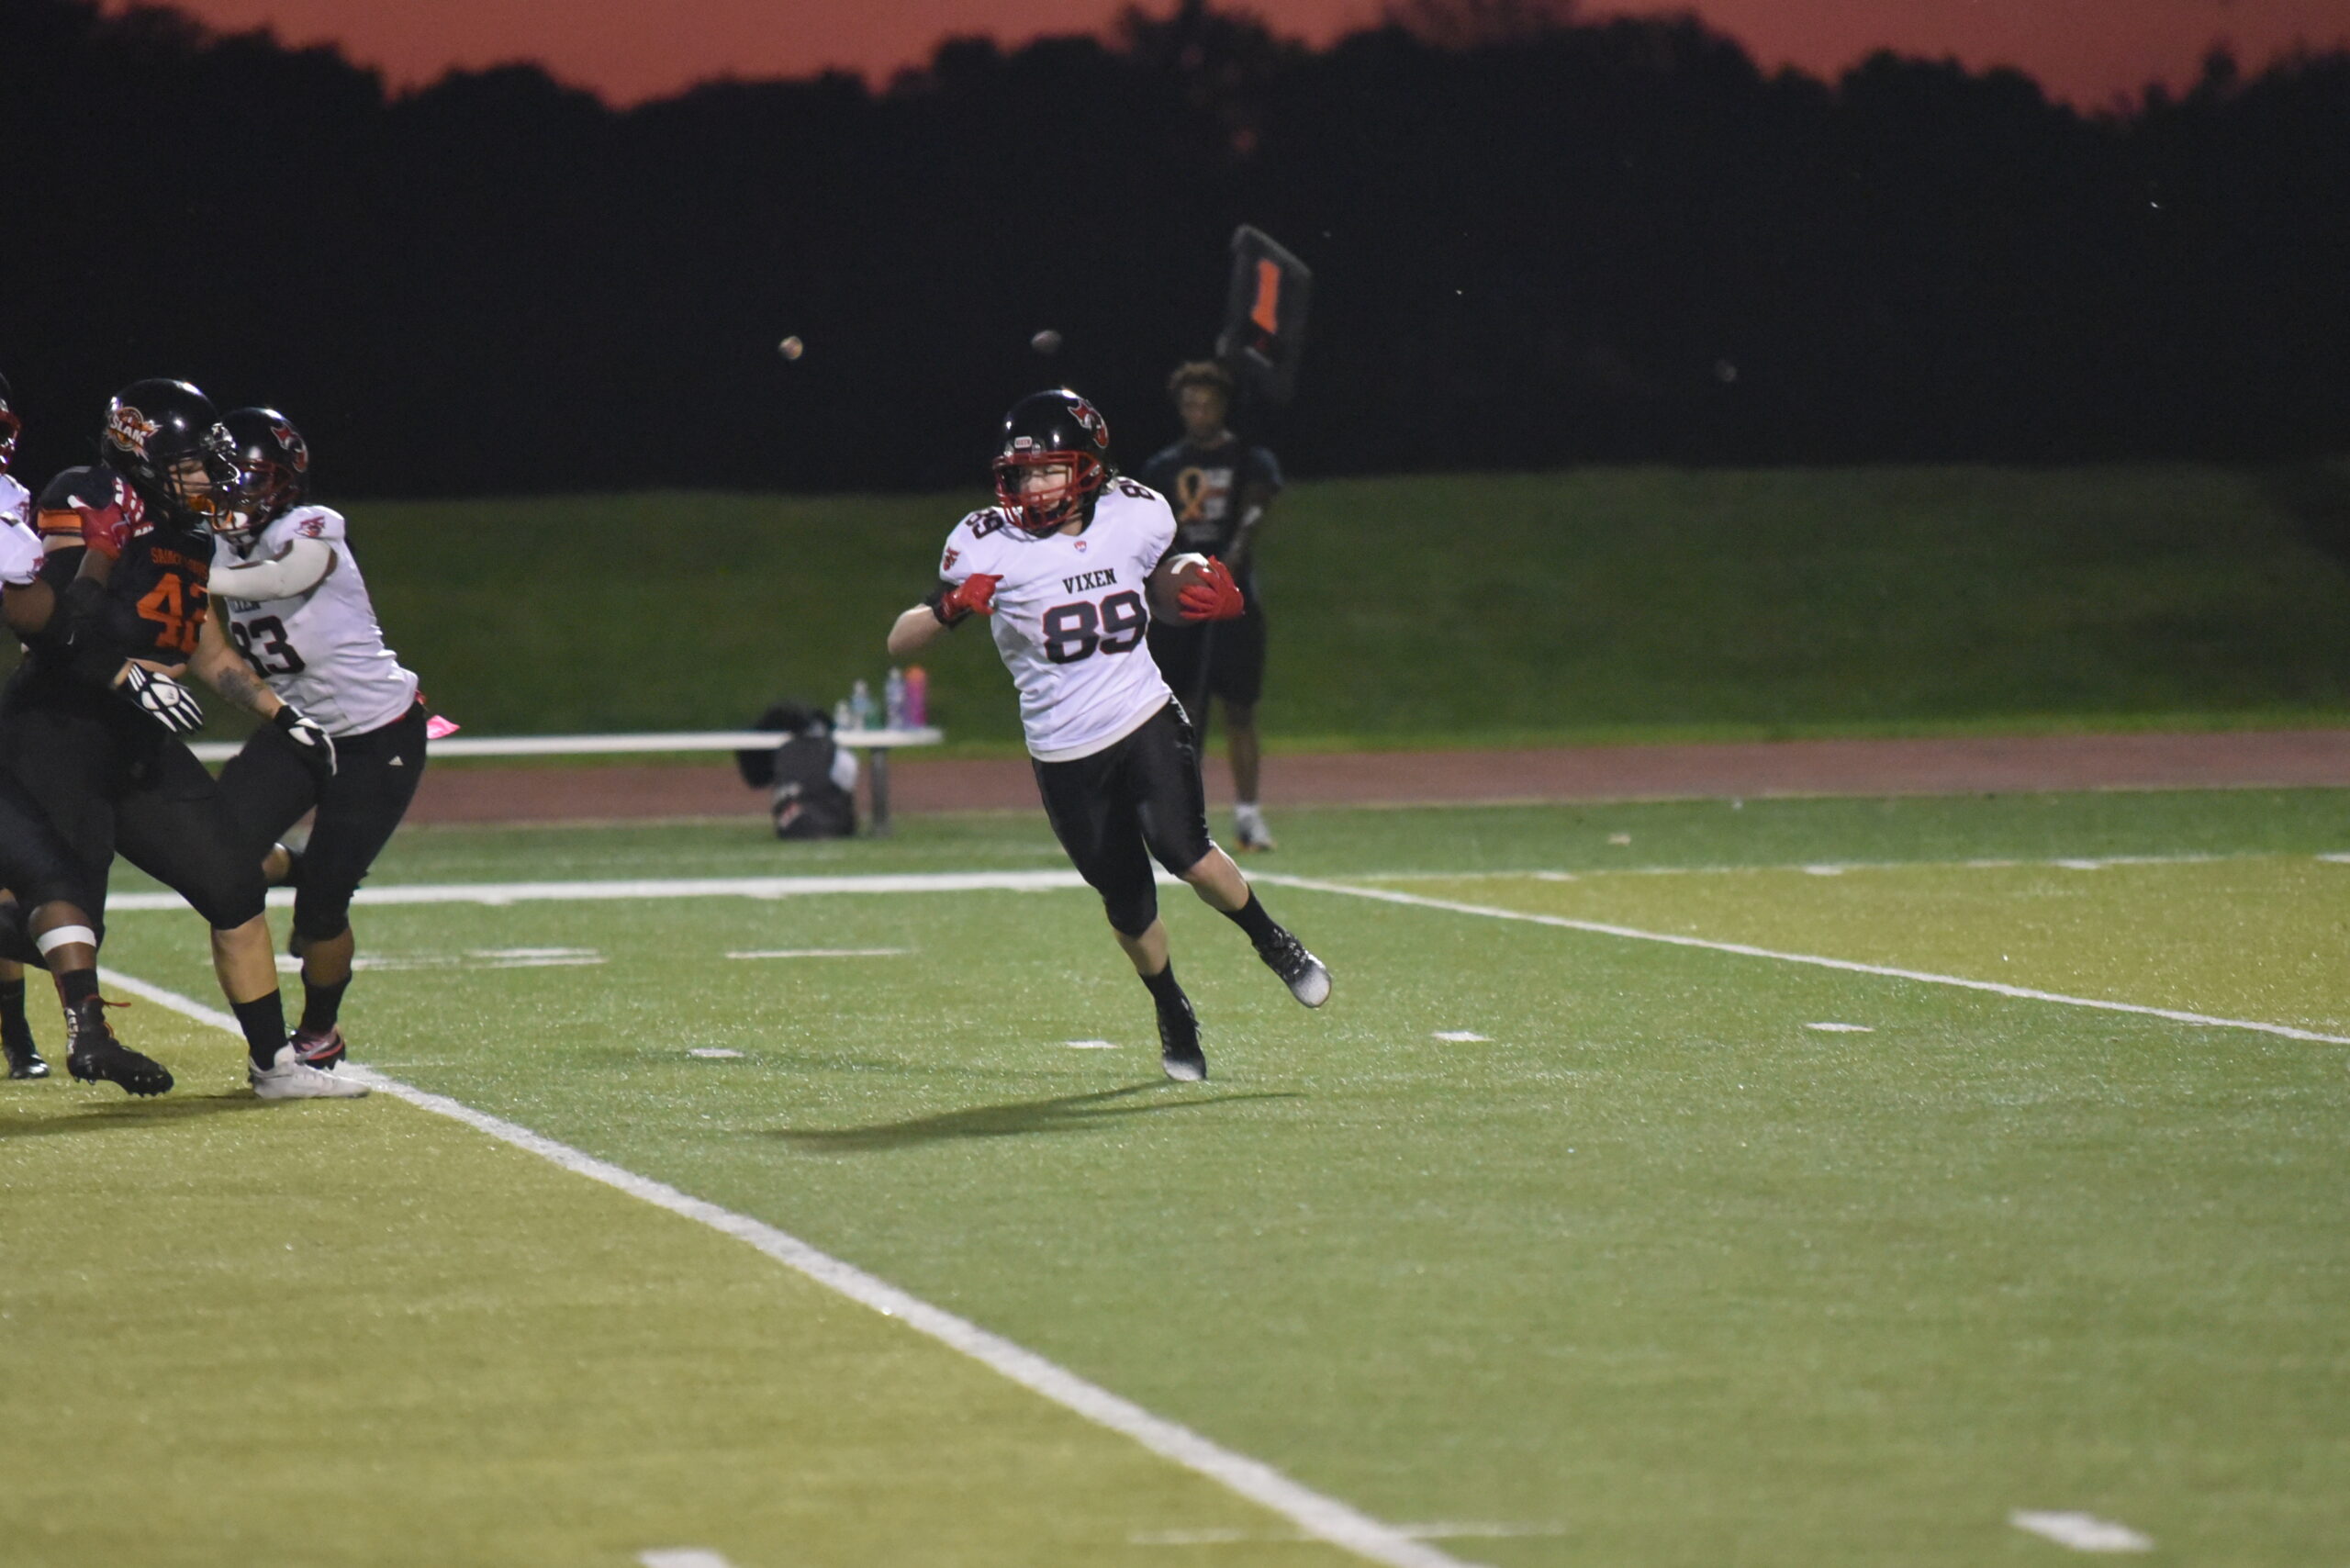
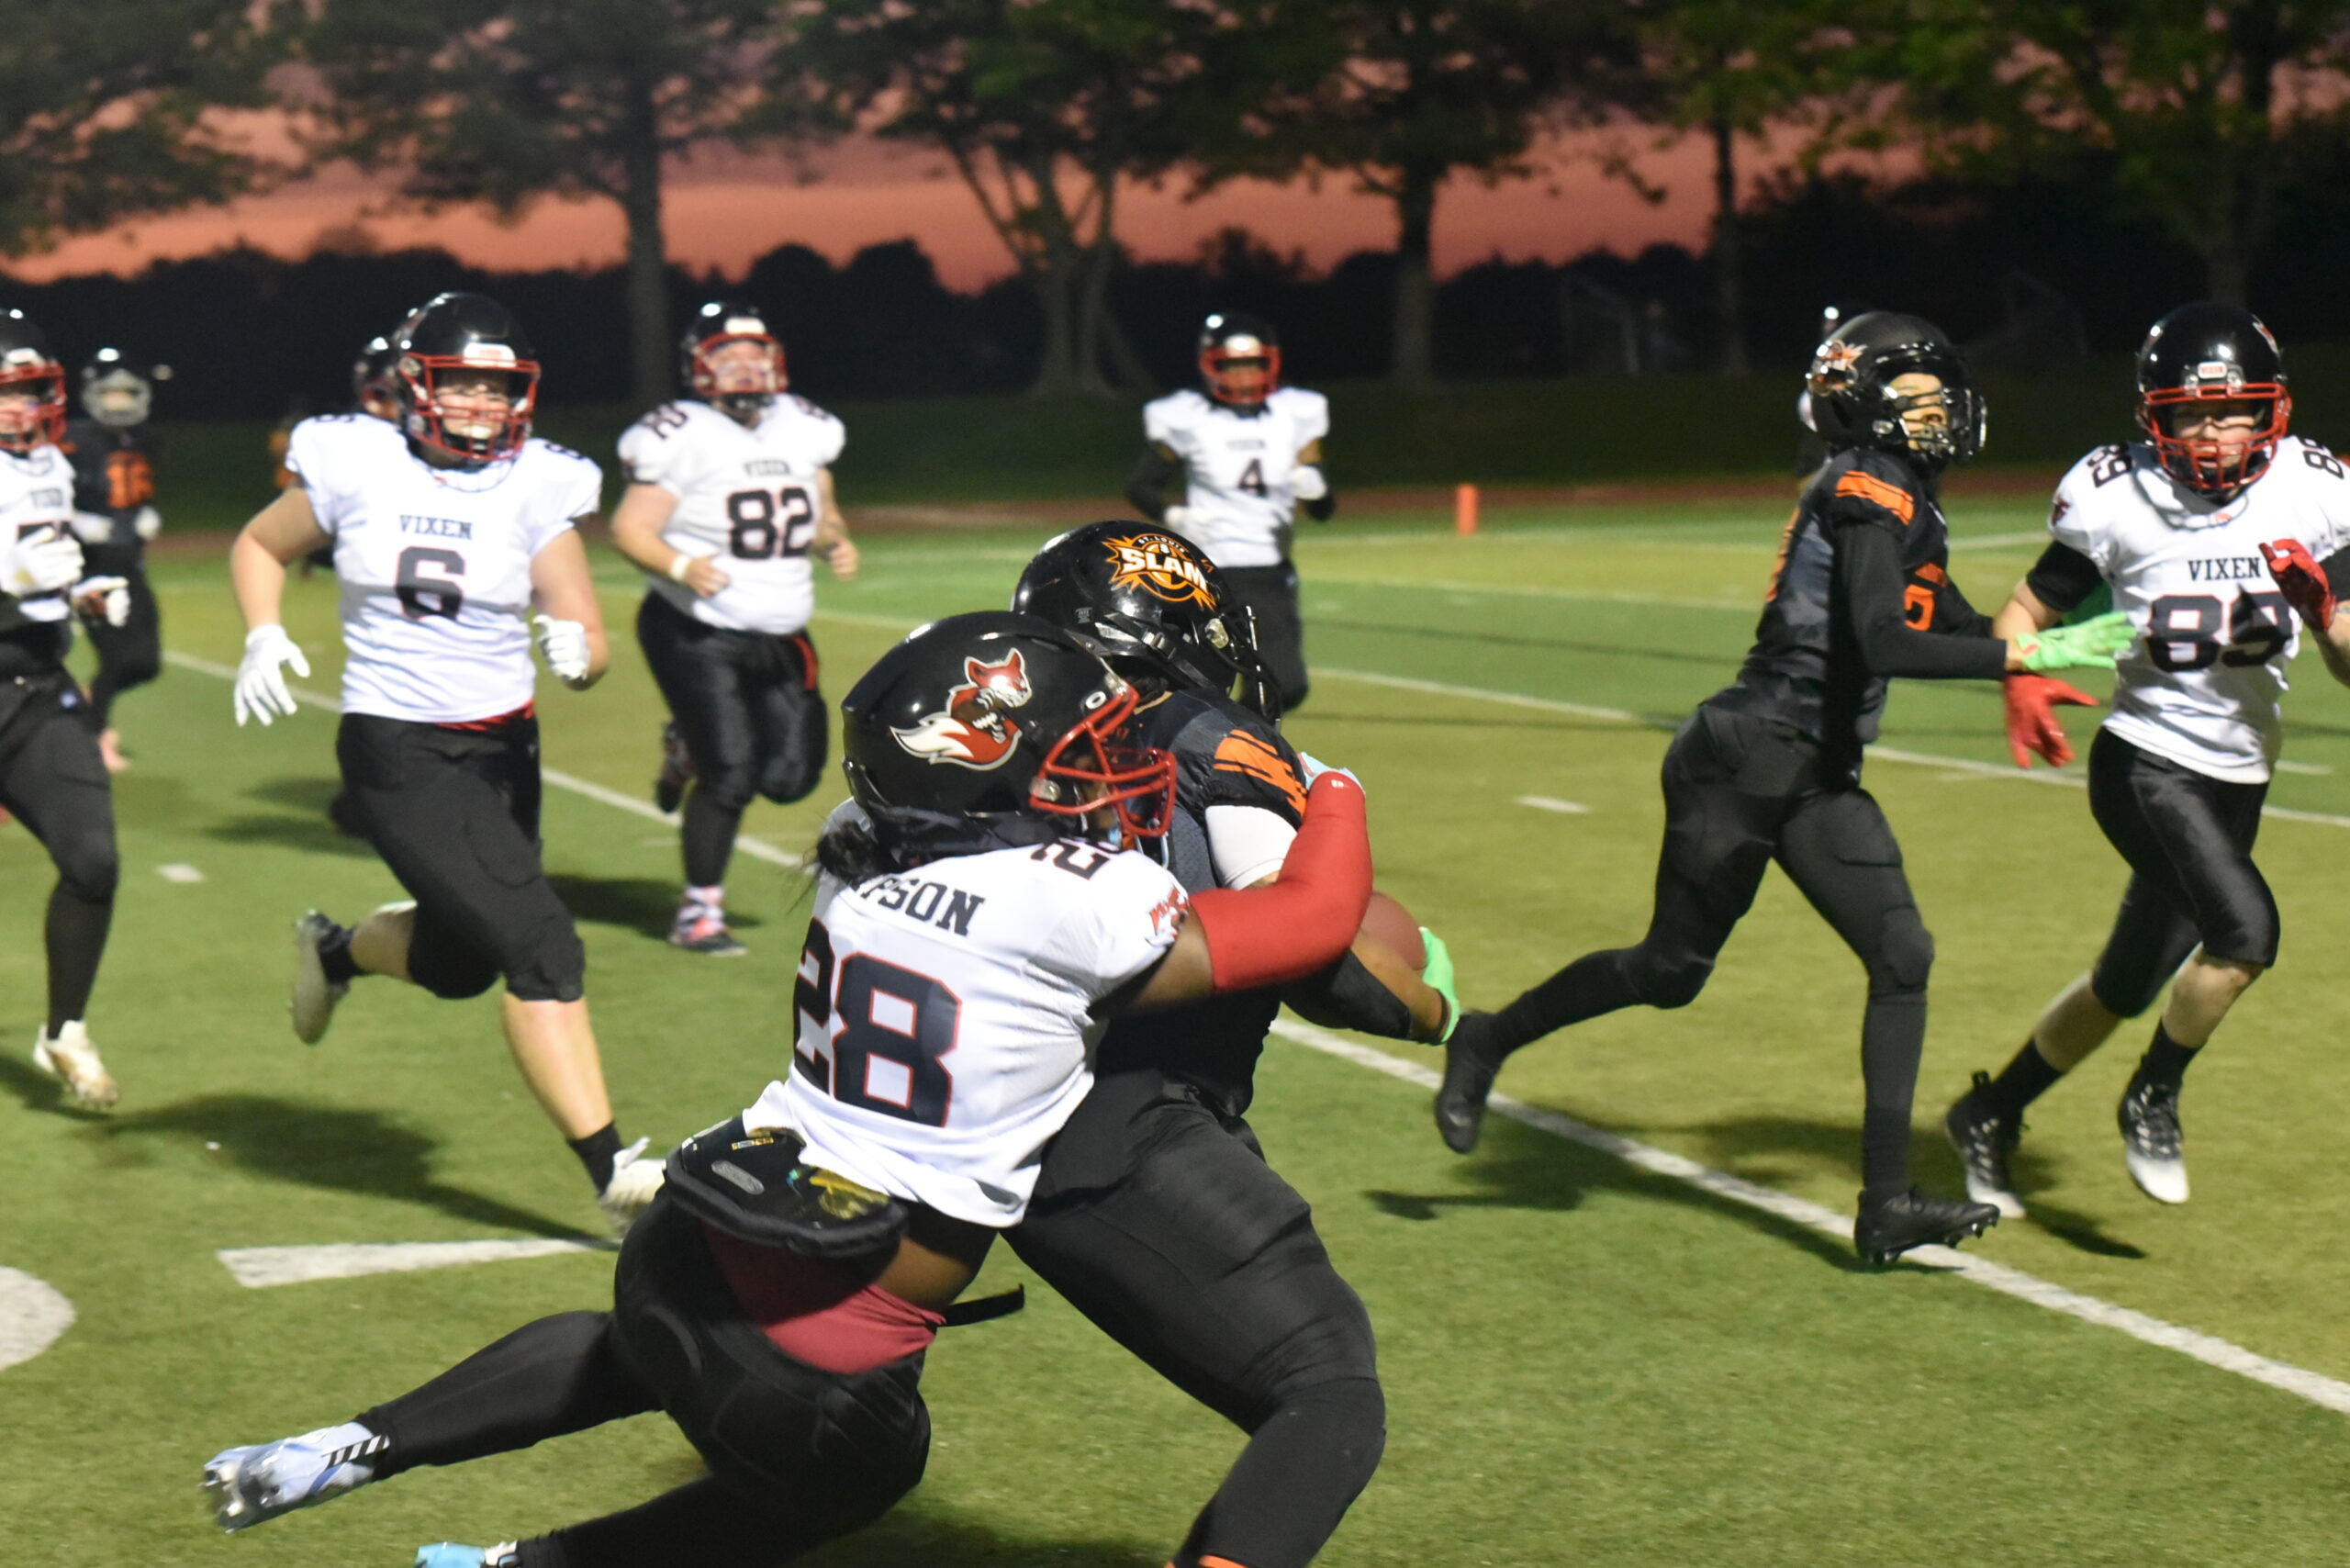
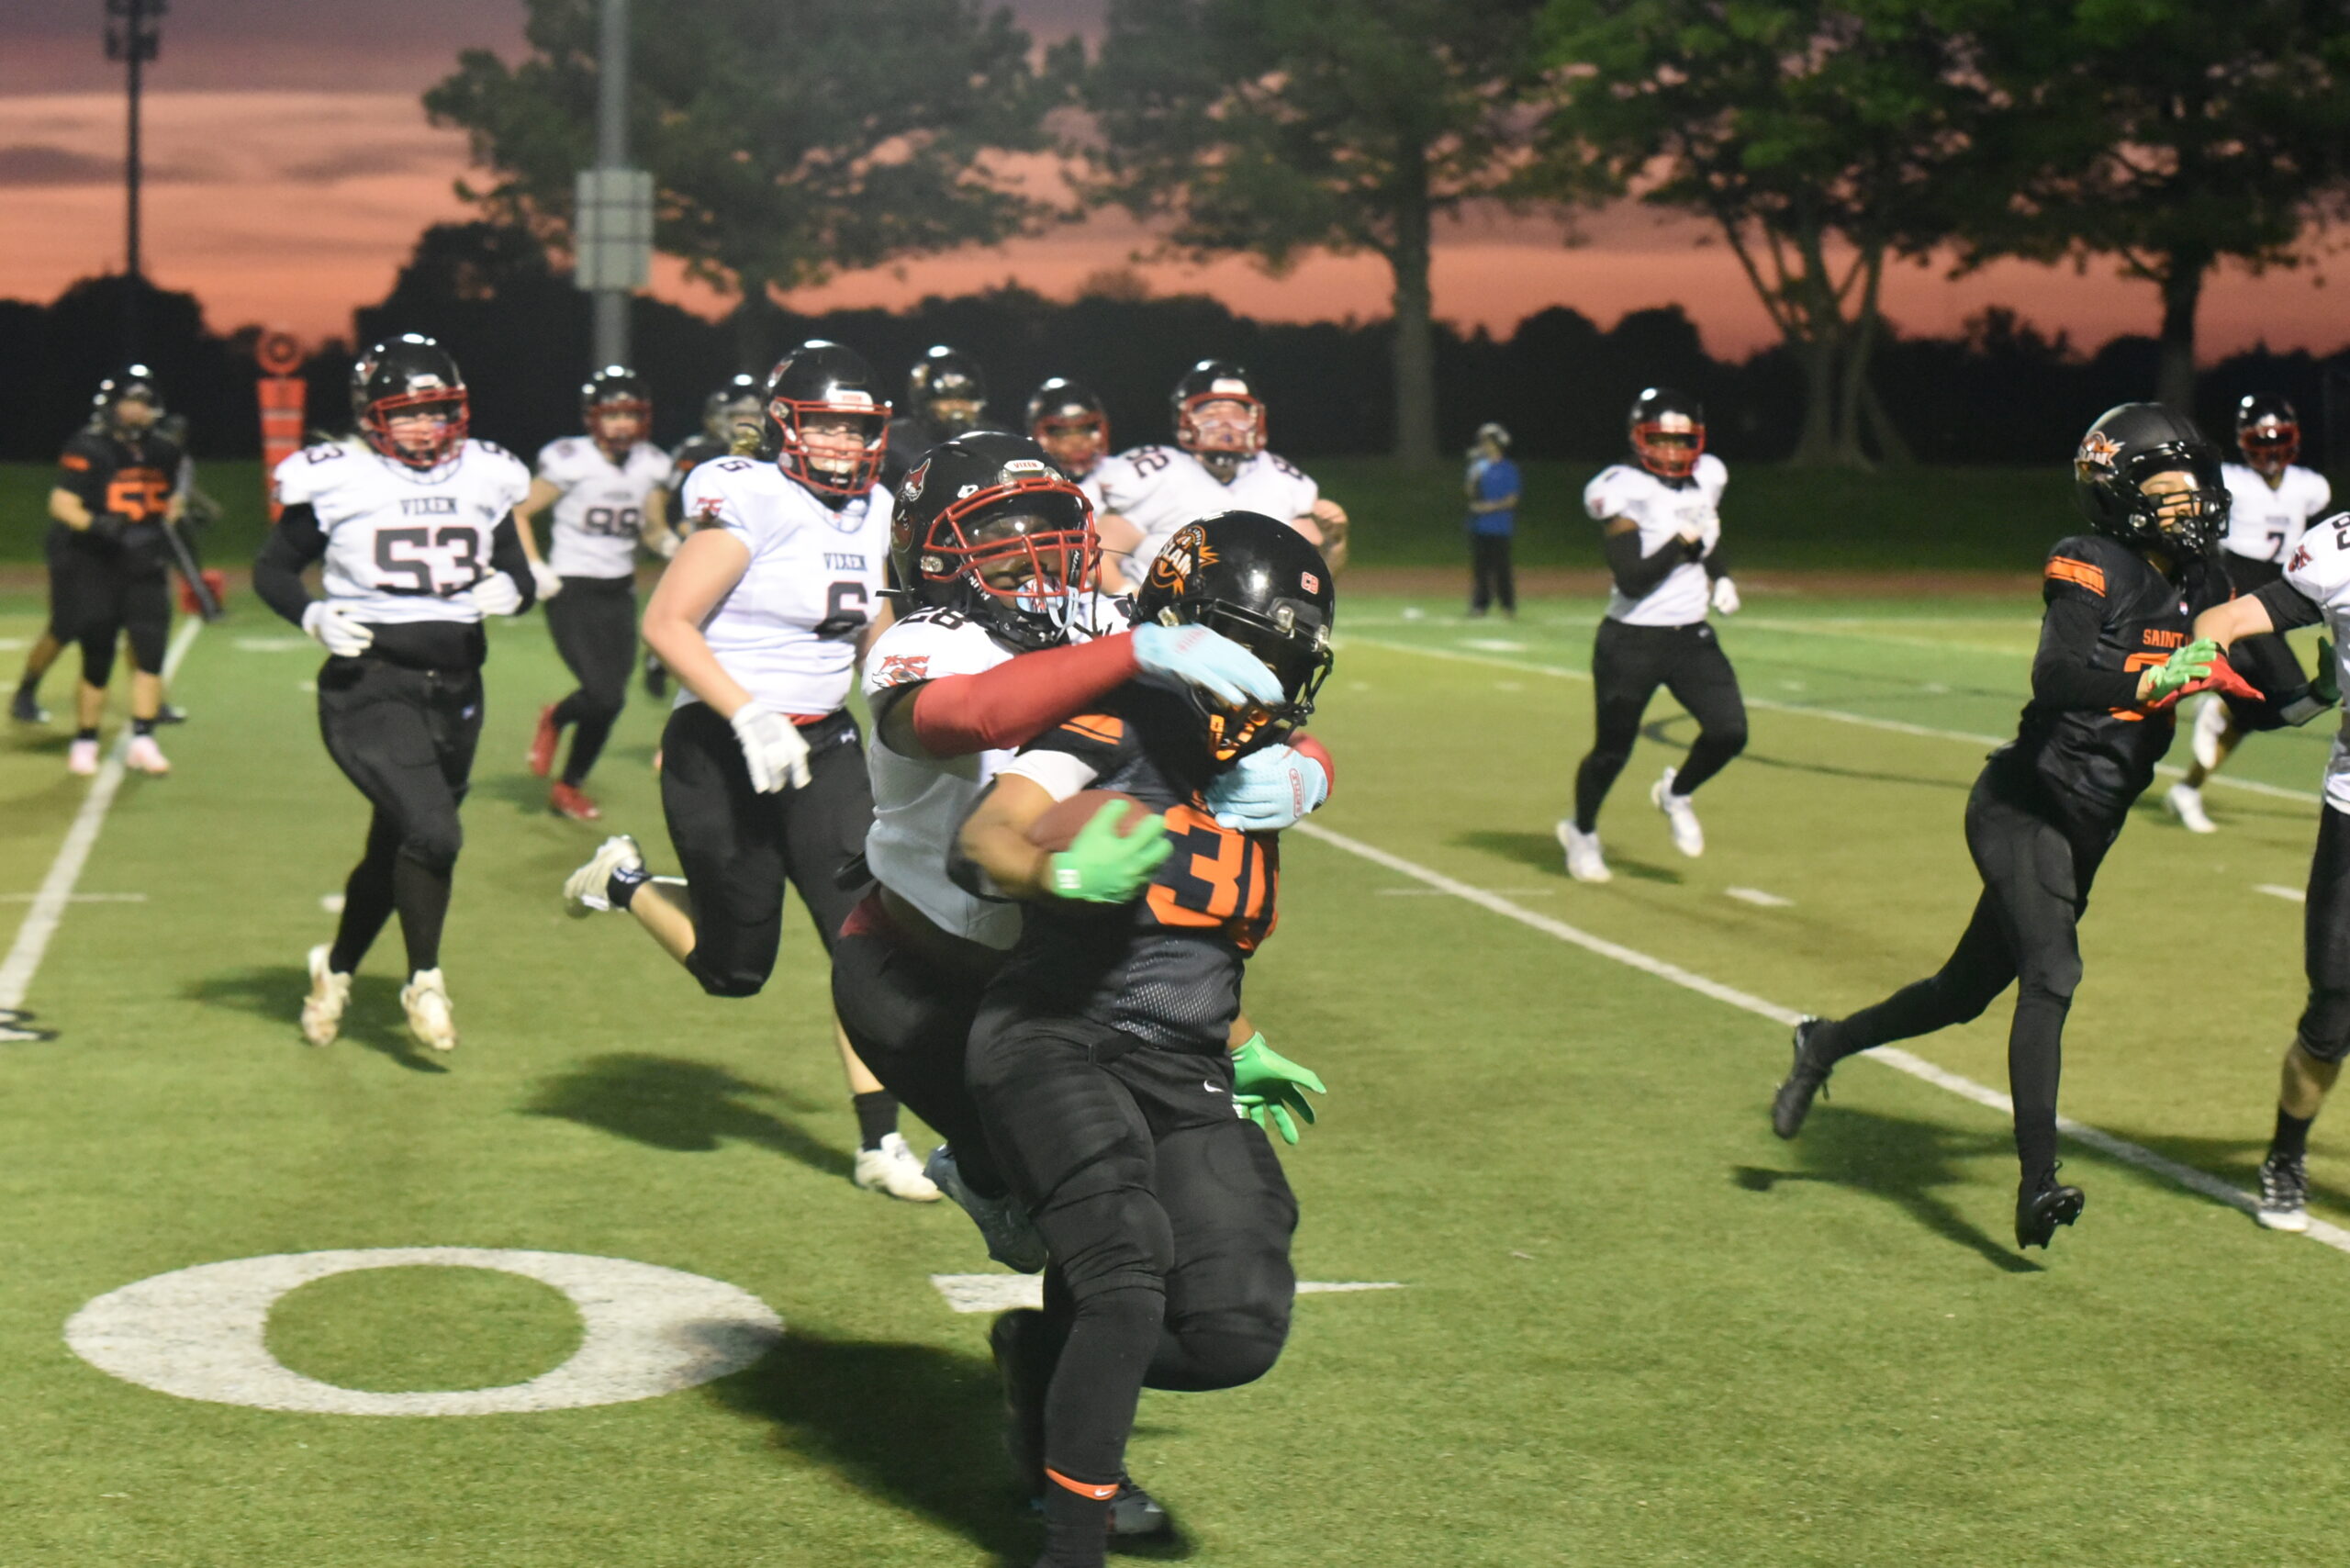
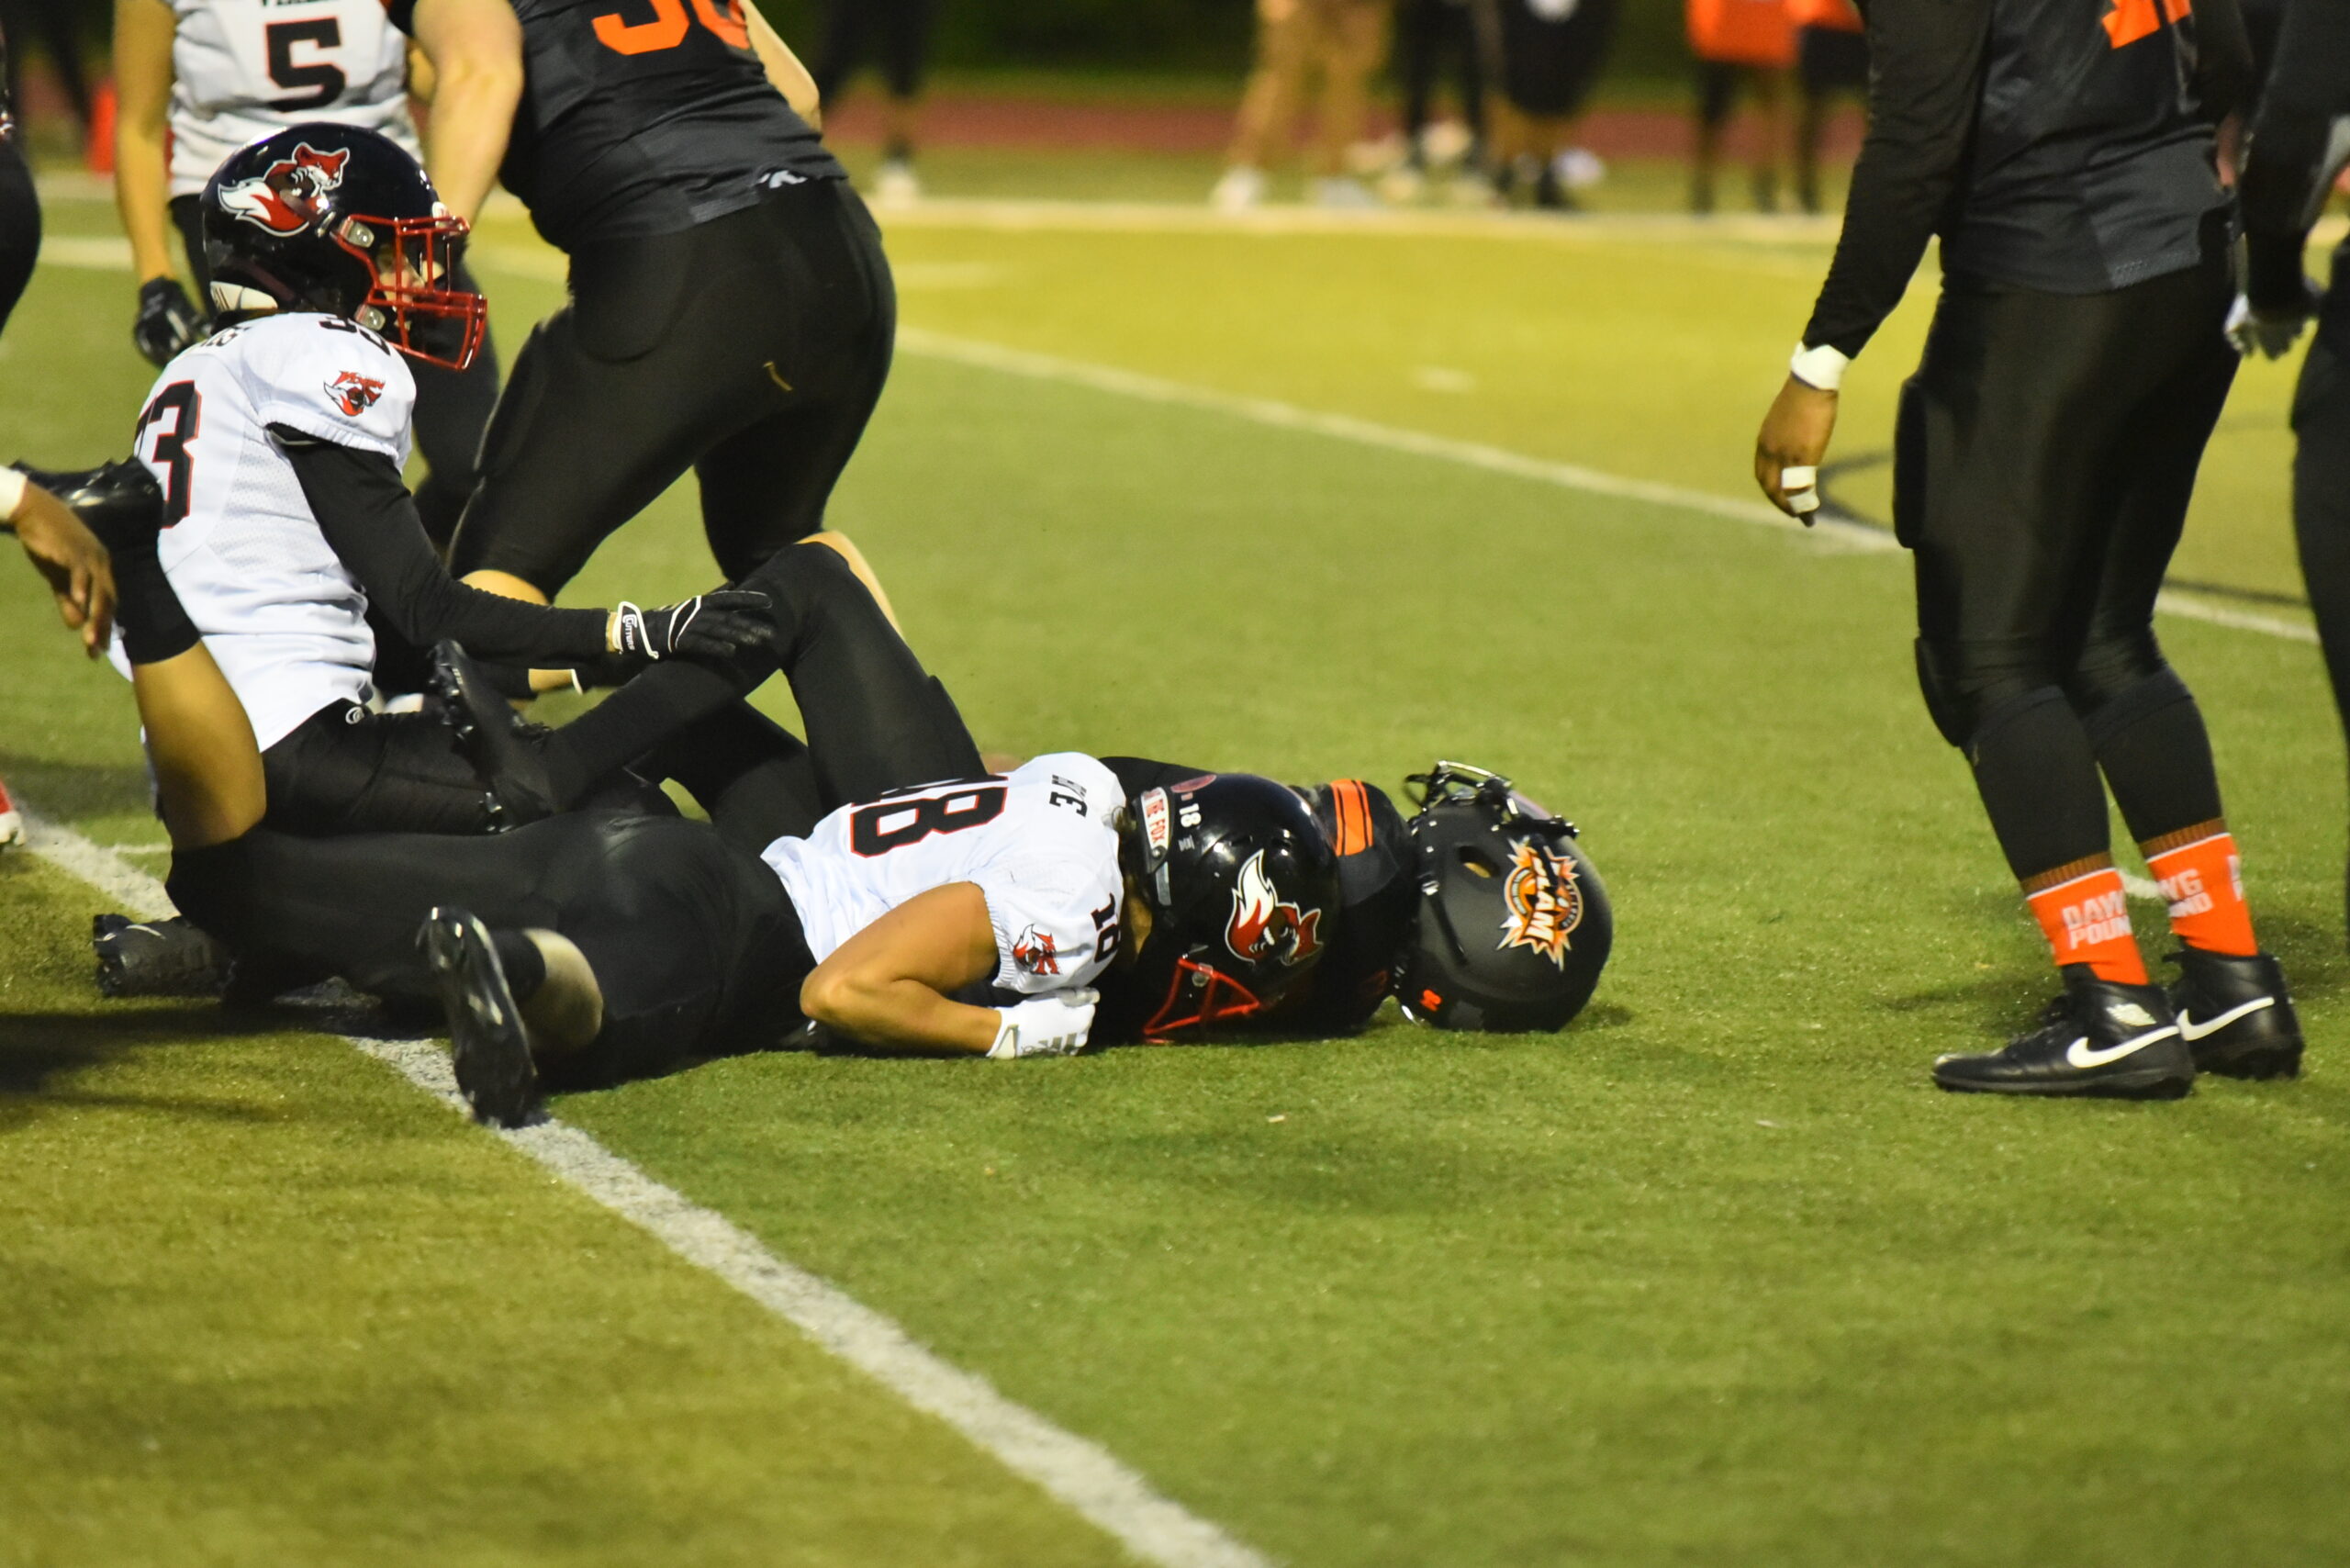
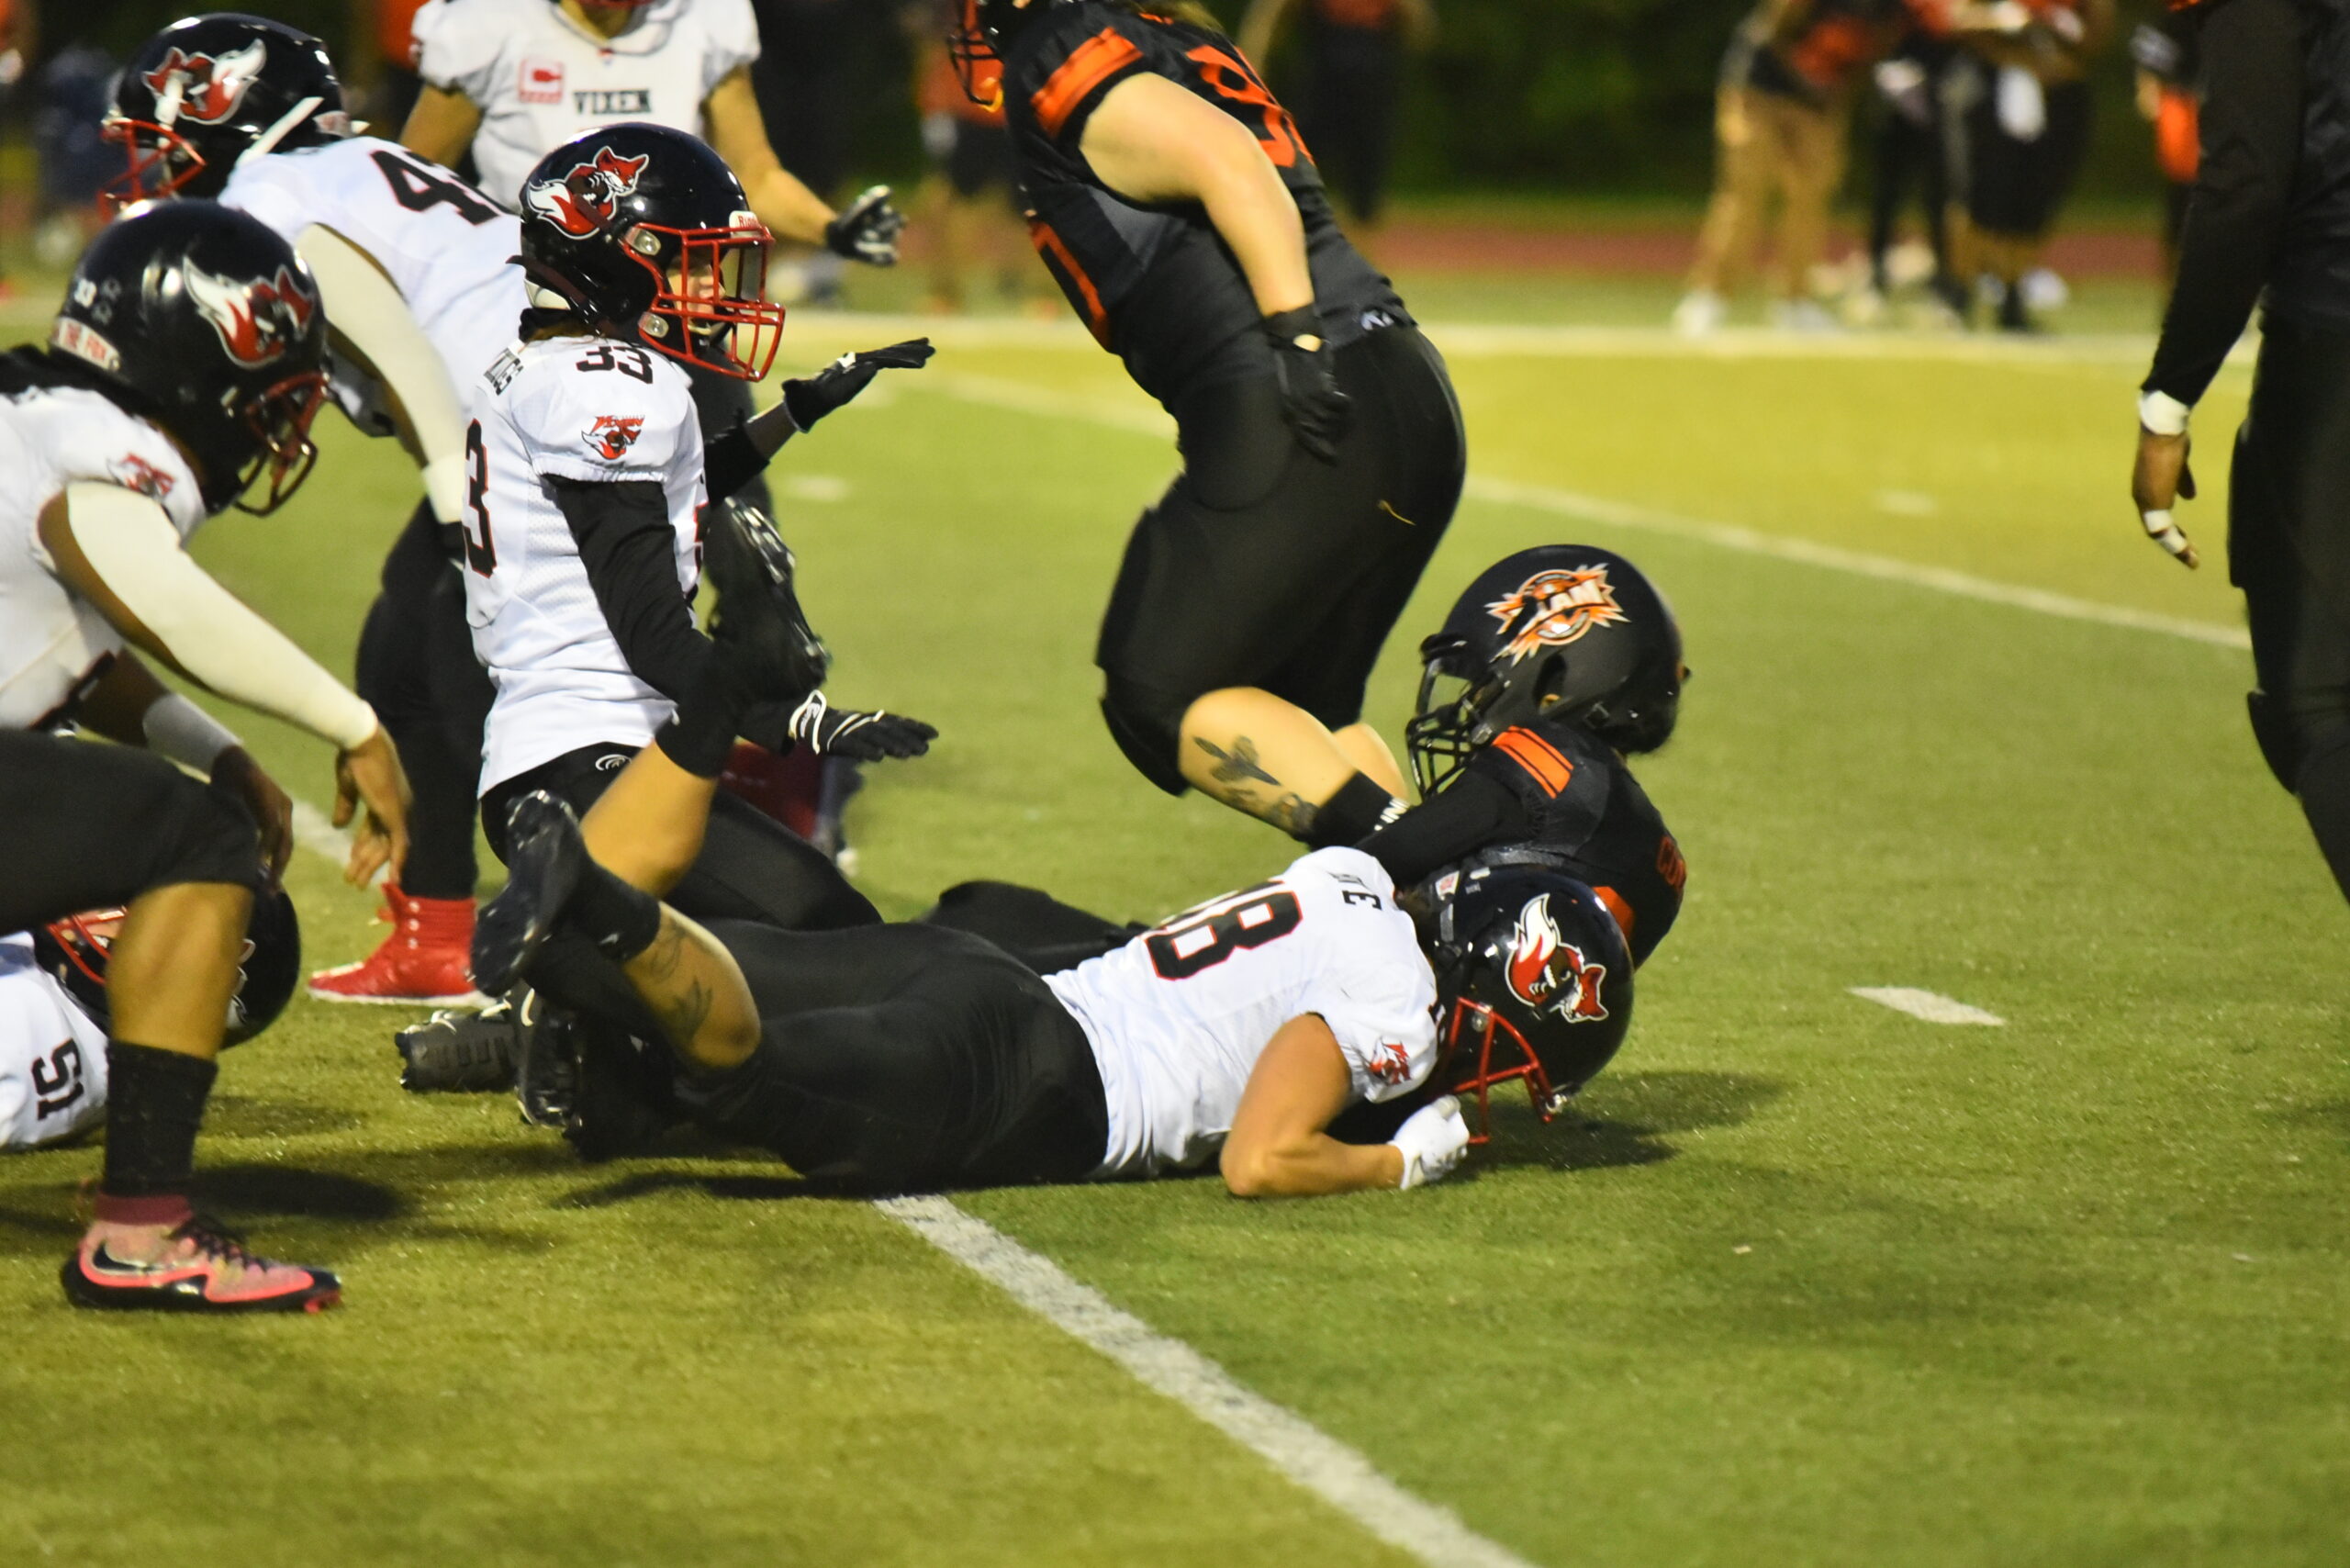
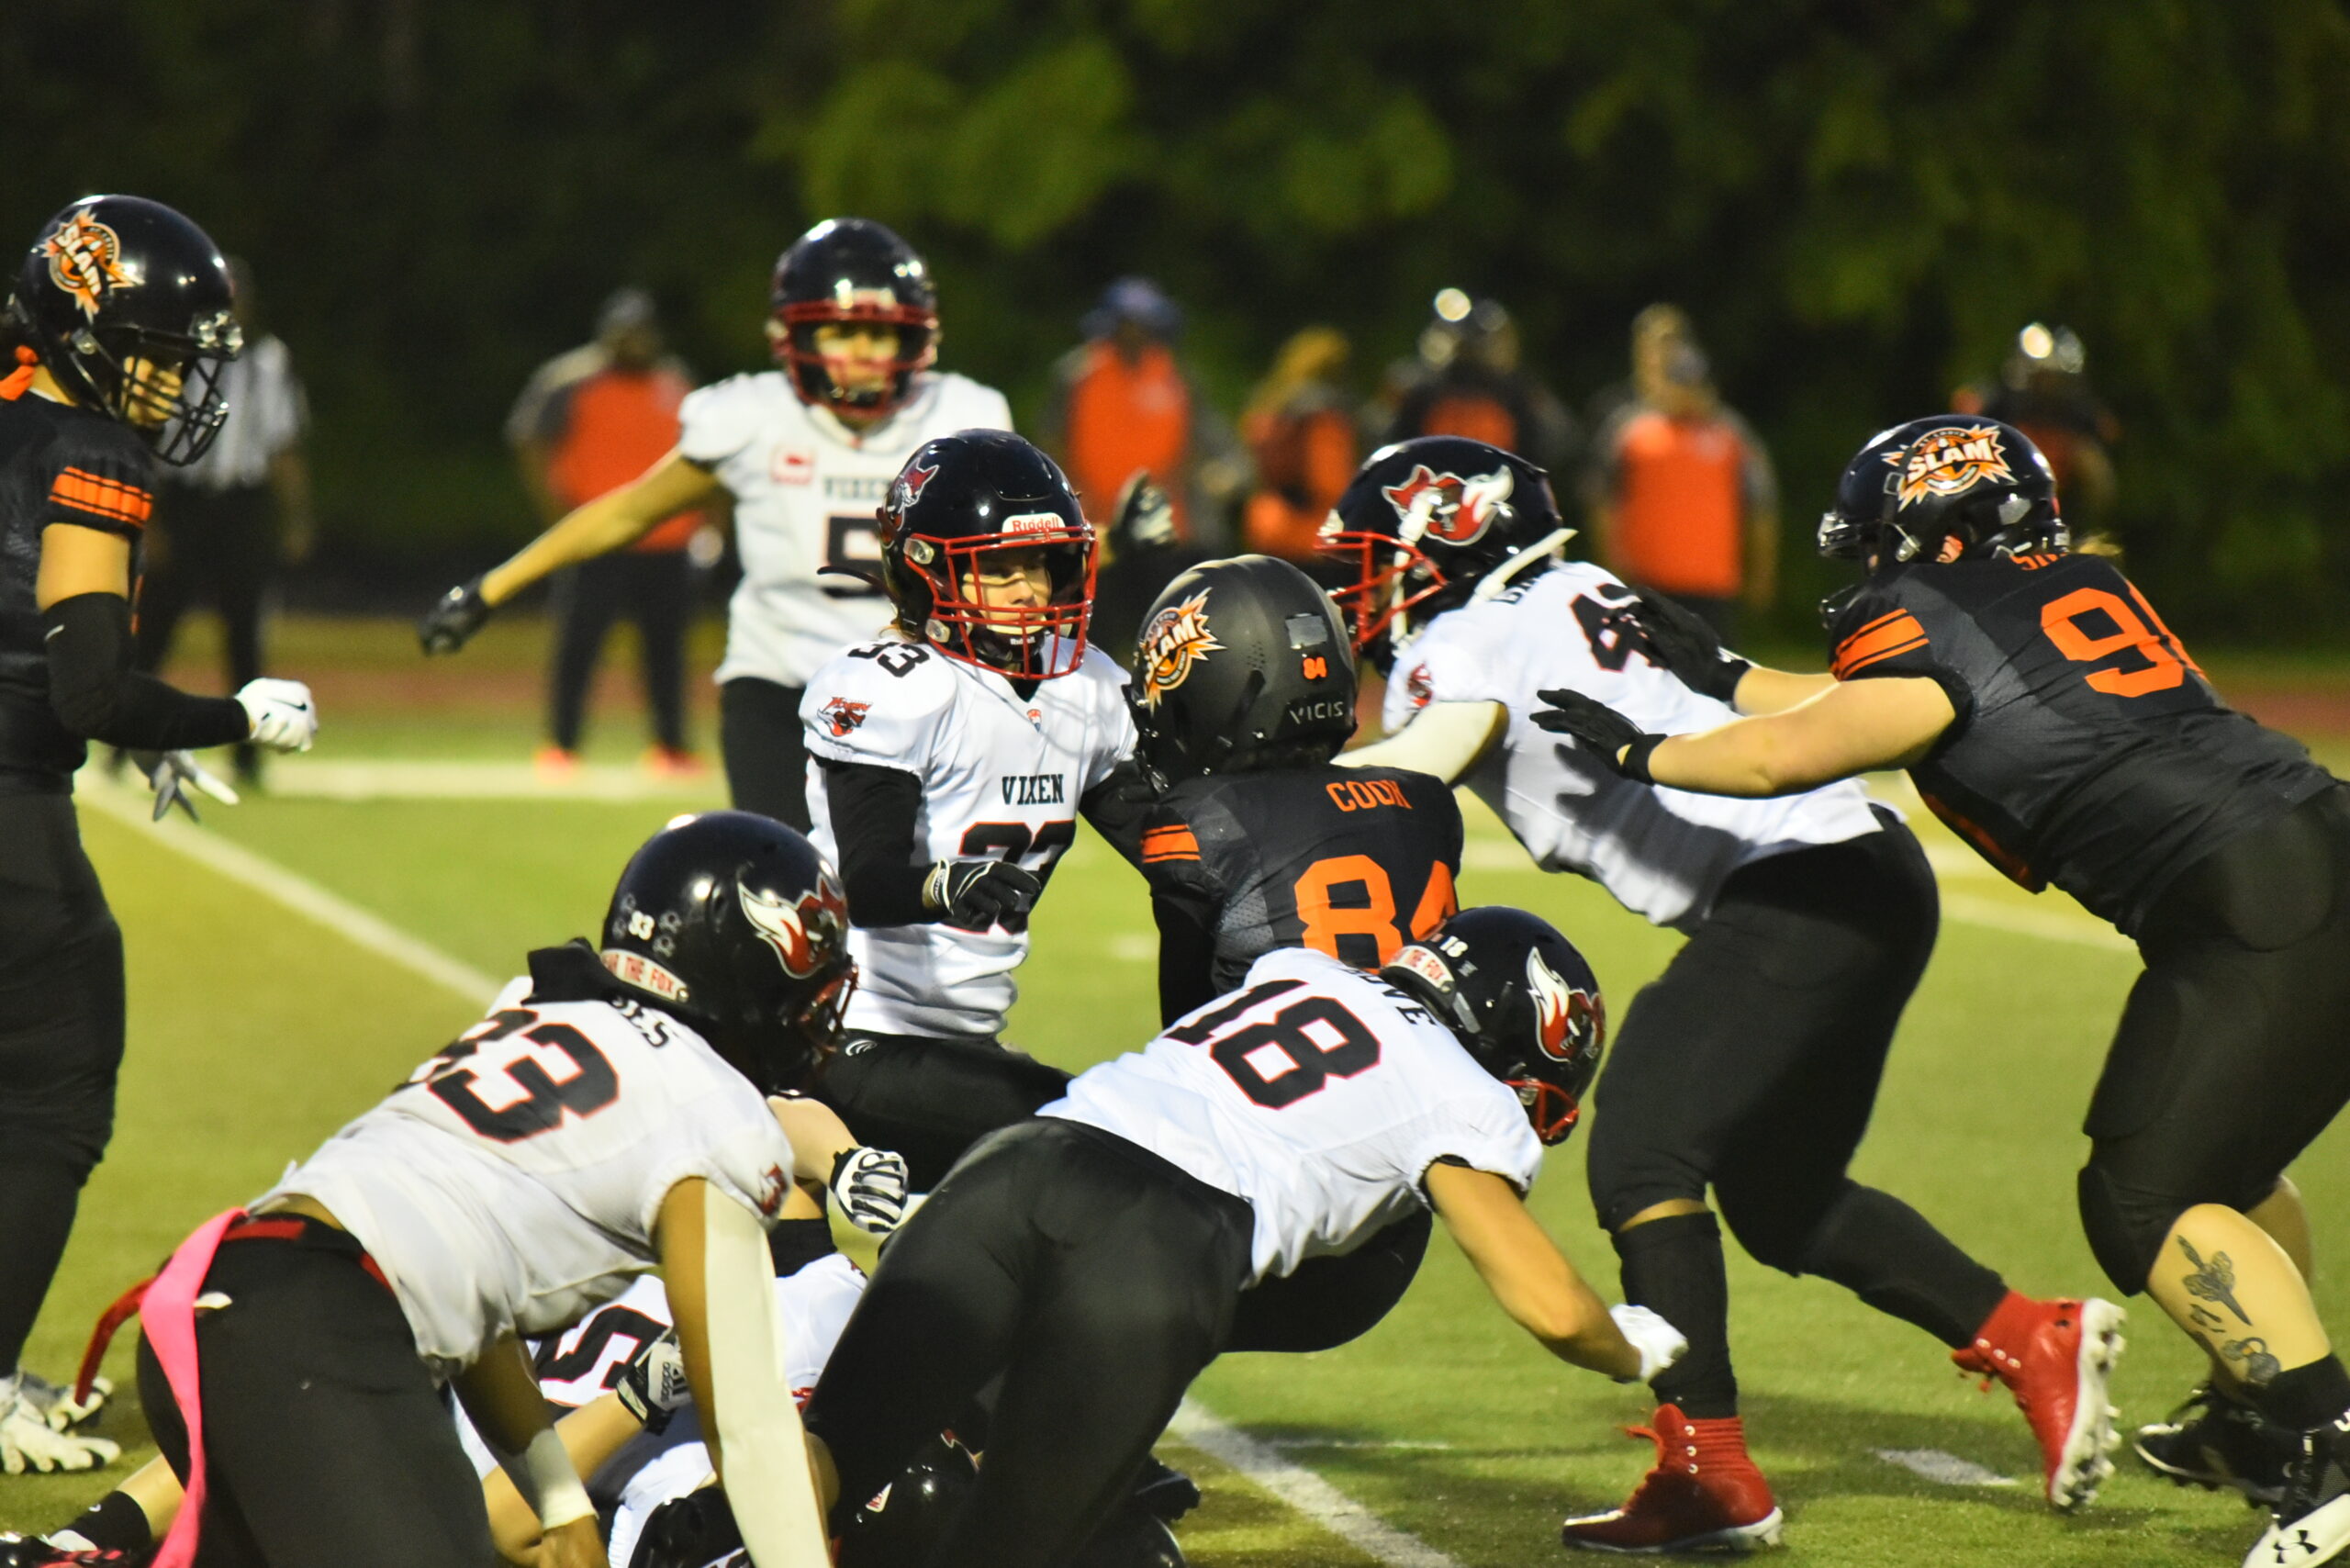
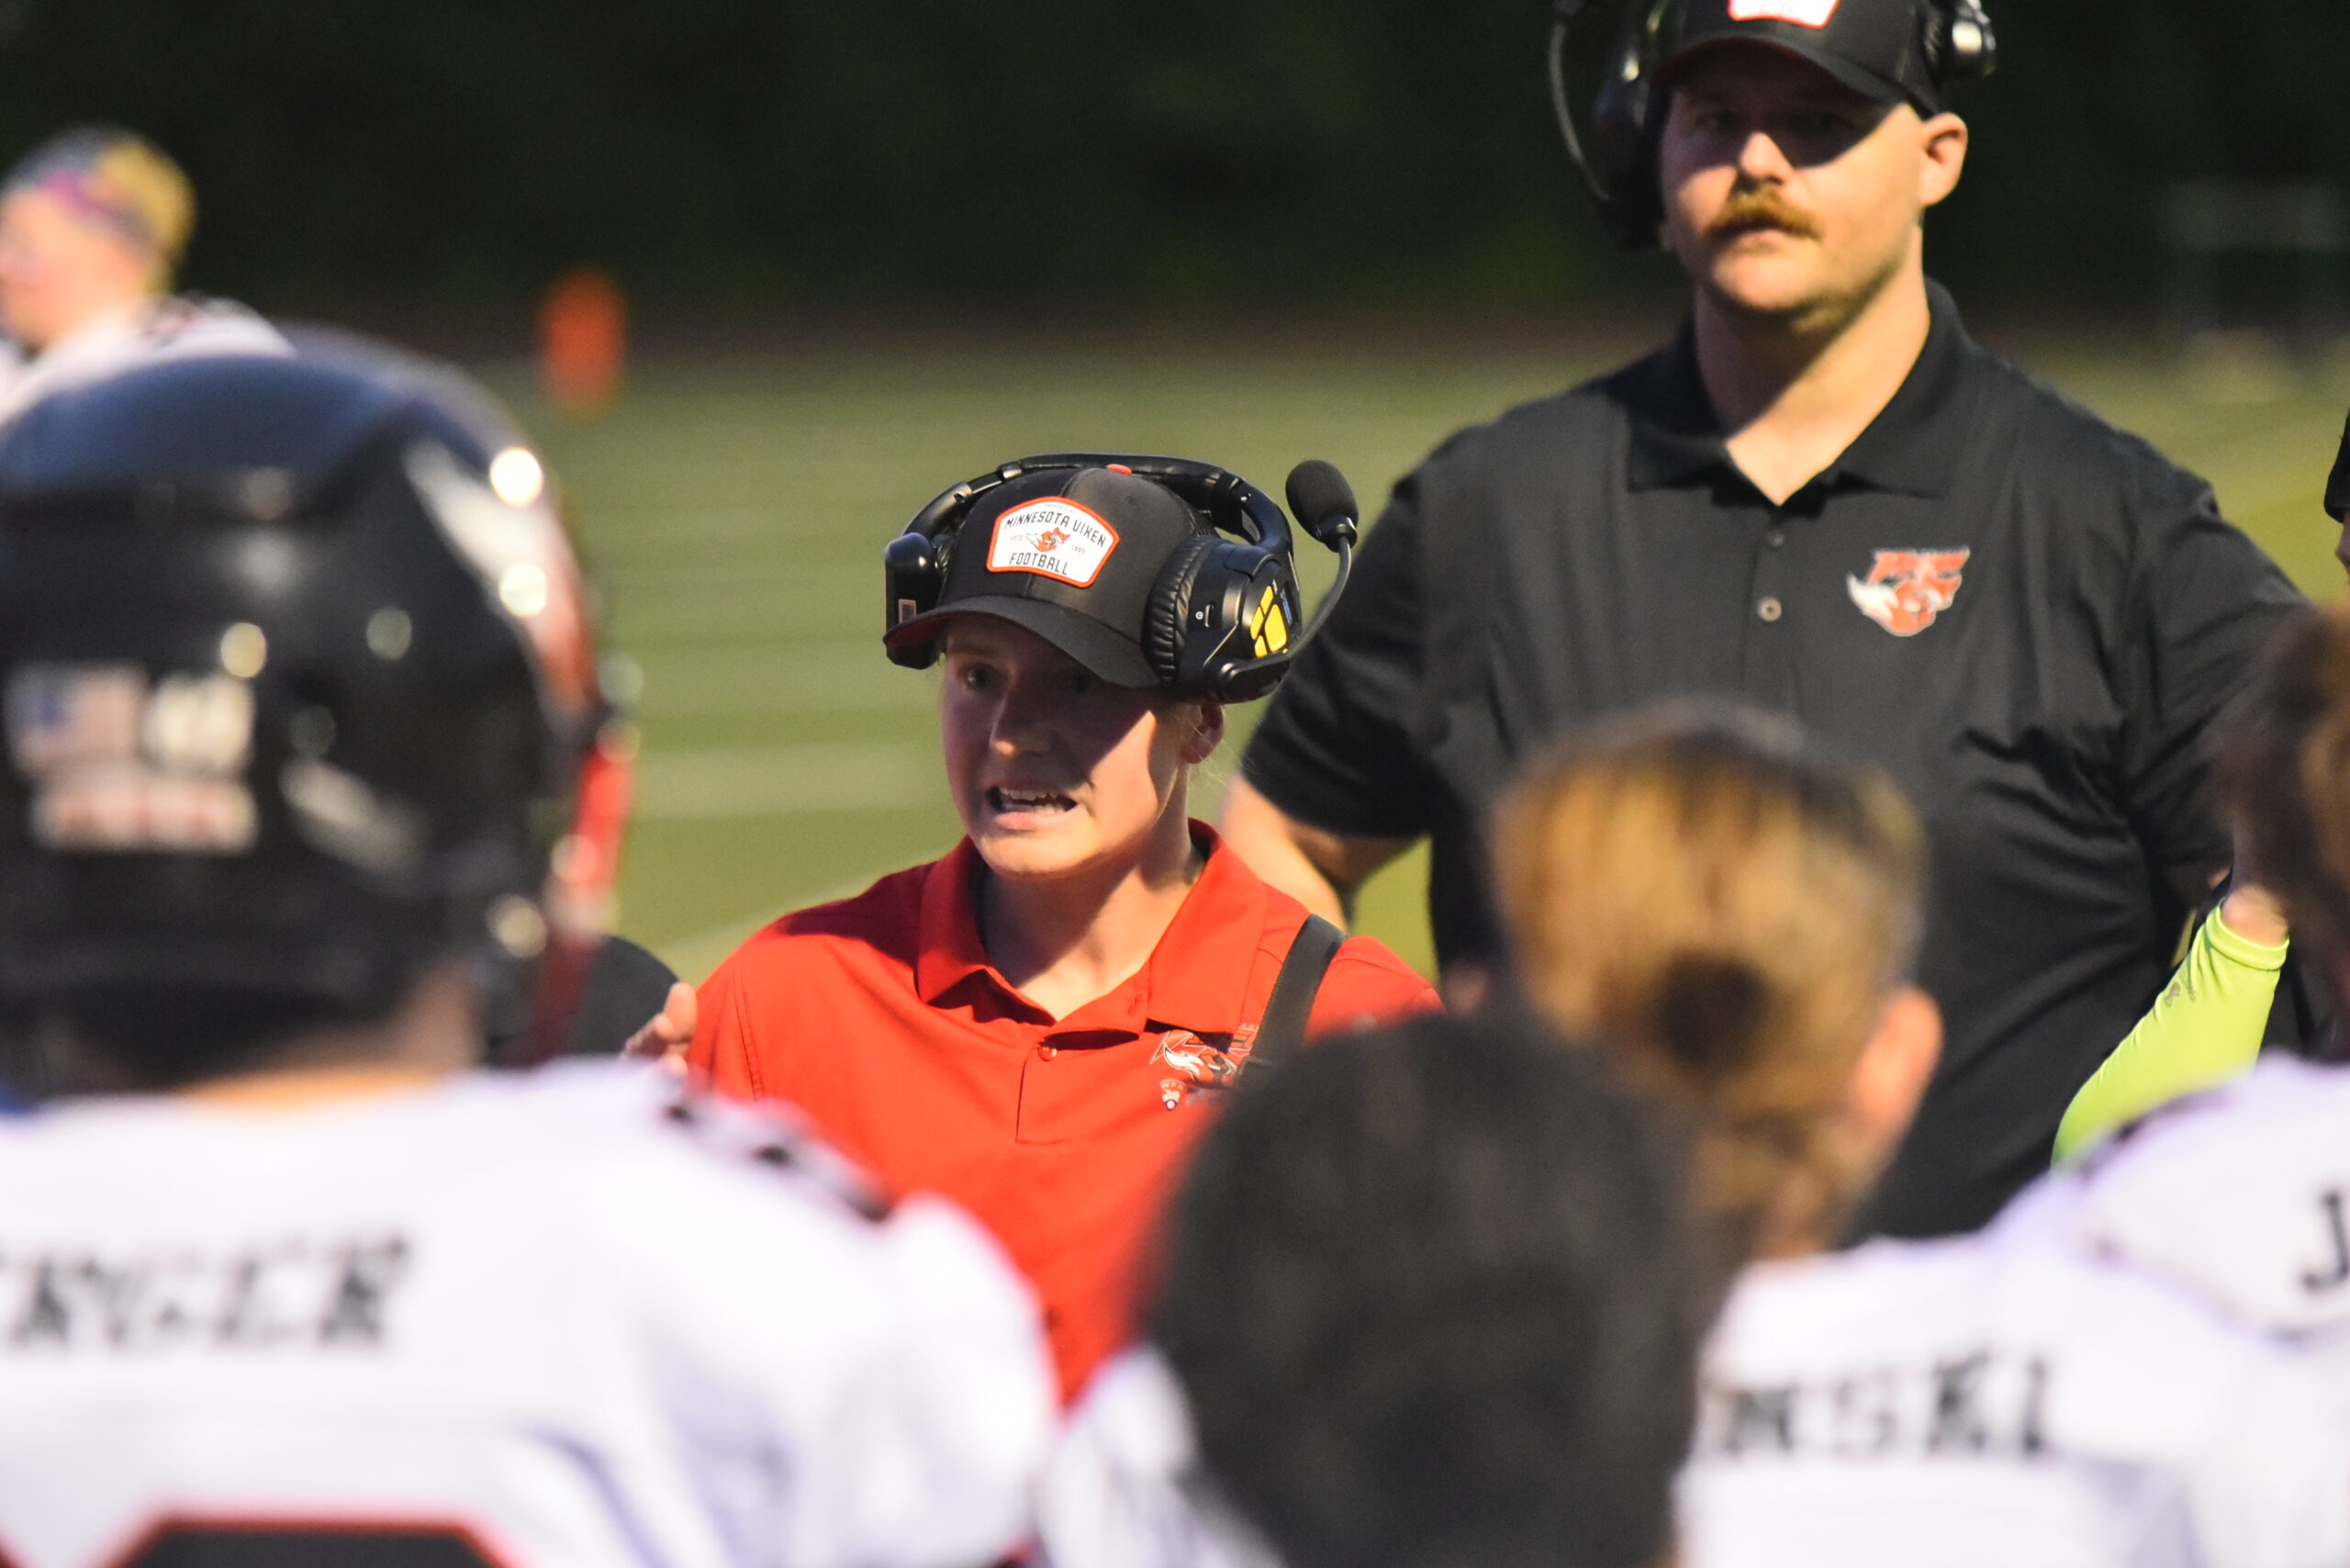
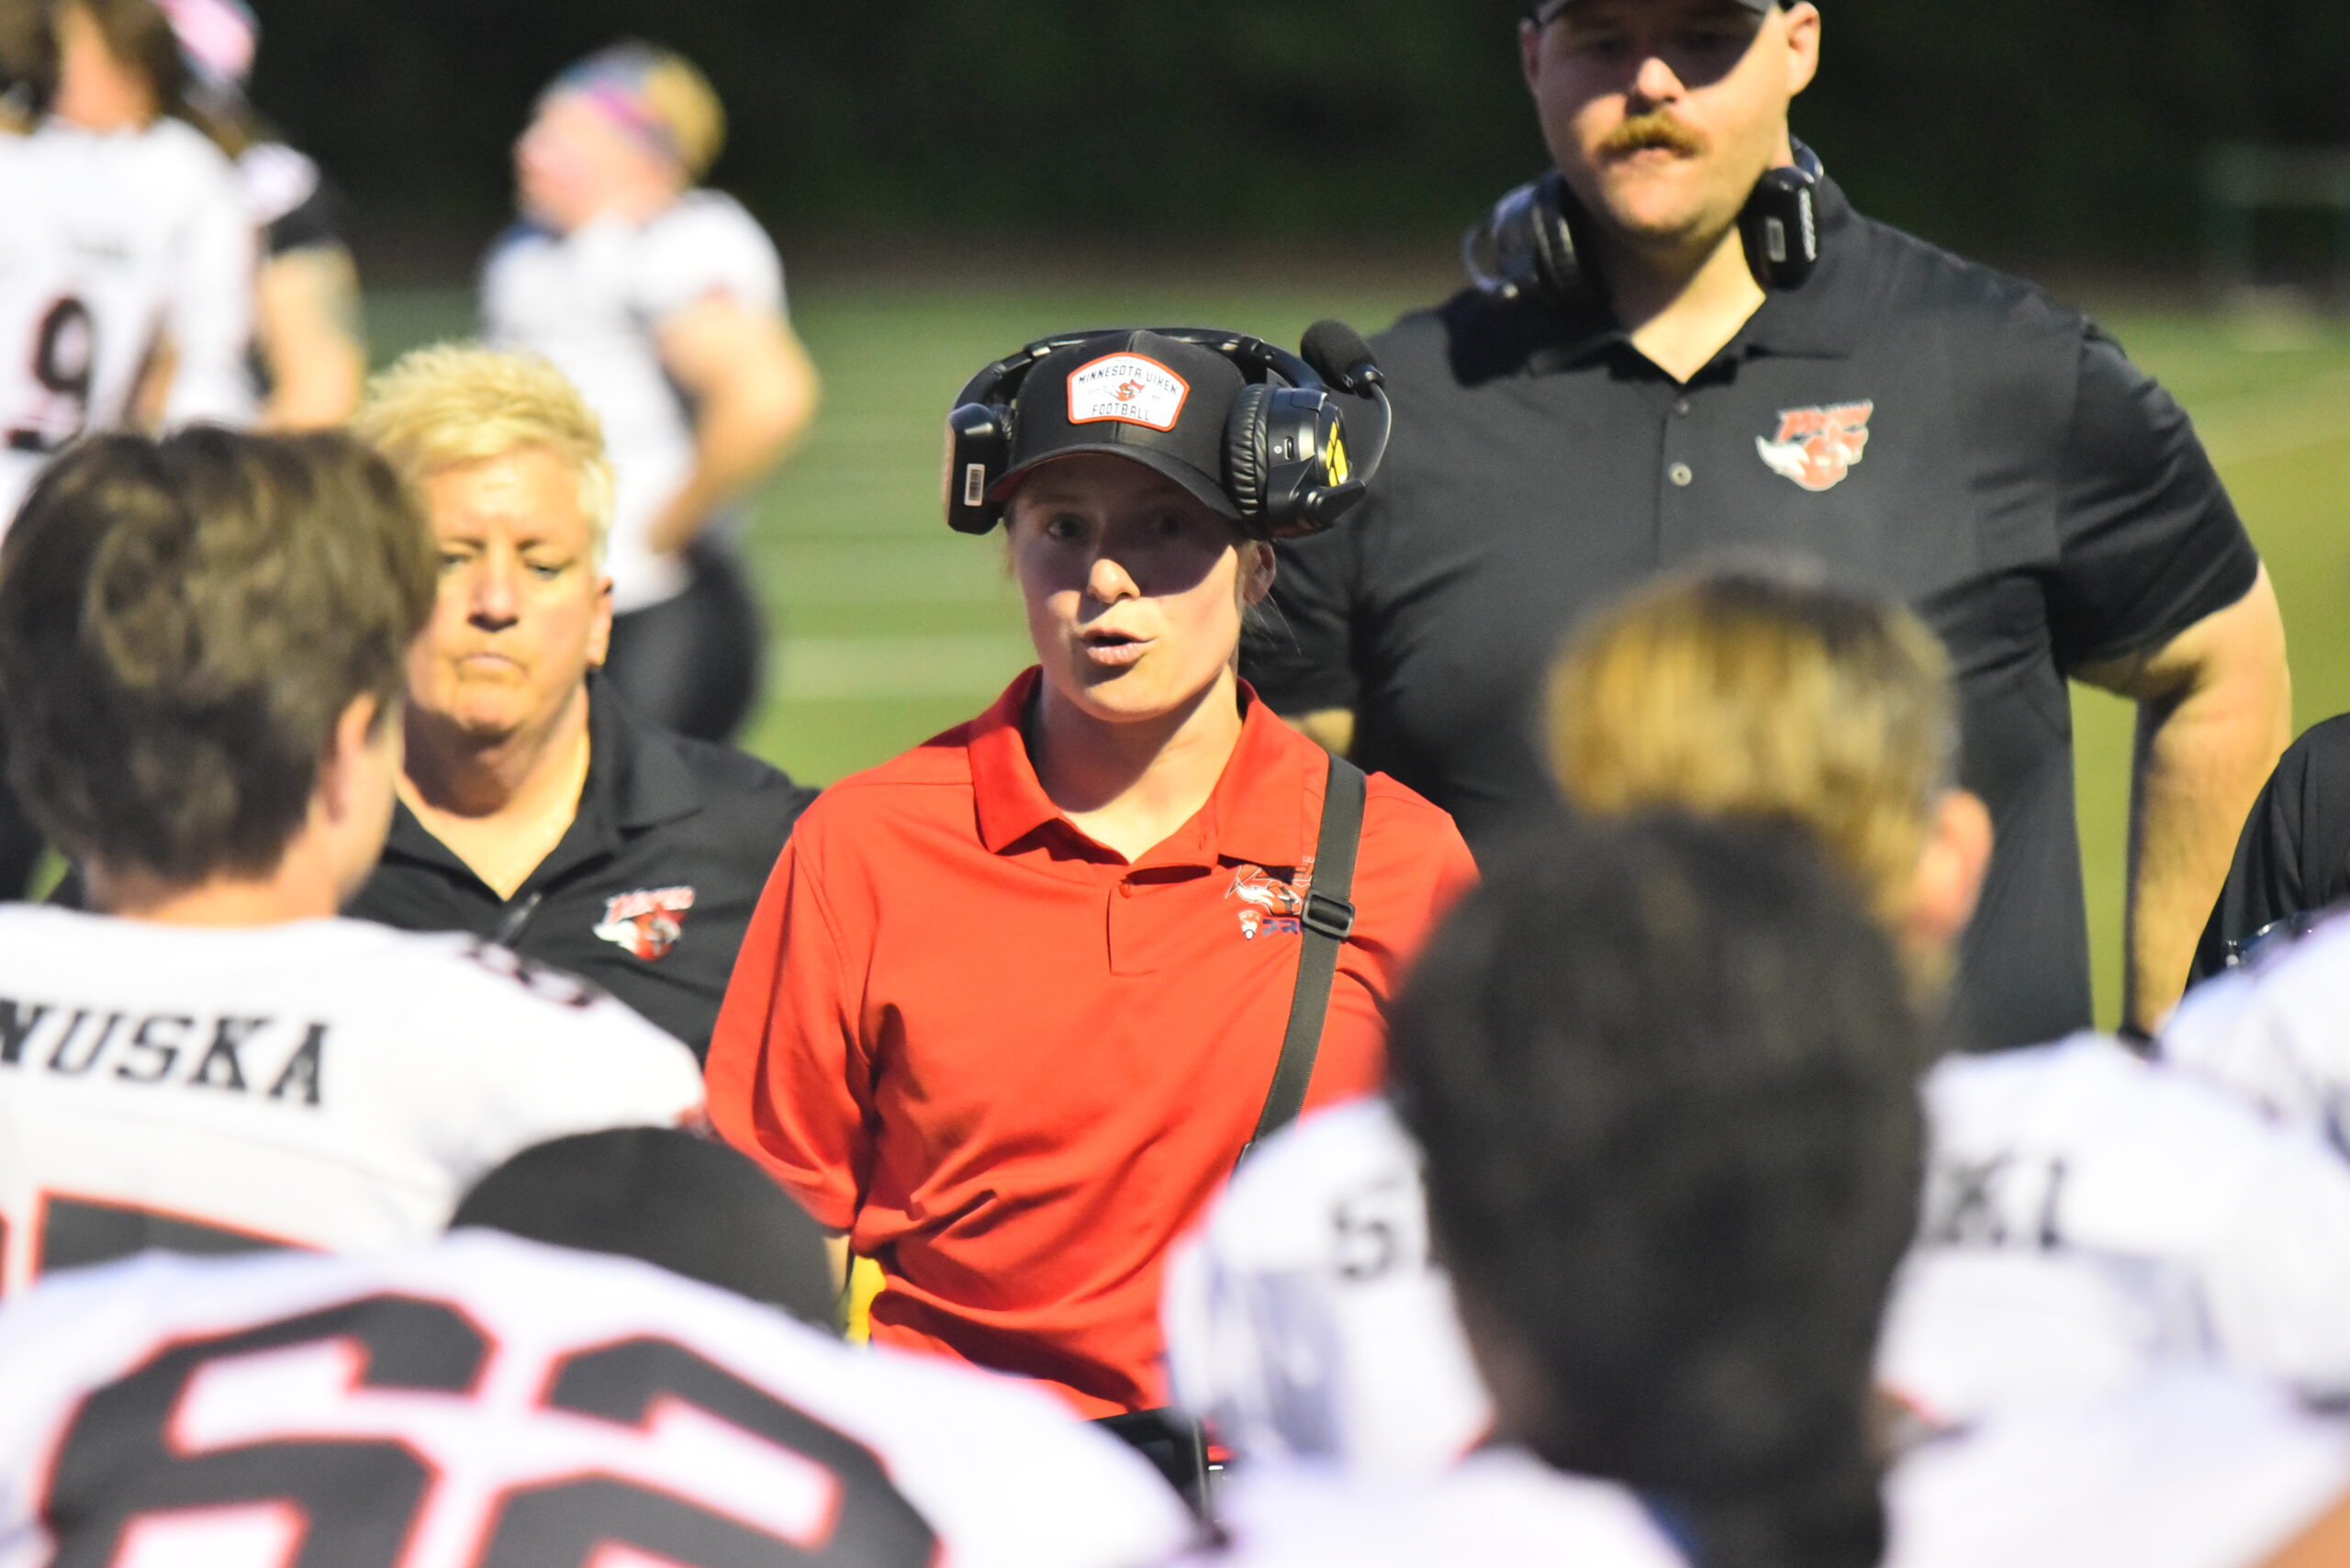
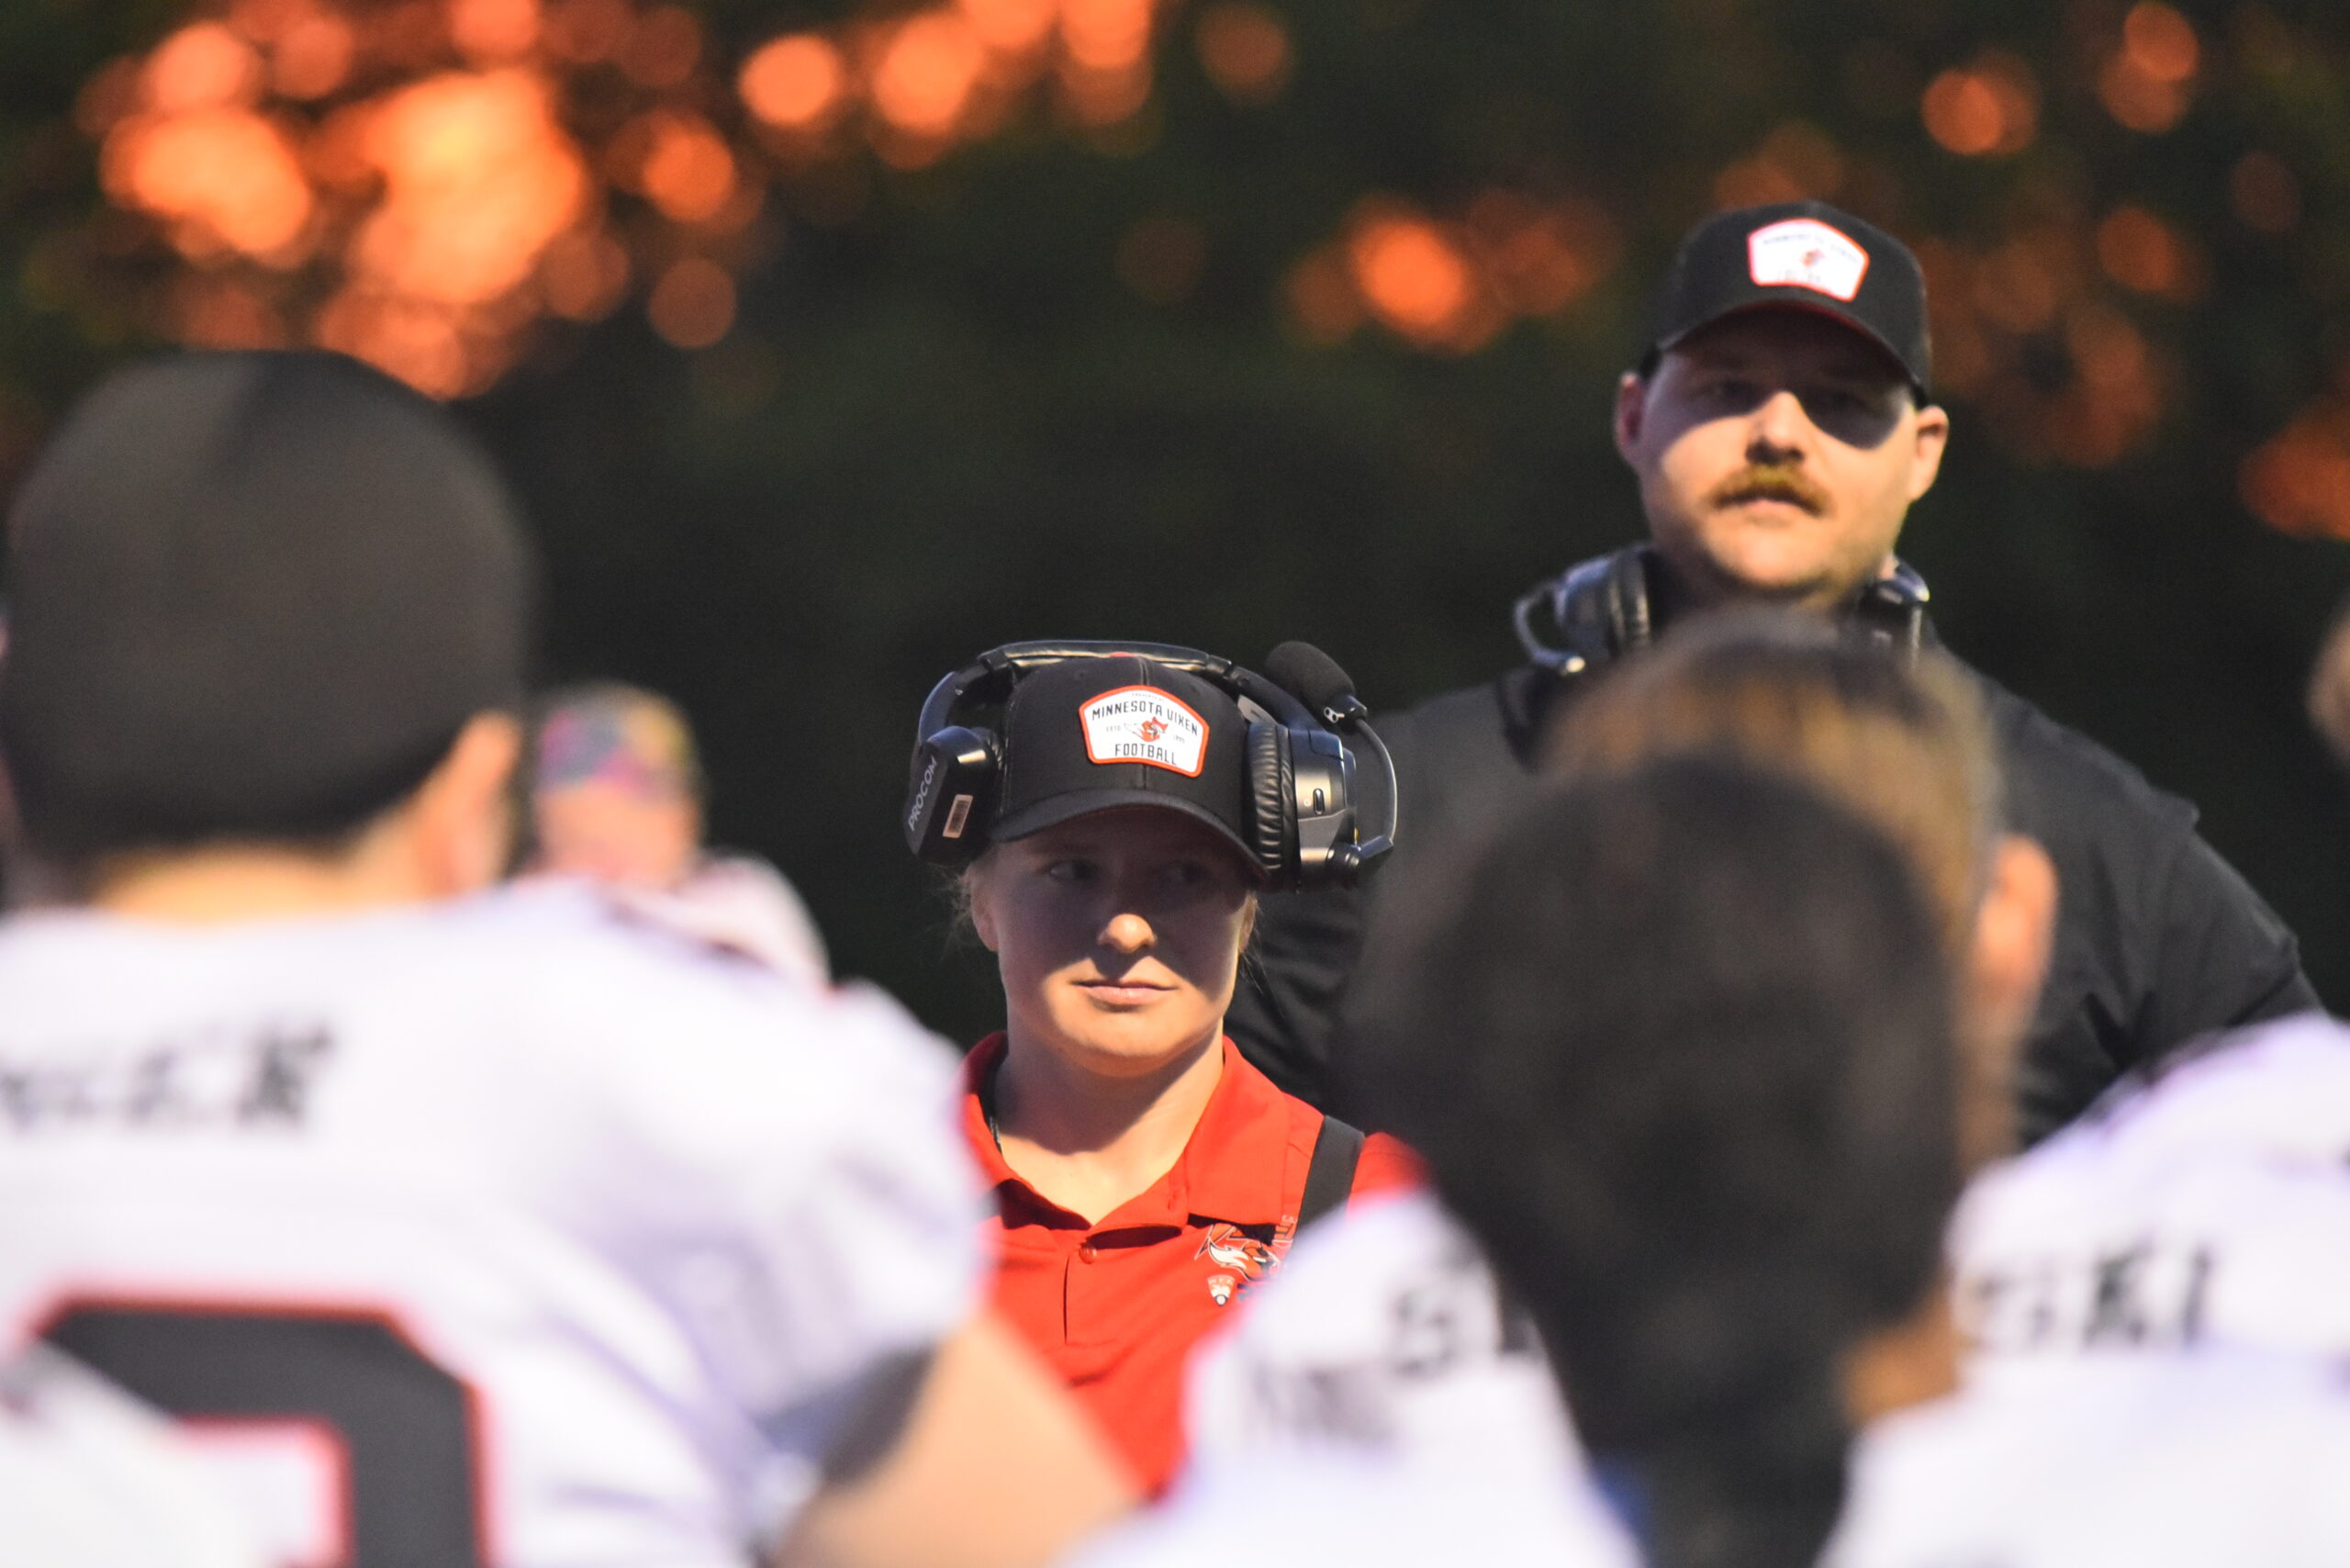
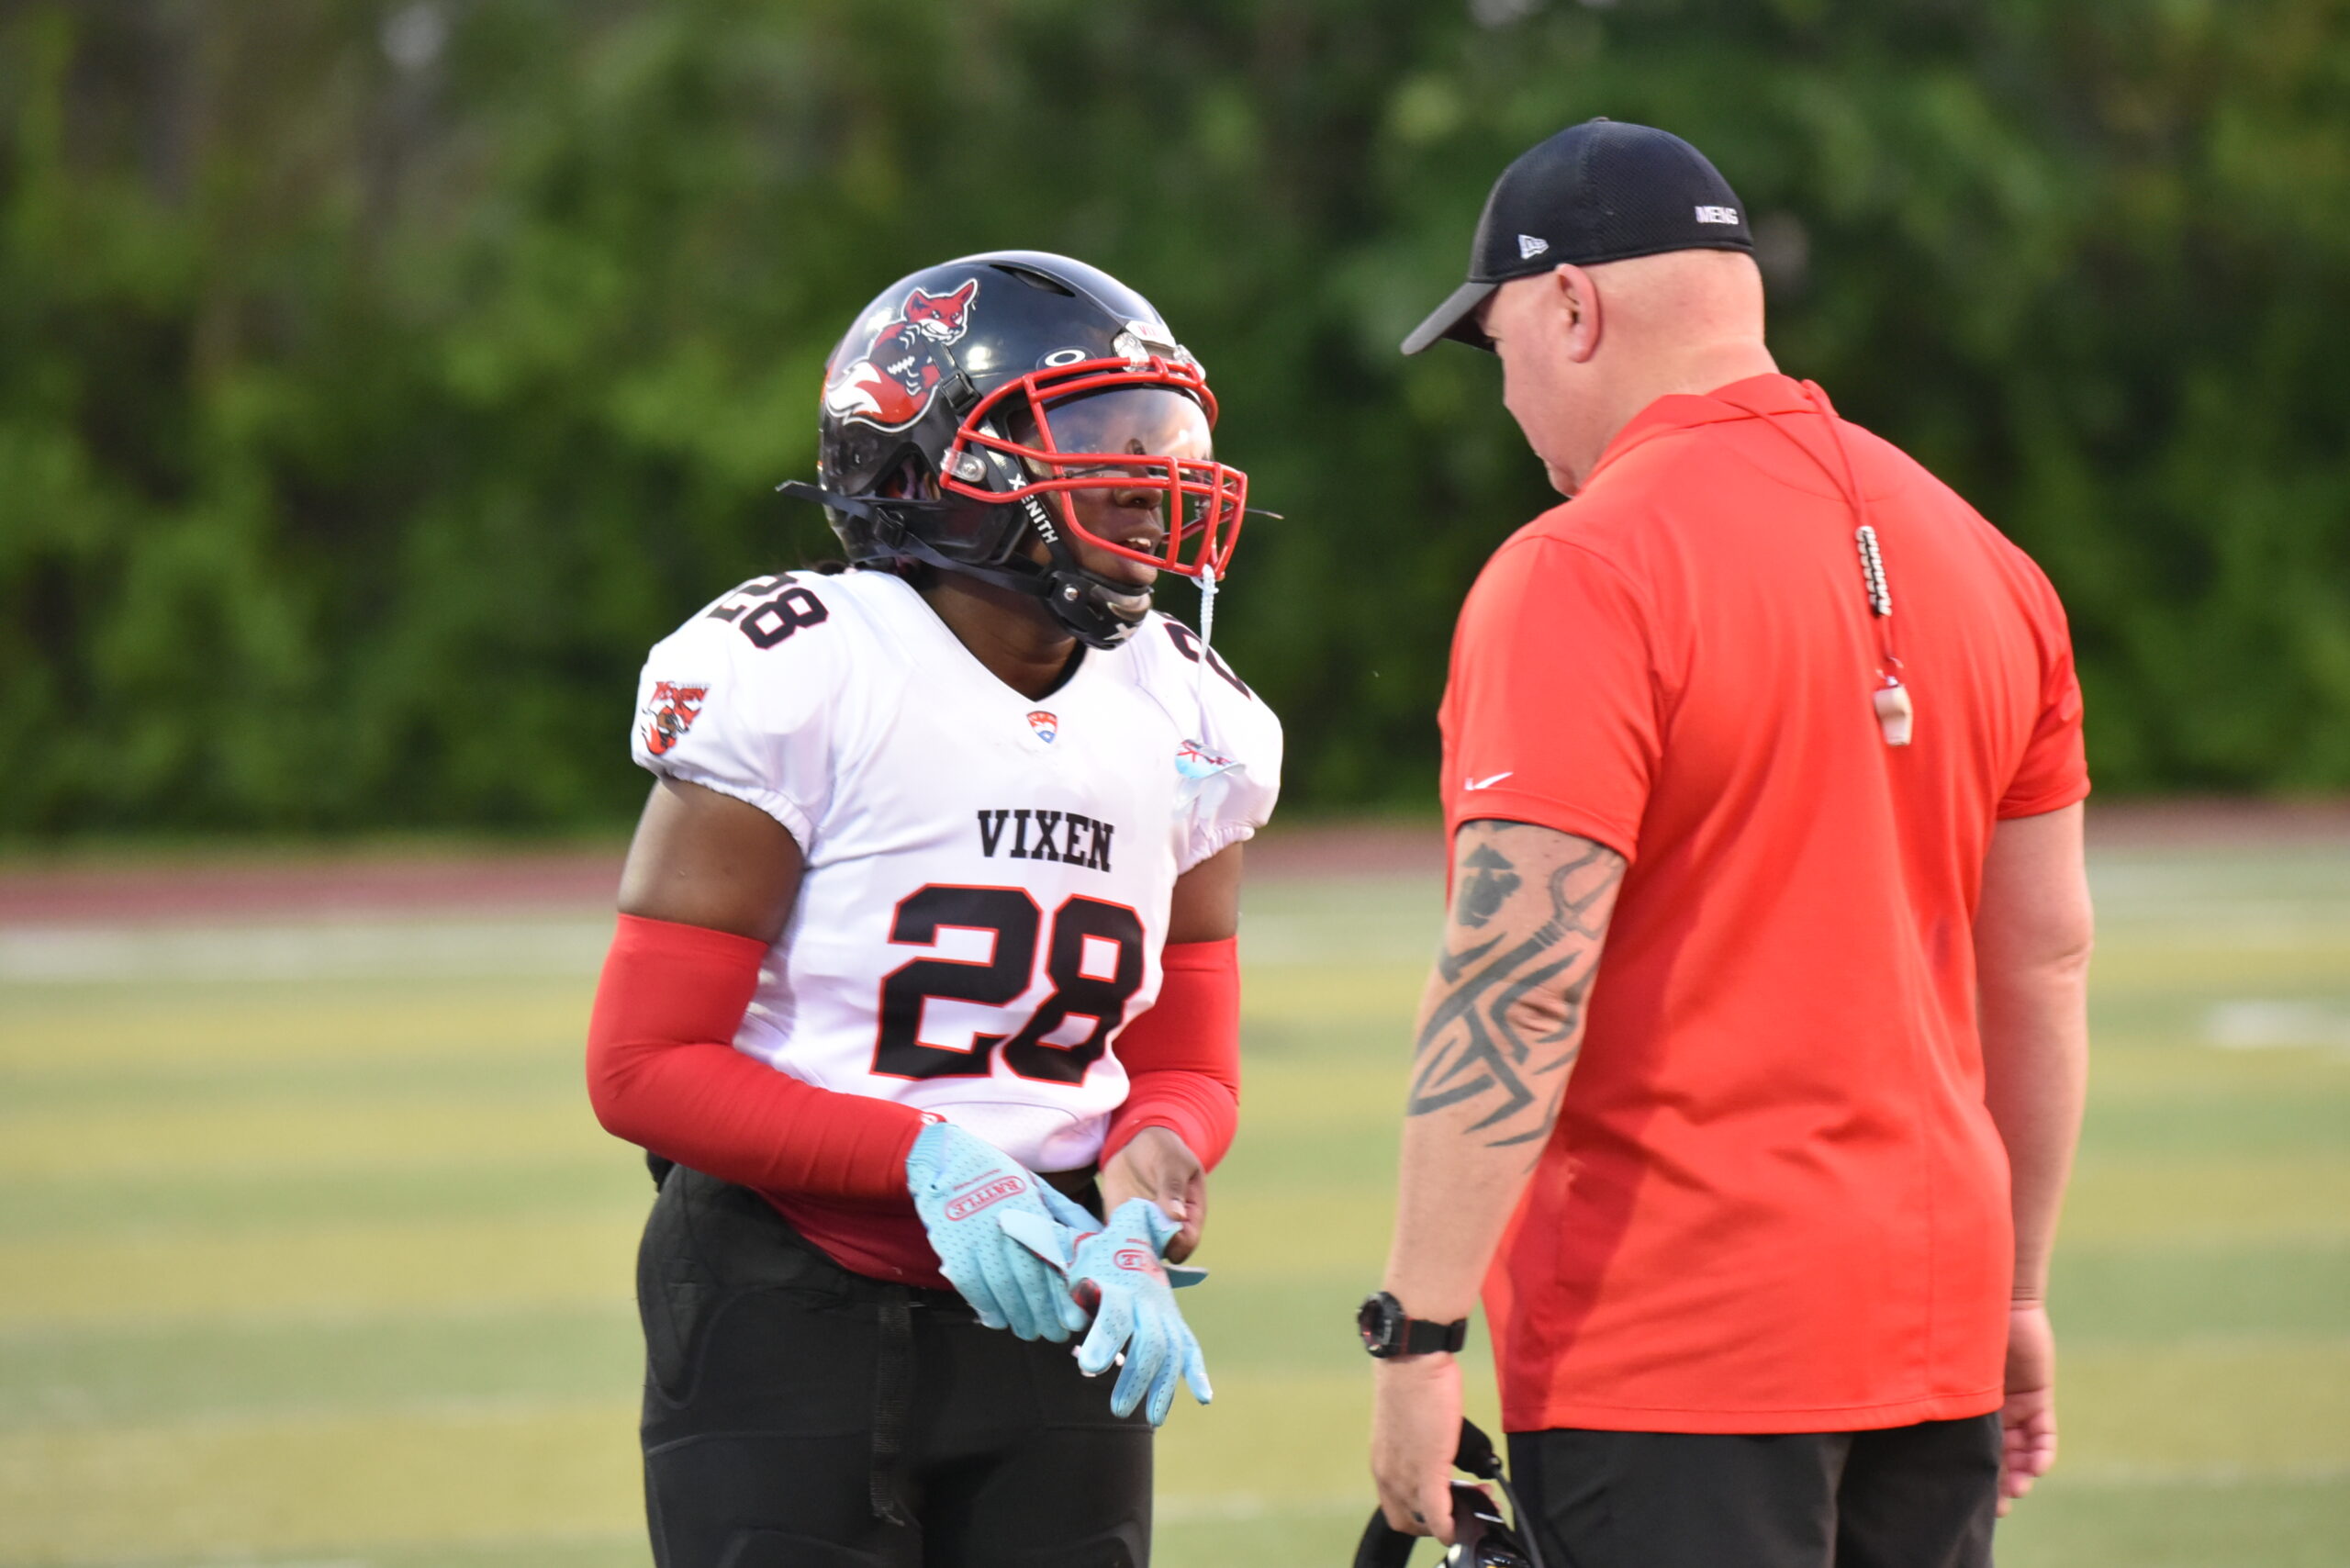
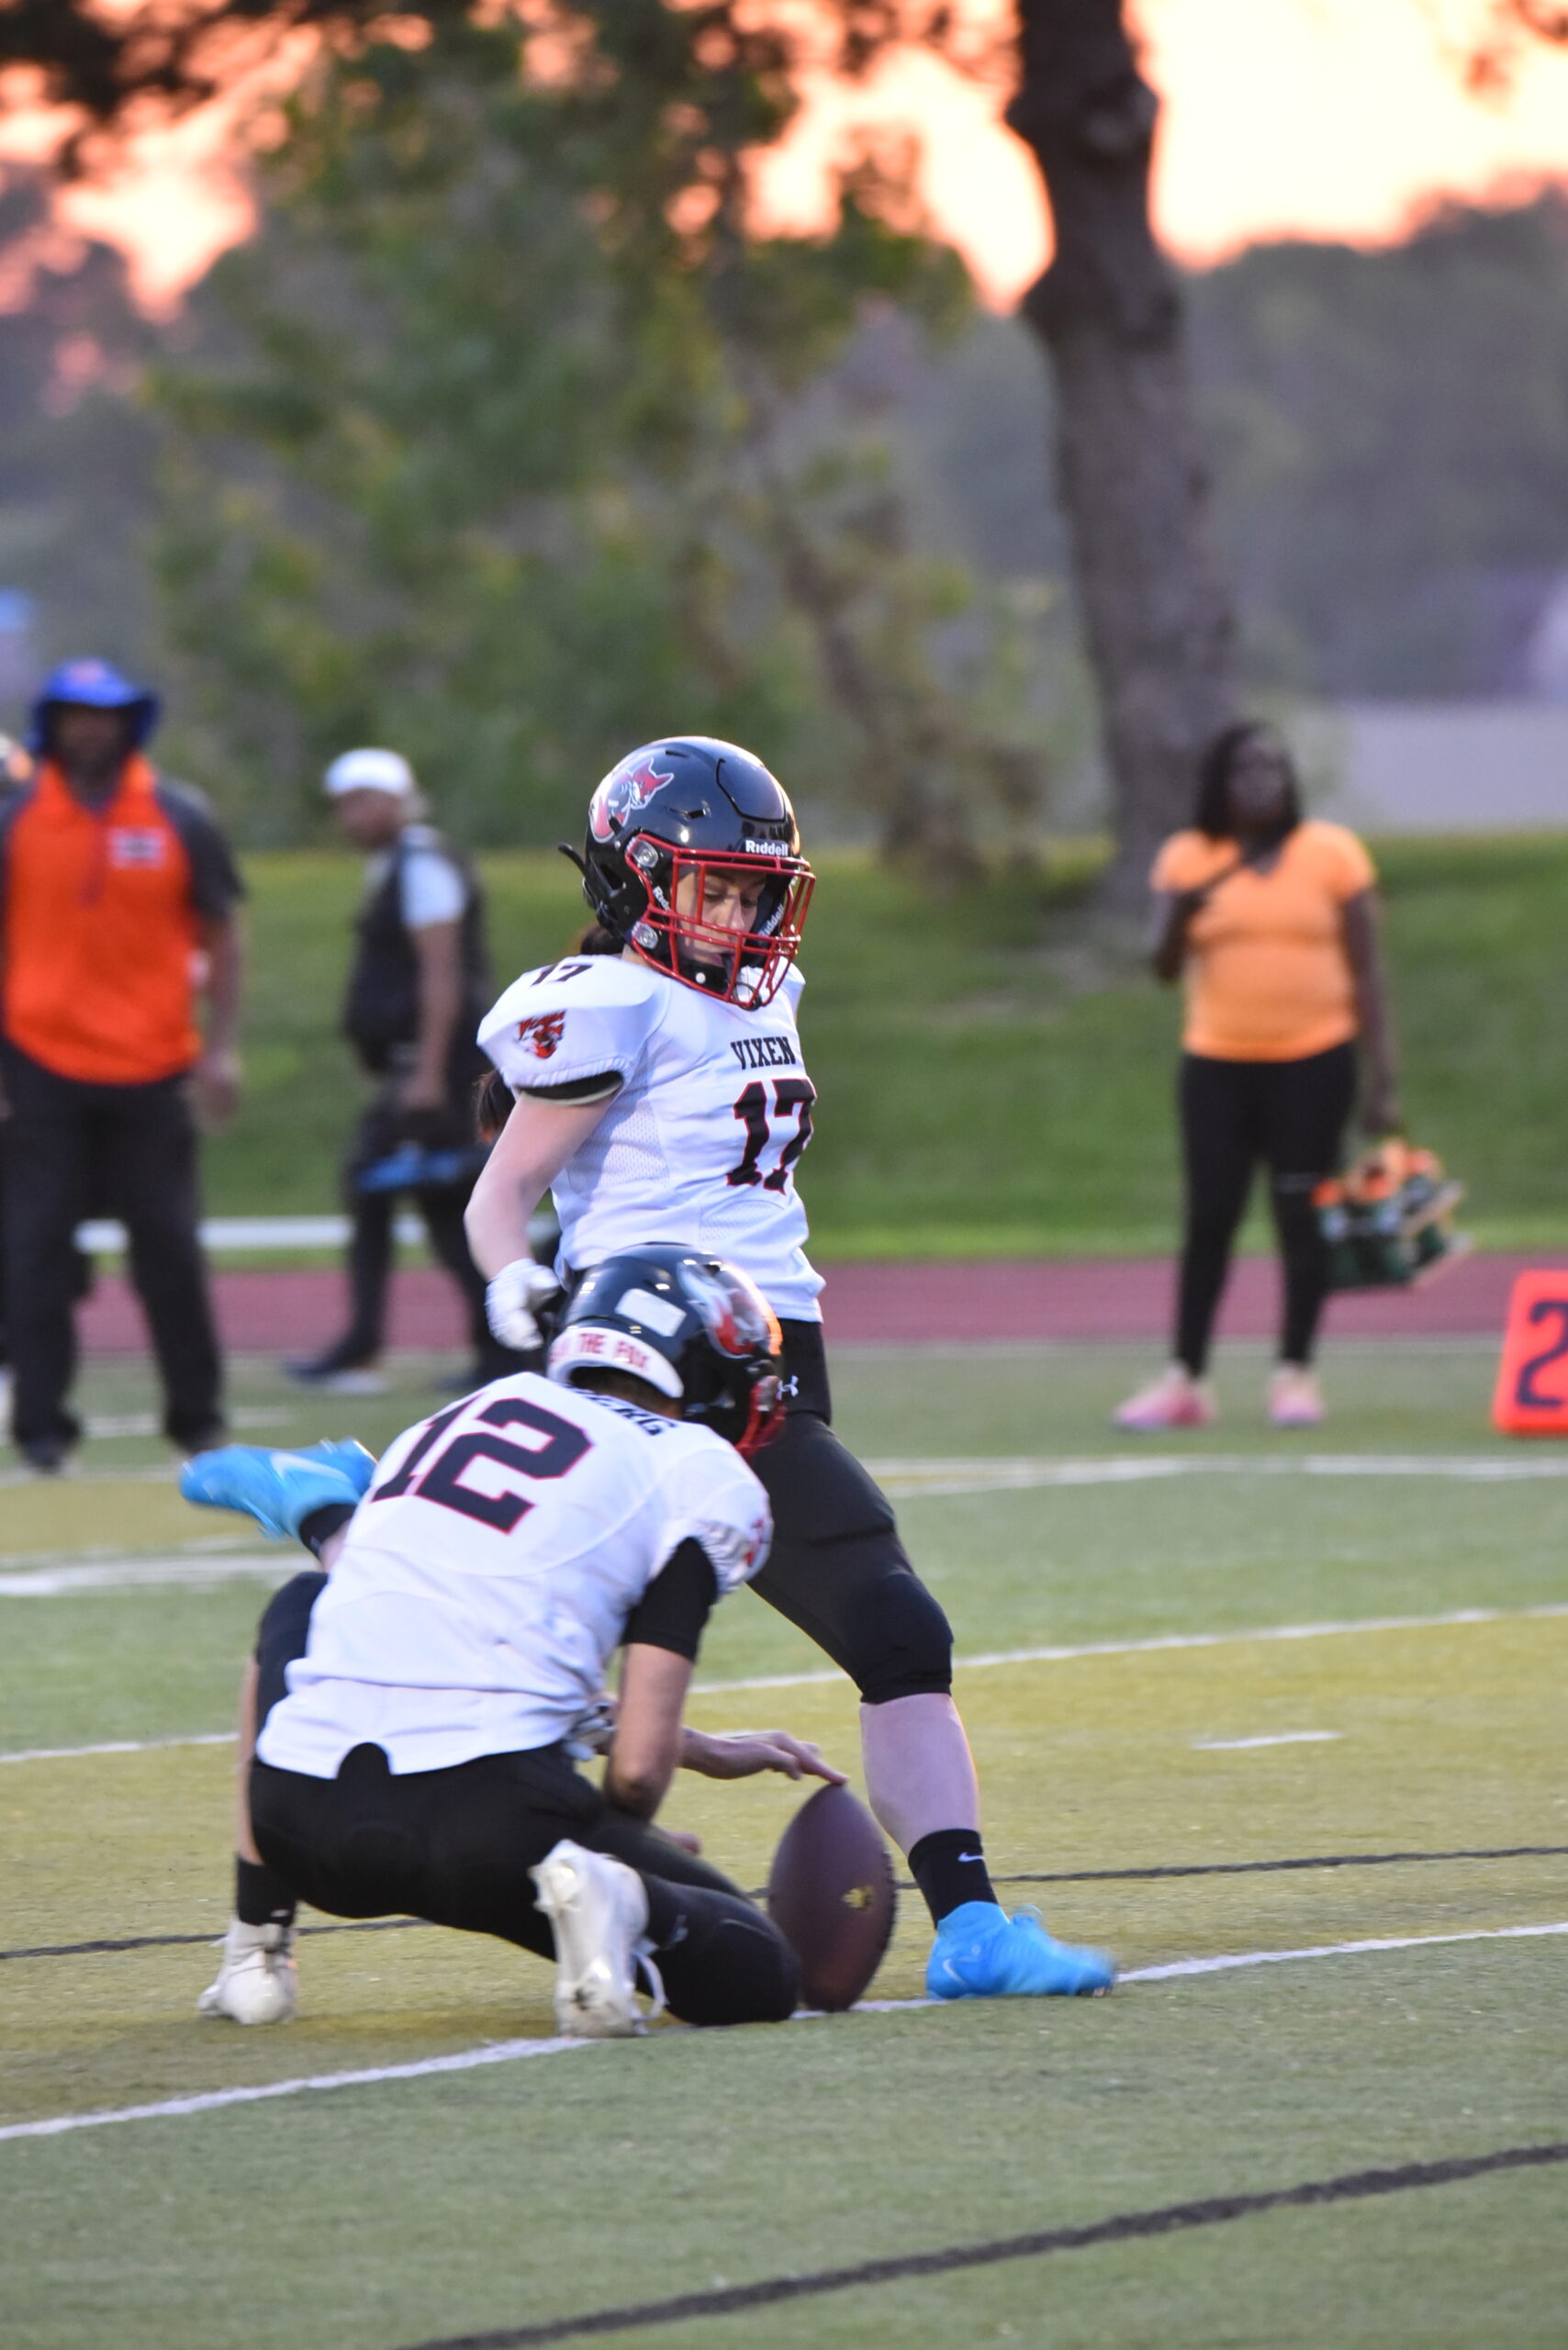
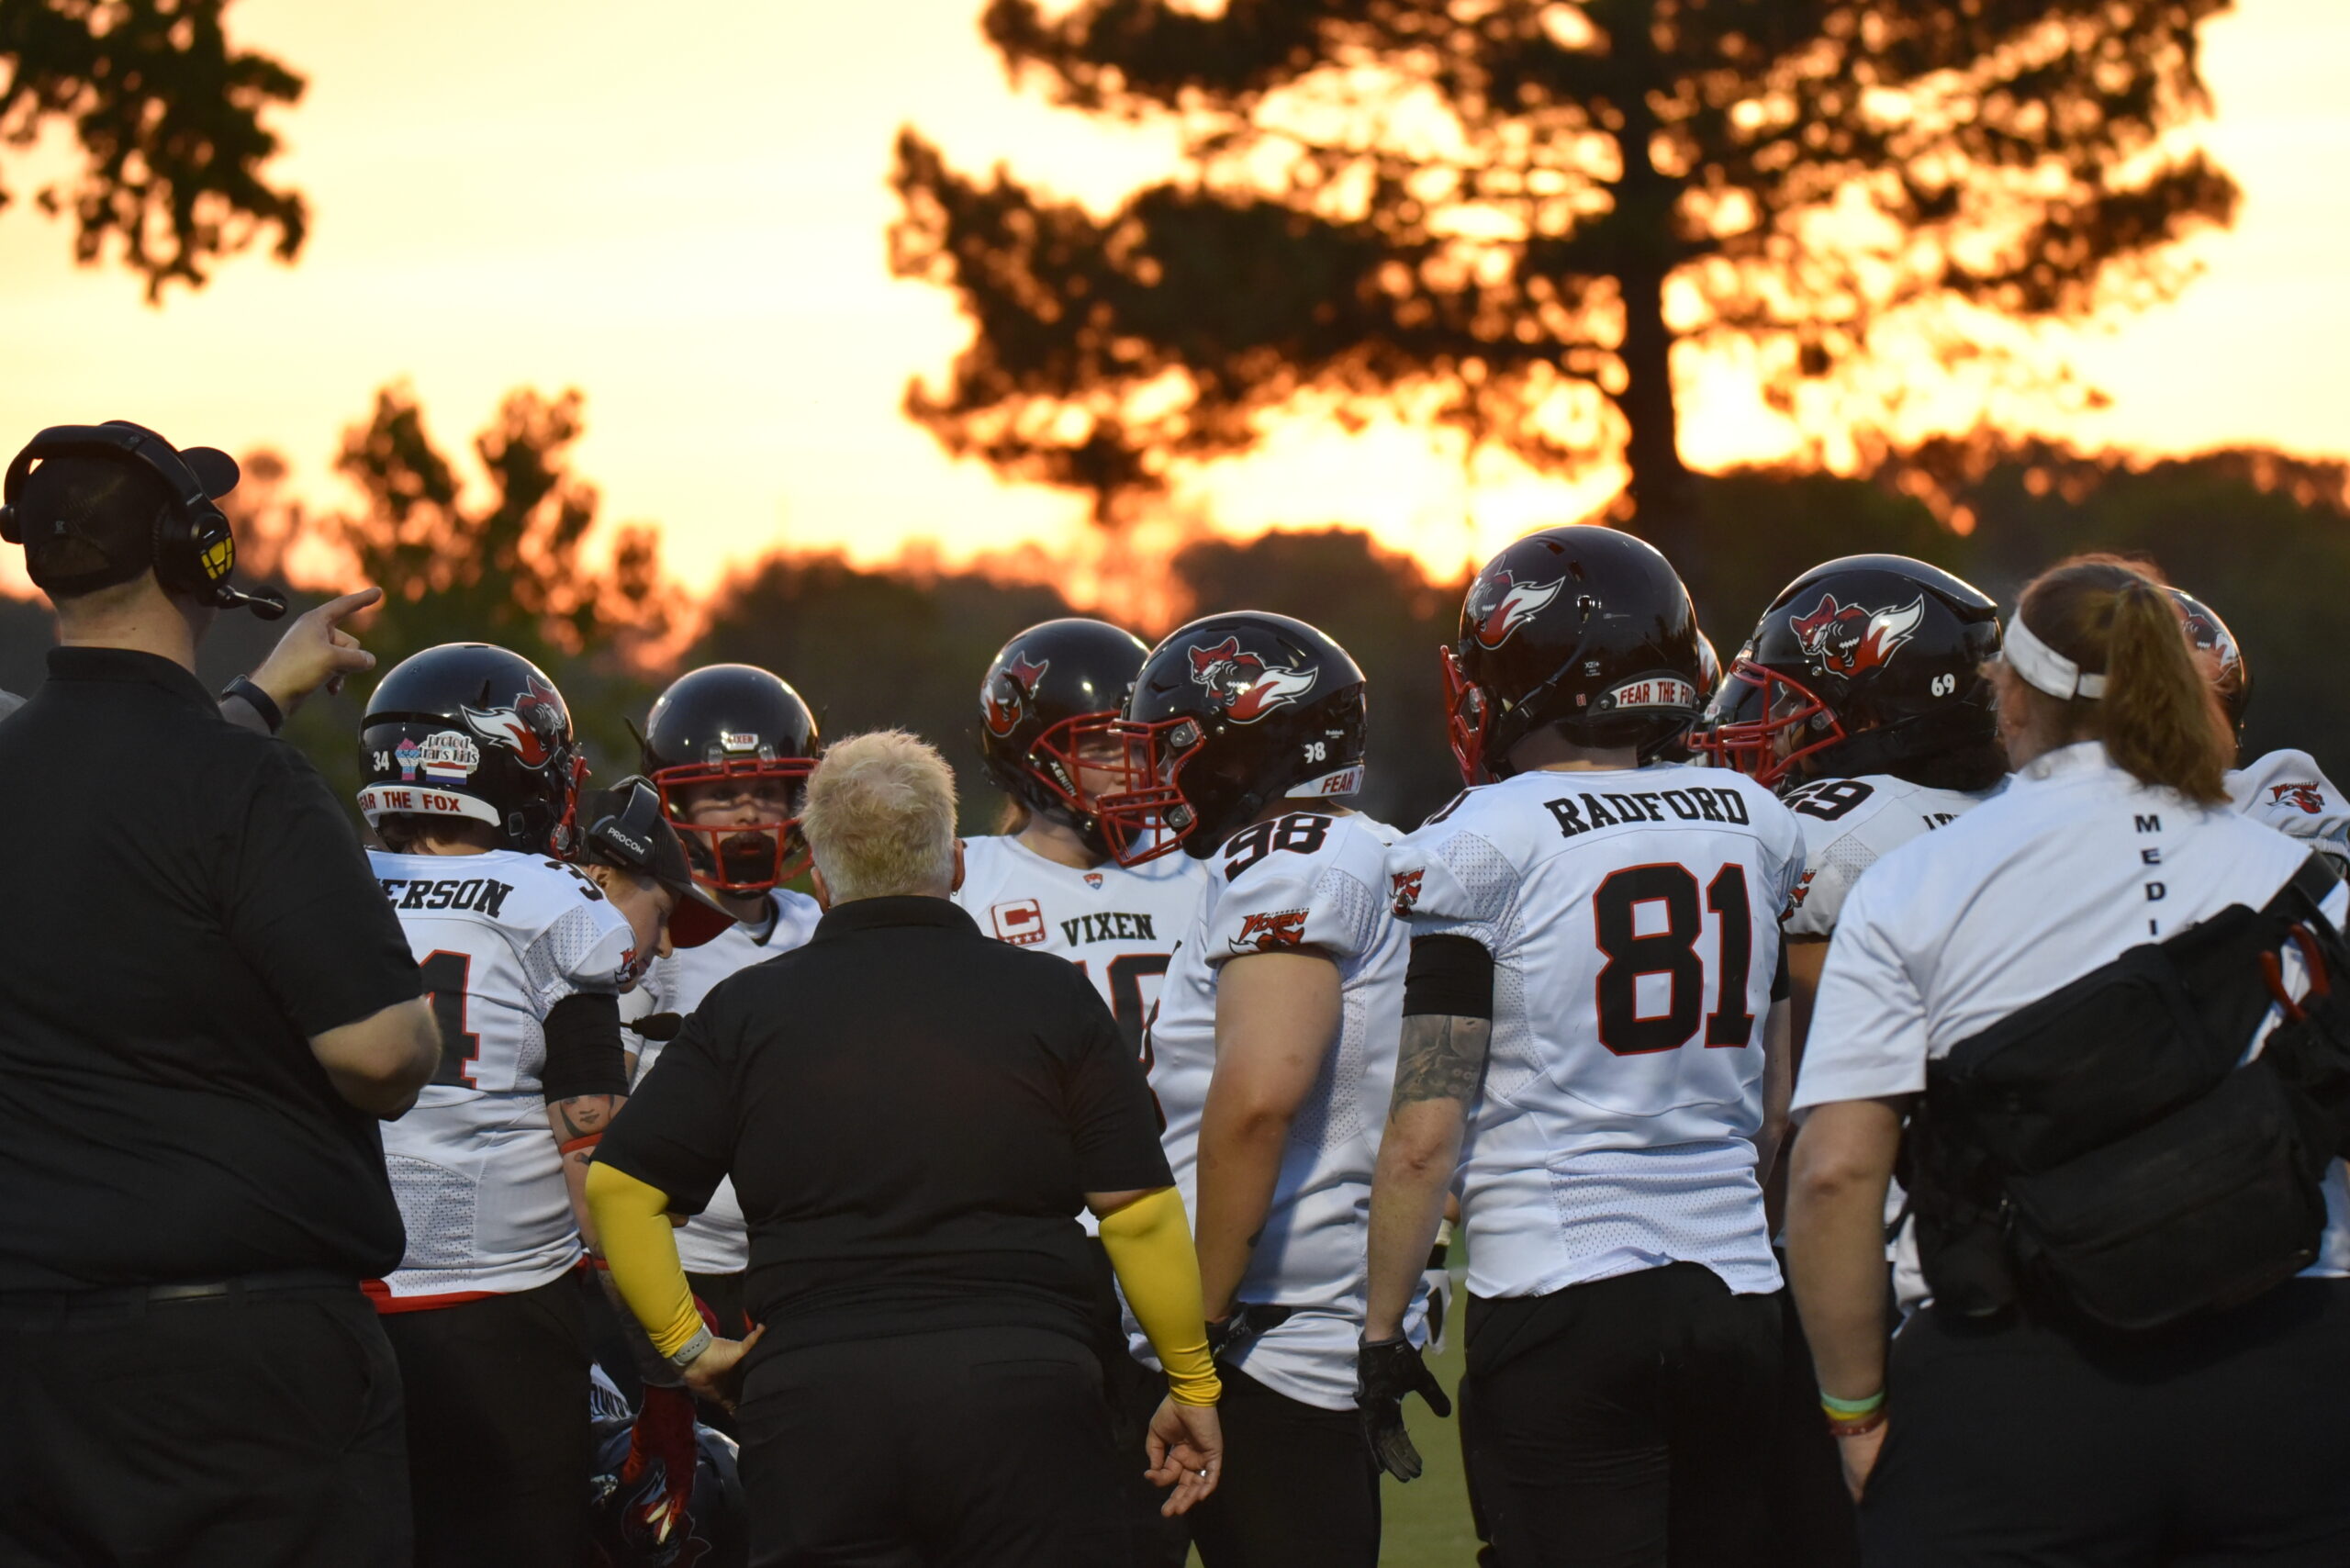
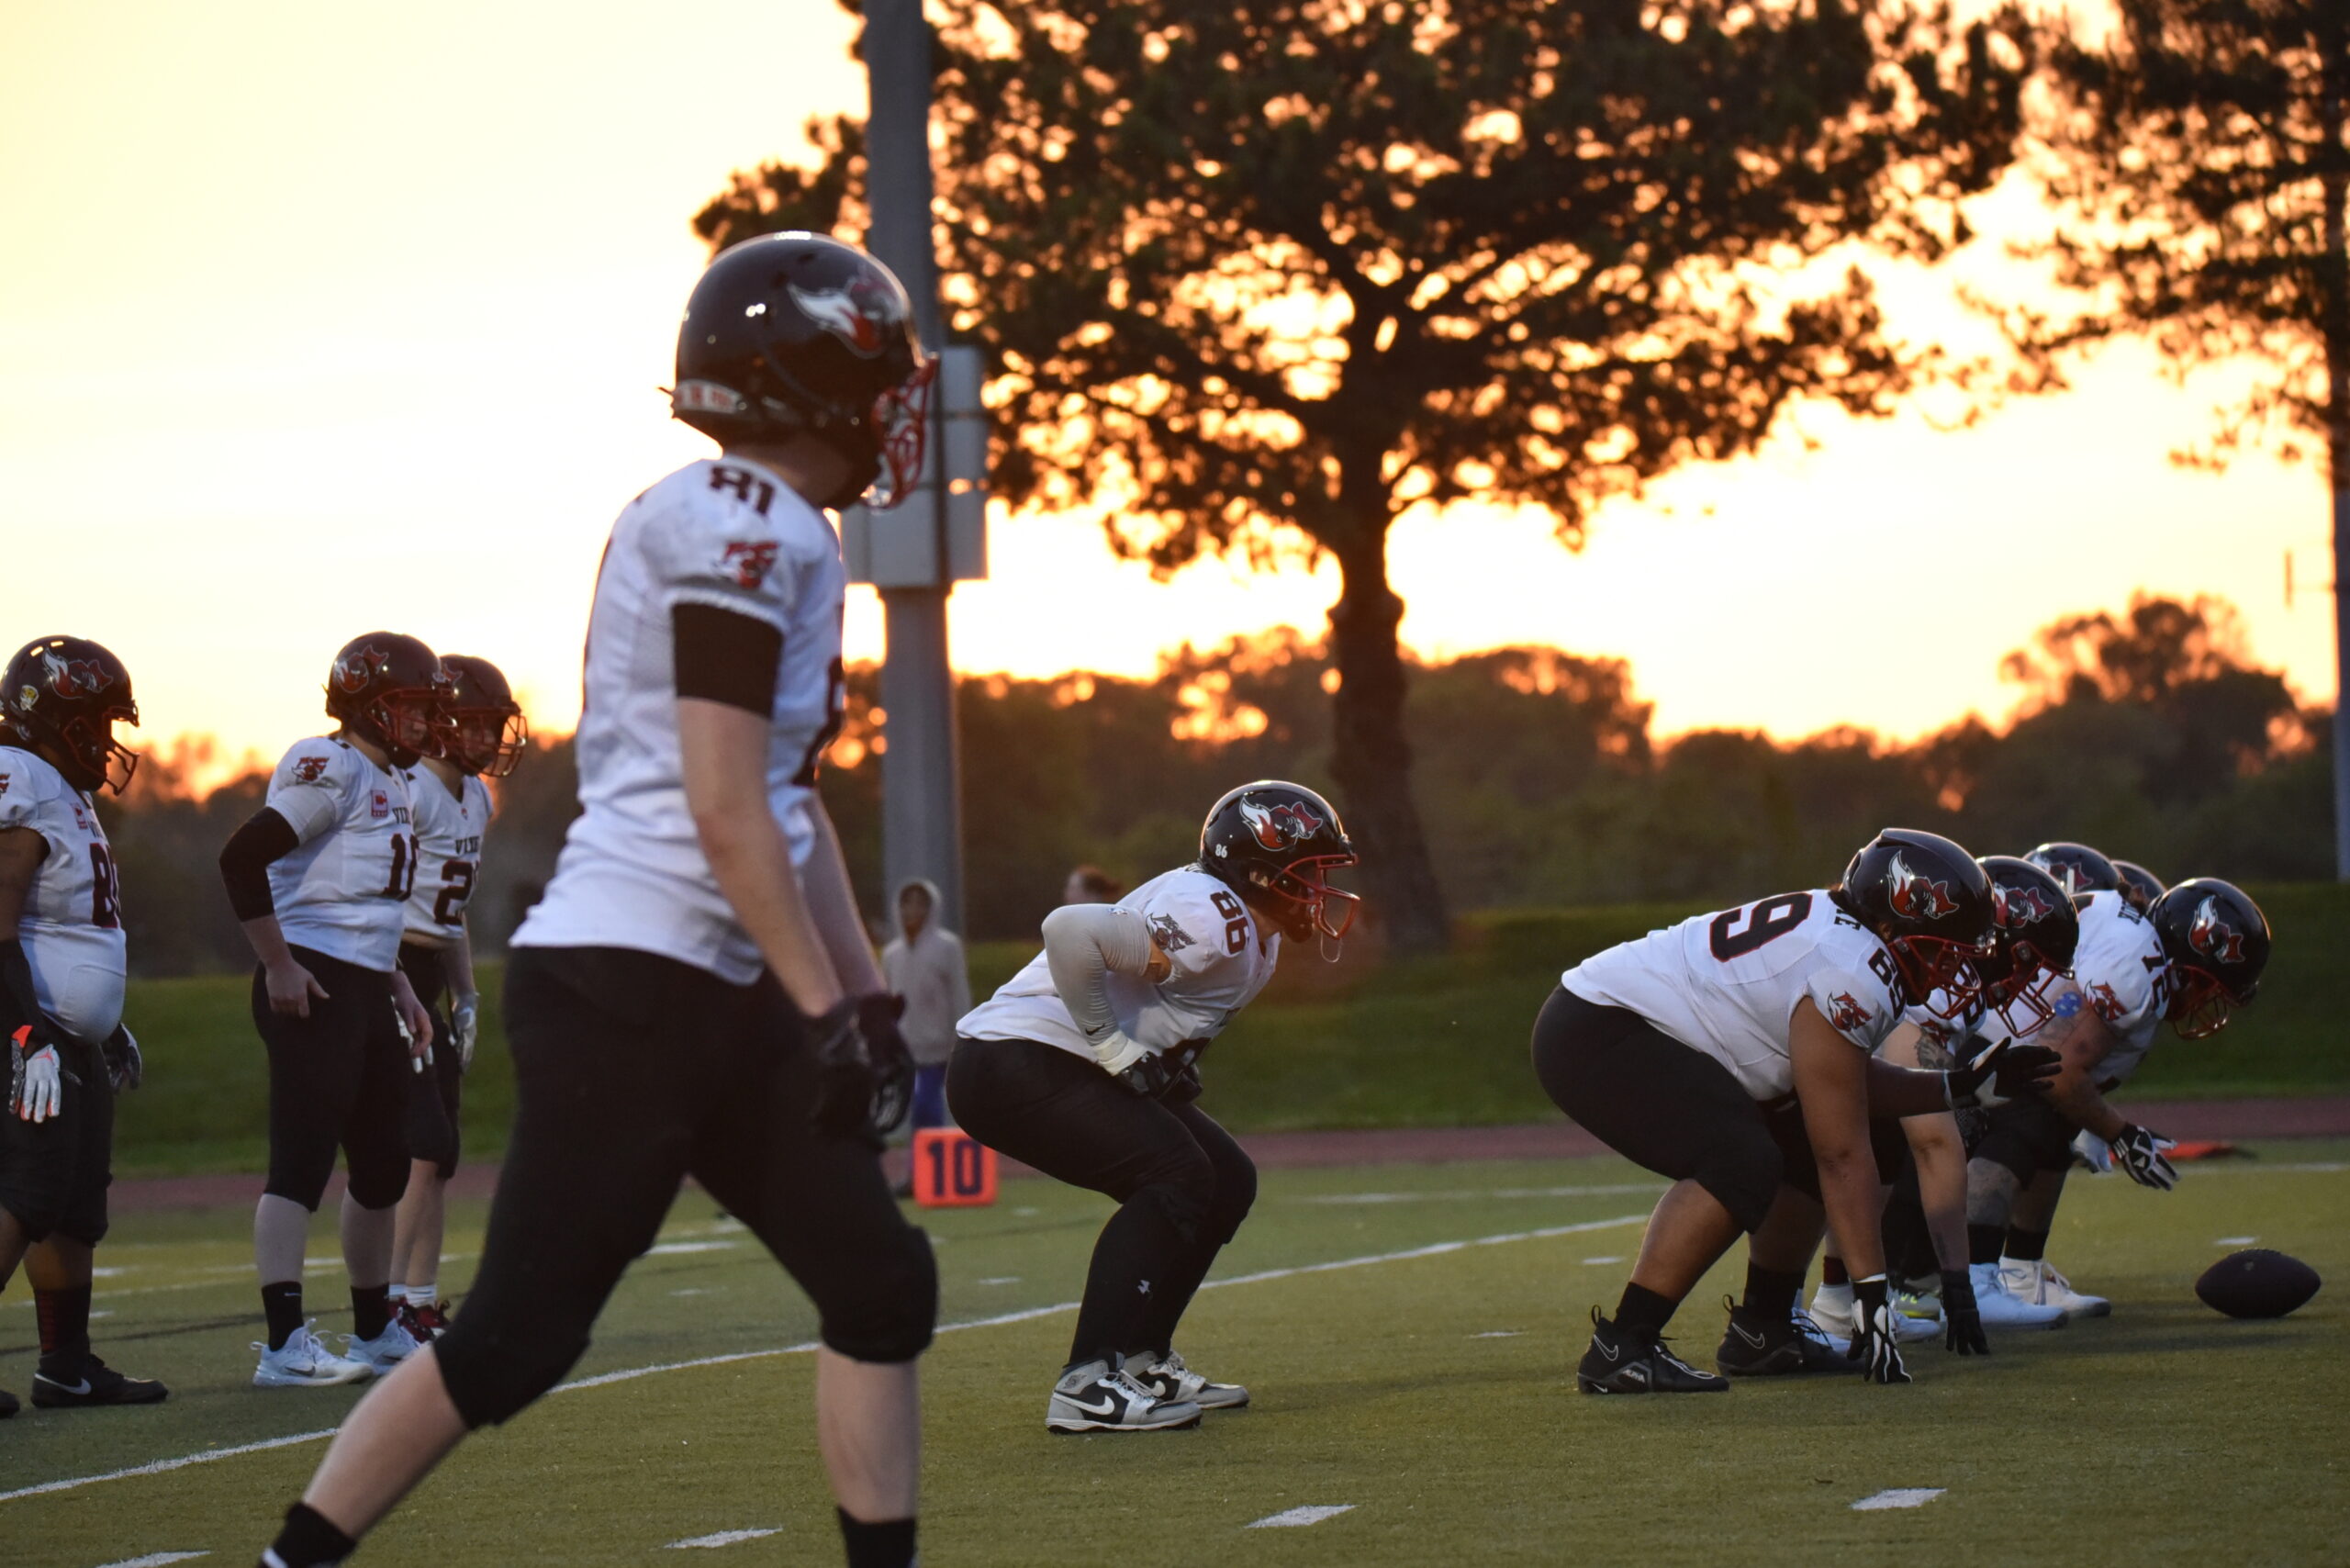
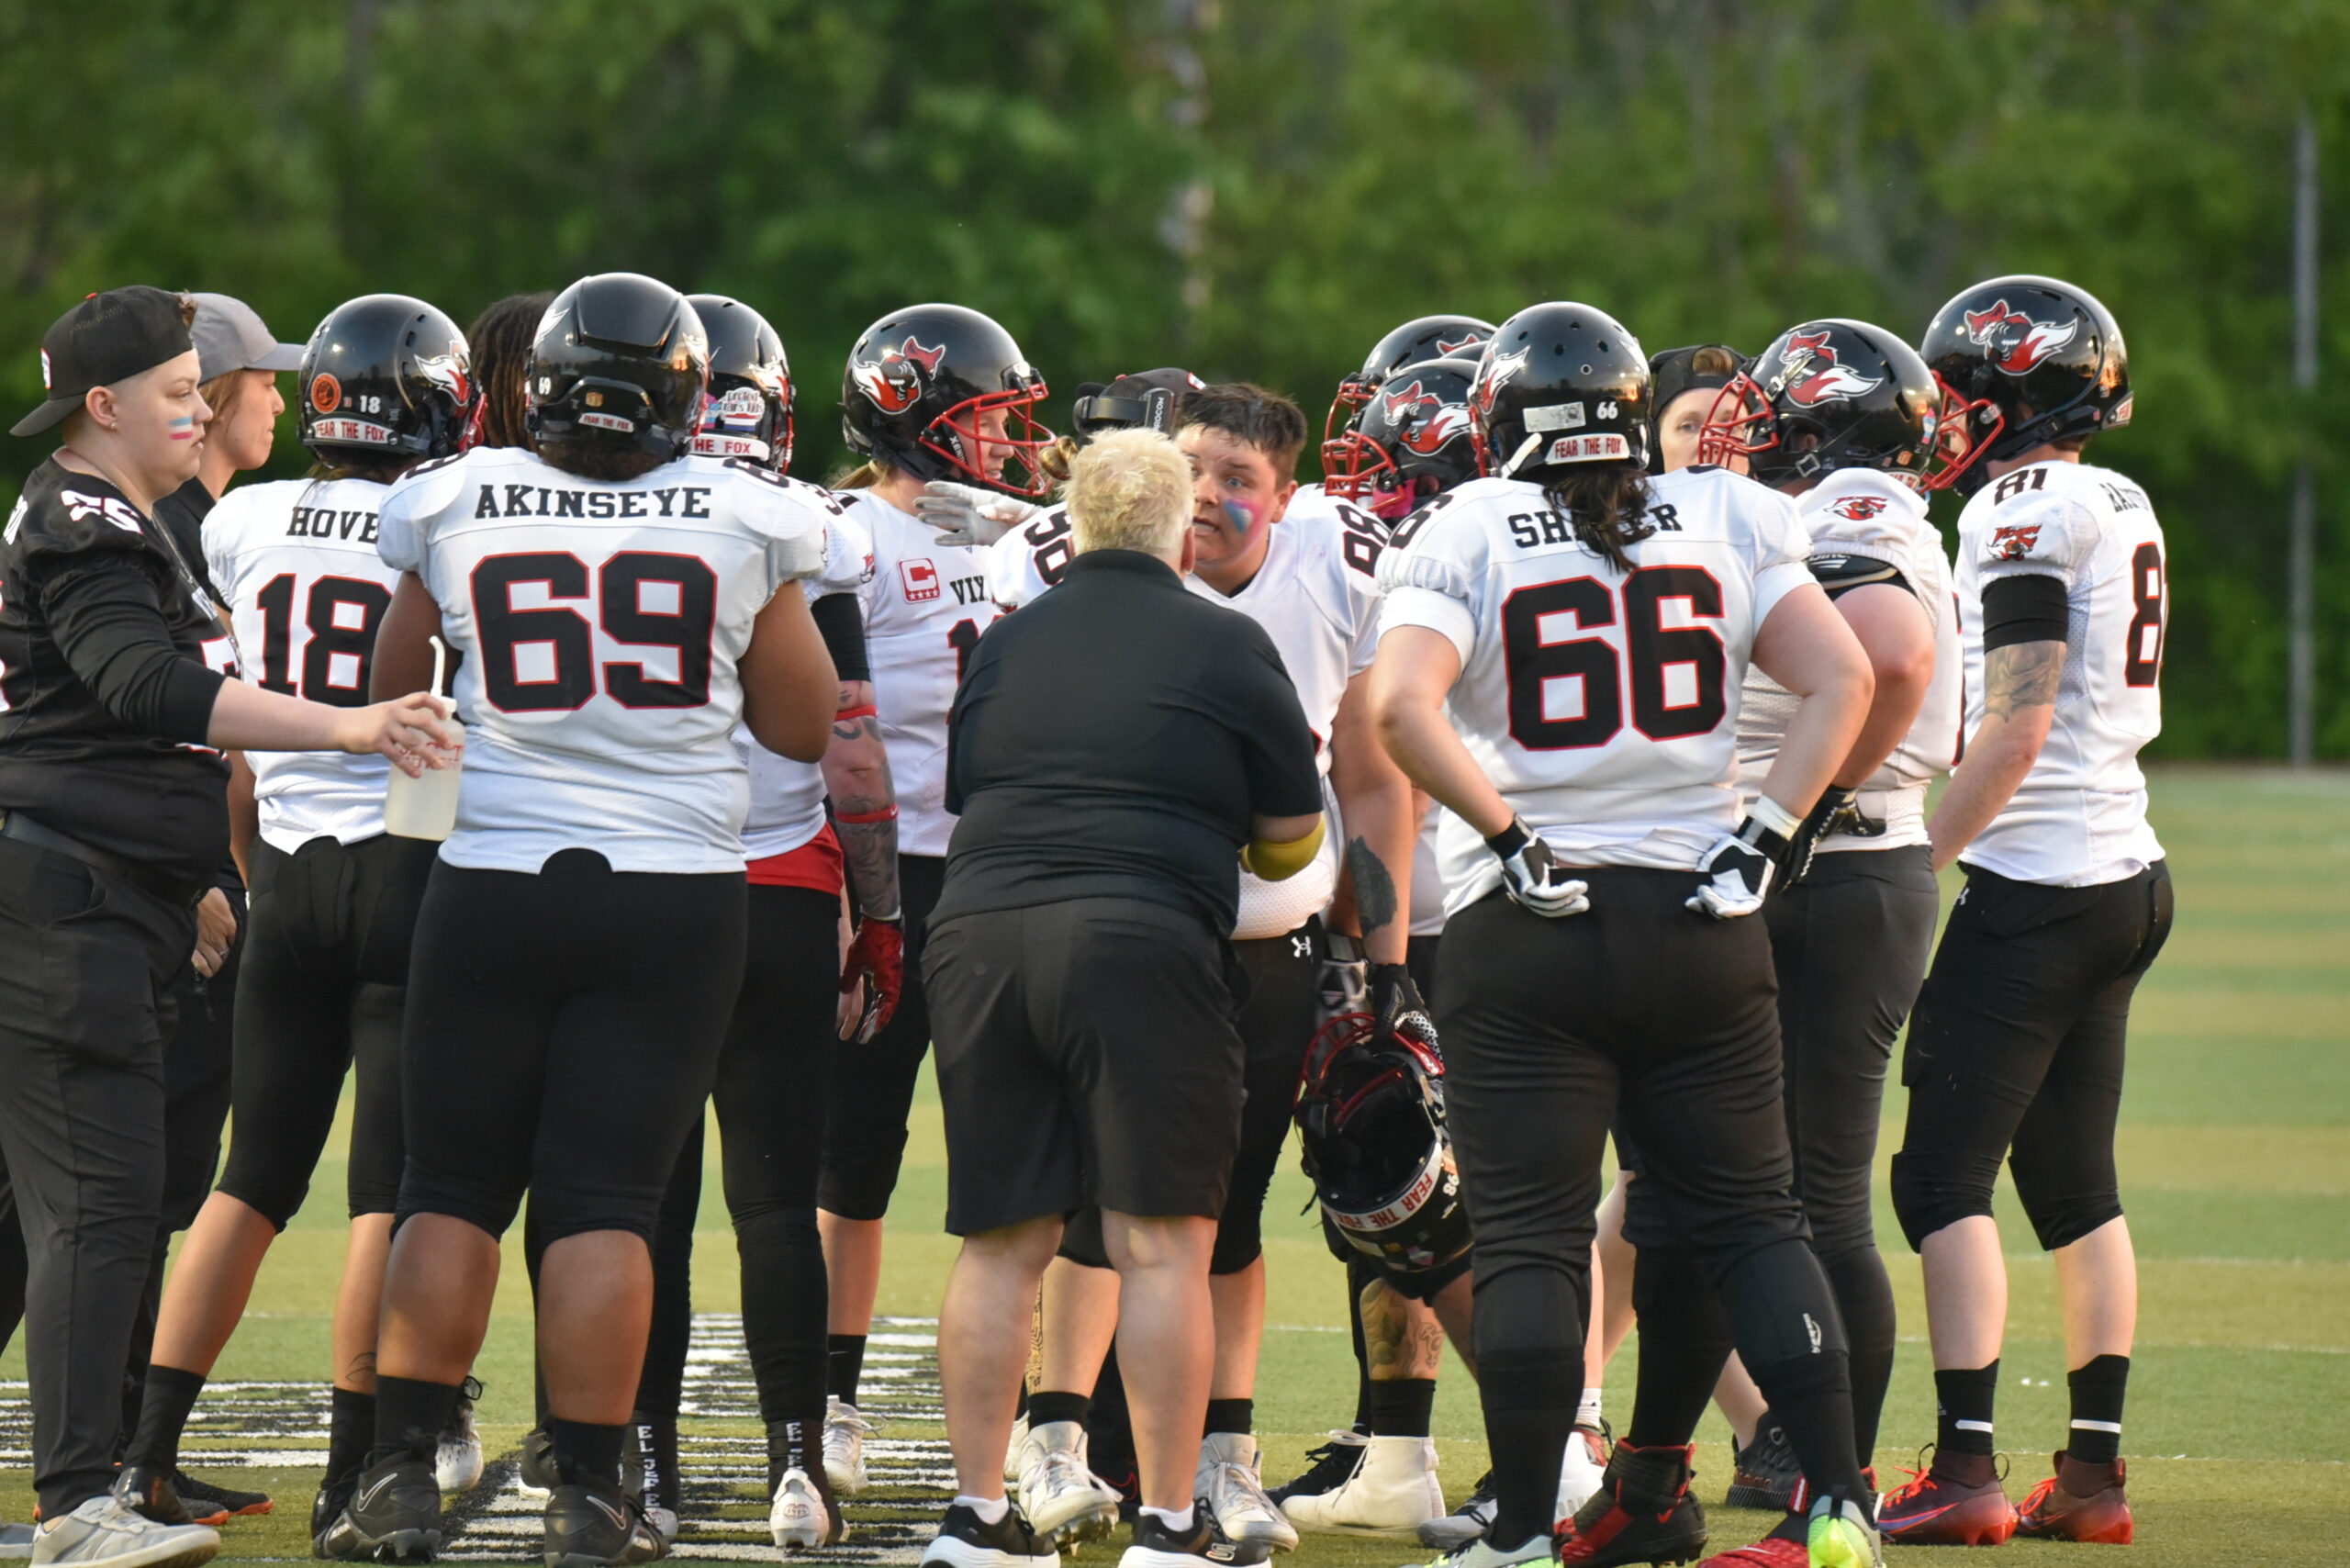
Gallery
Girls of Fall
History
Breaking Barriers: The Minnesota Vixen’s Journey in Women’s Football
Historical Standings and Stats
In the News
Minnesota Vixen Flag Football
Internships & Opportunities
Log in
Support Your Vixen
Tryouts
Minnesota Vixen Inclusivity & Diversity Statement
Contact Us
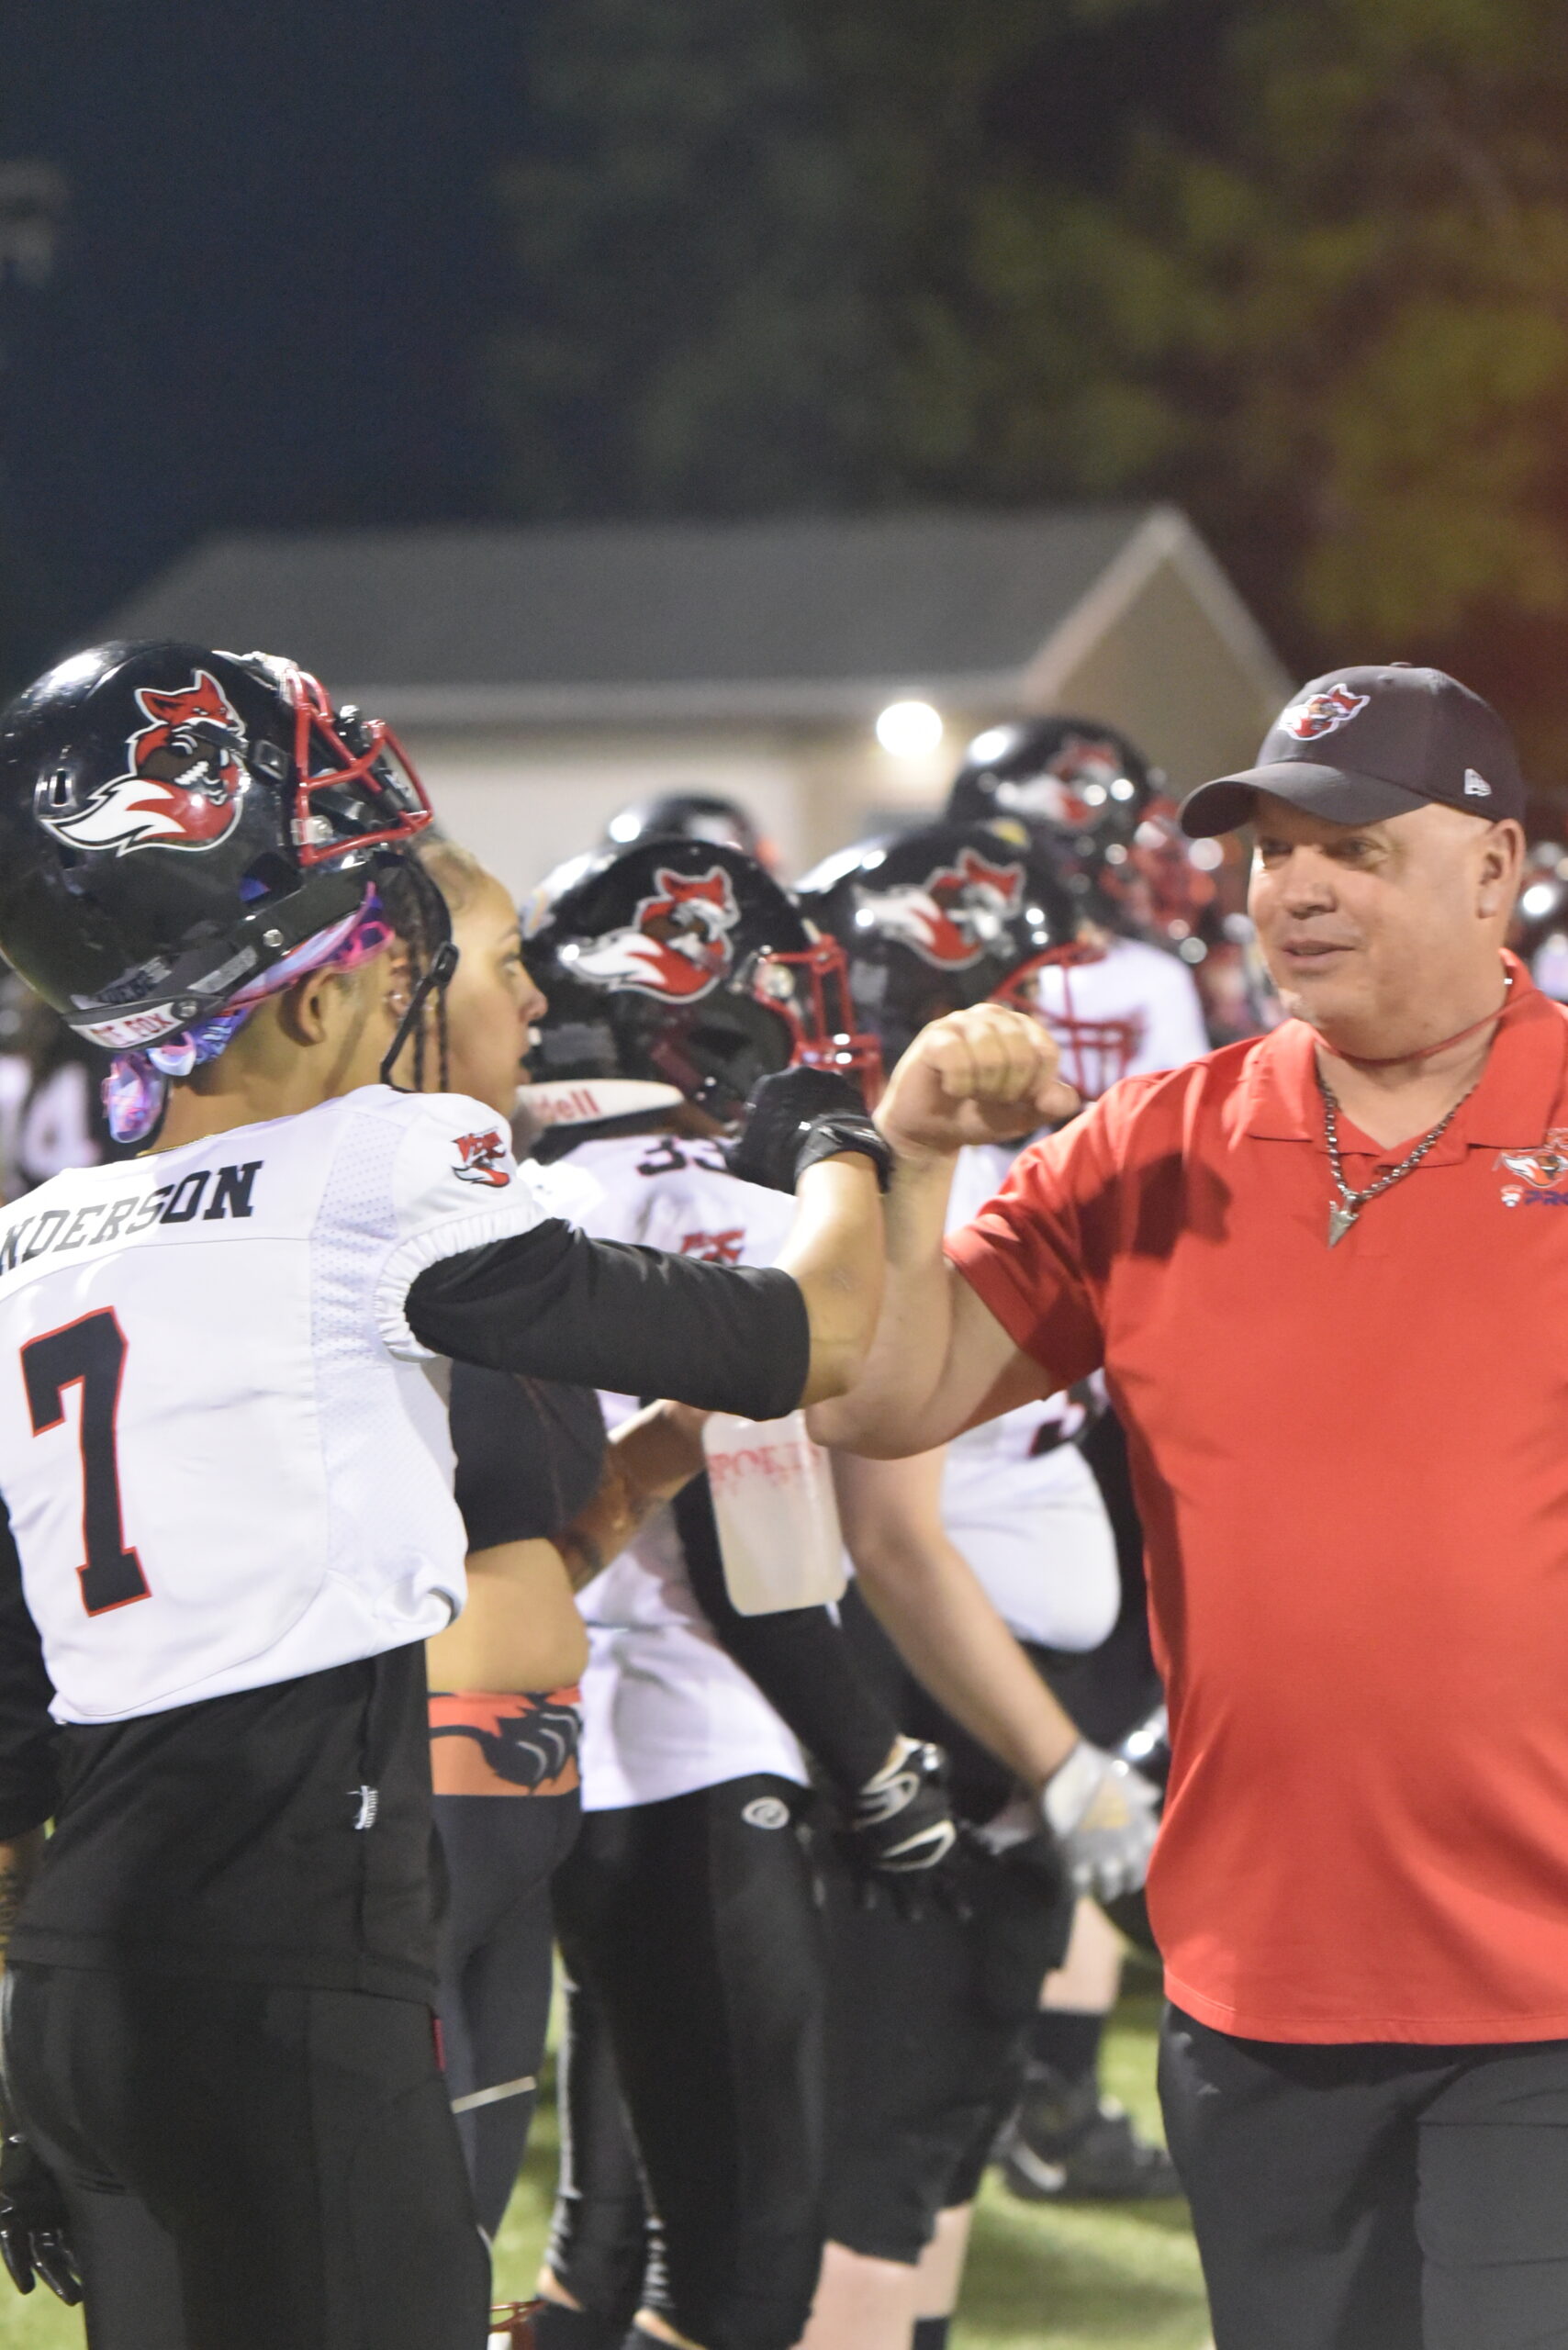
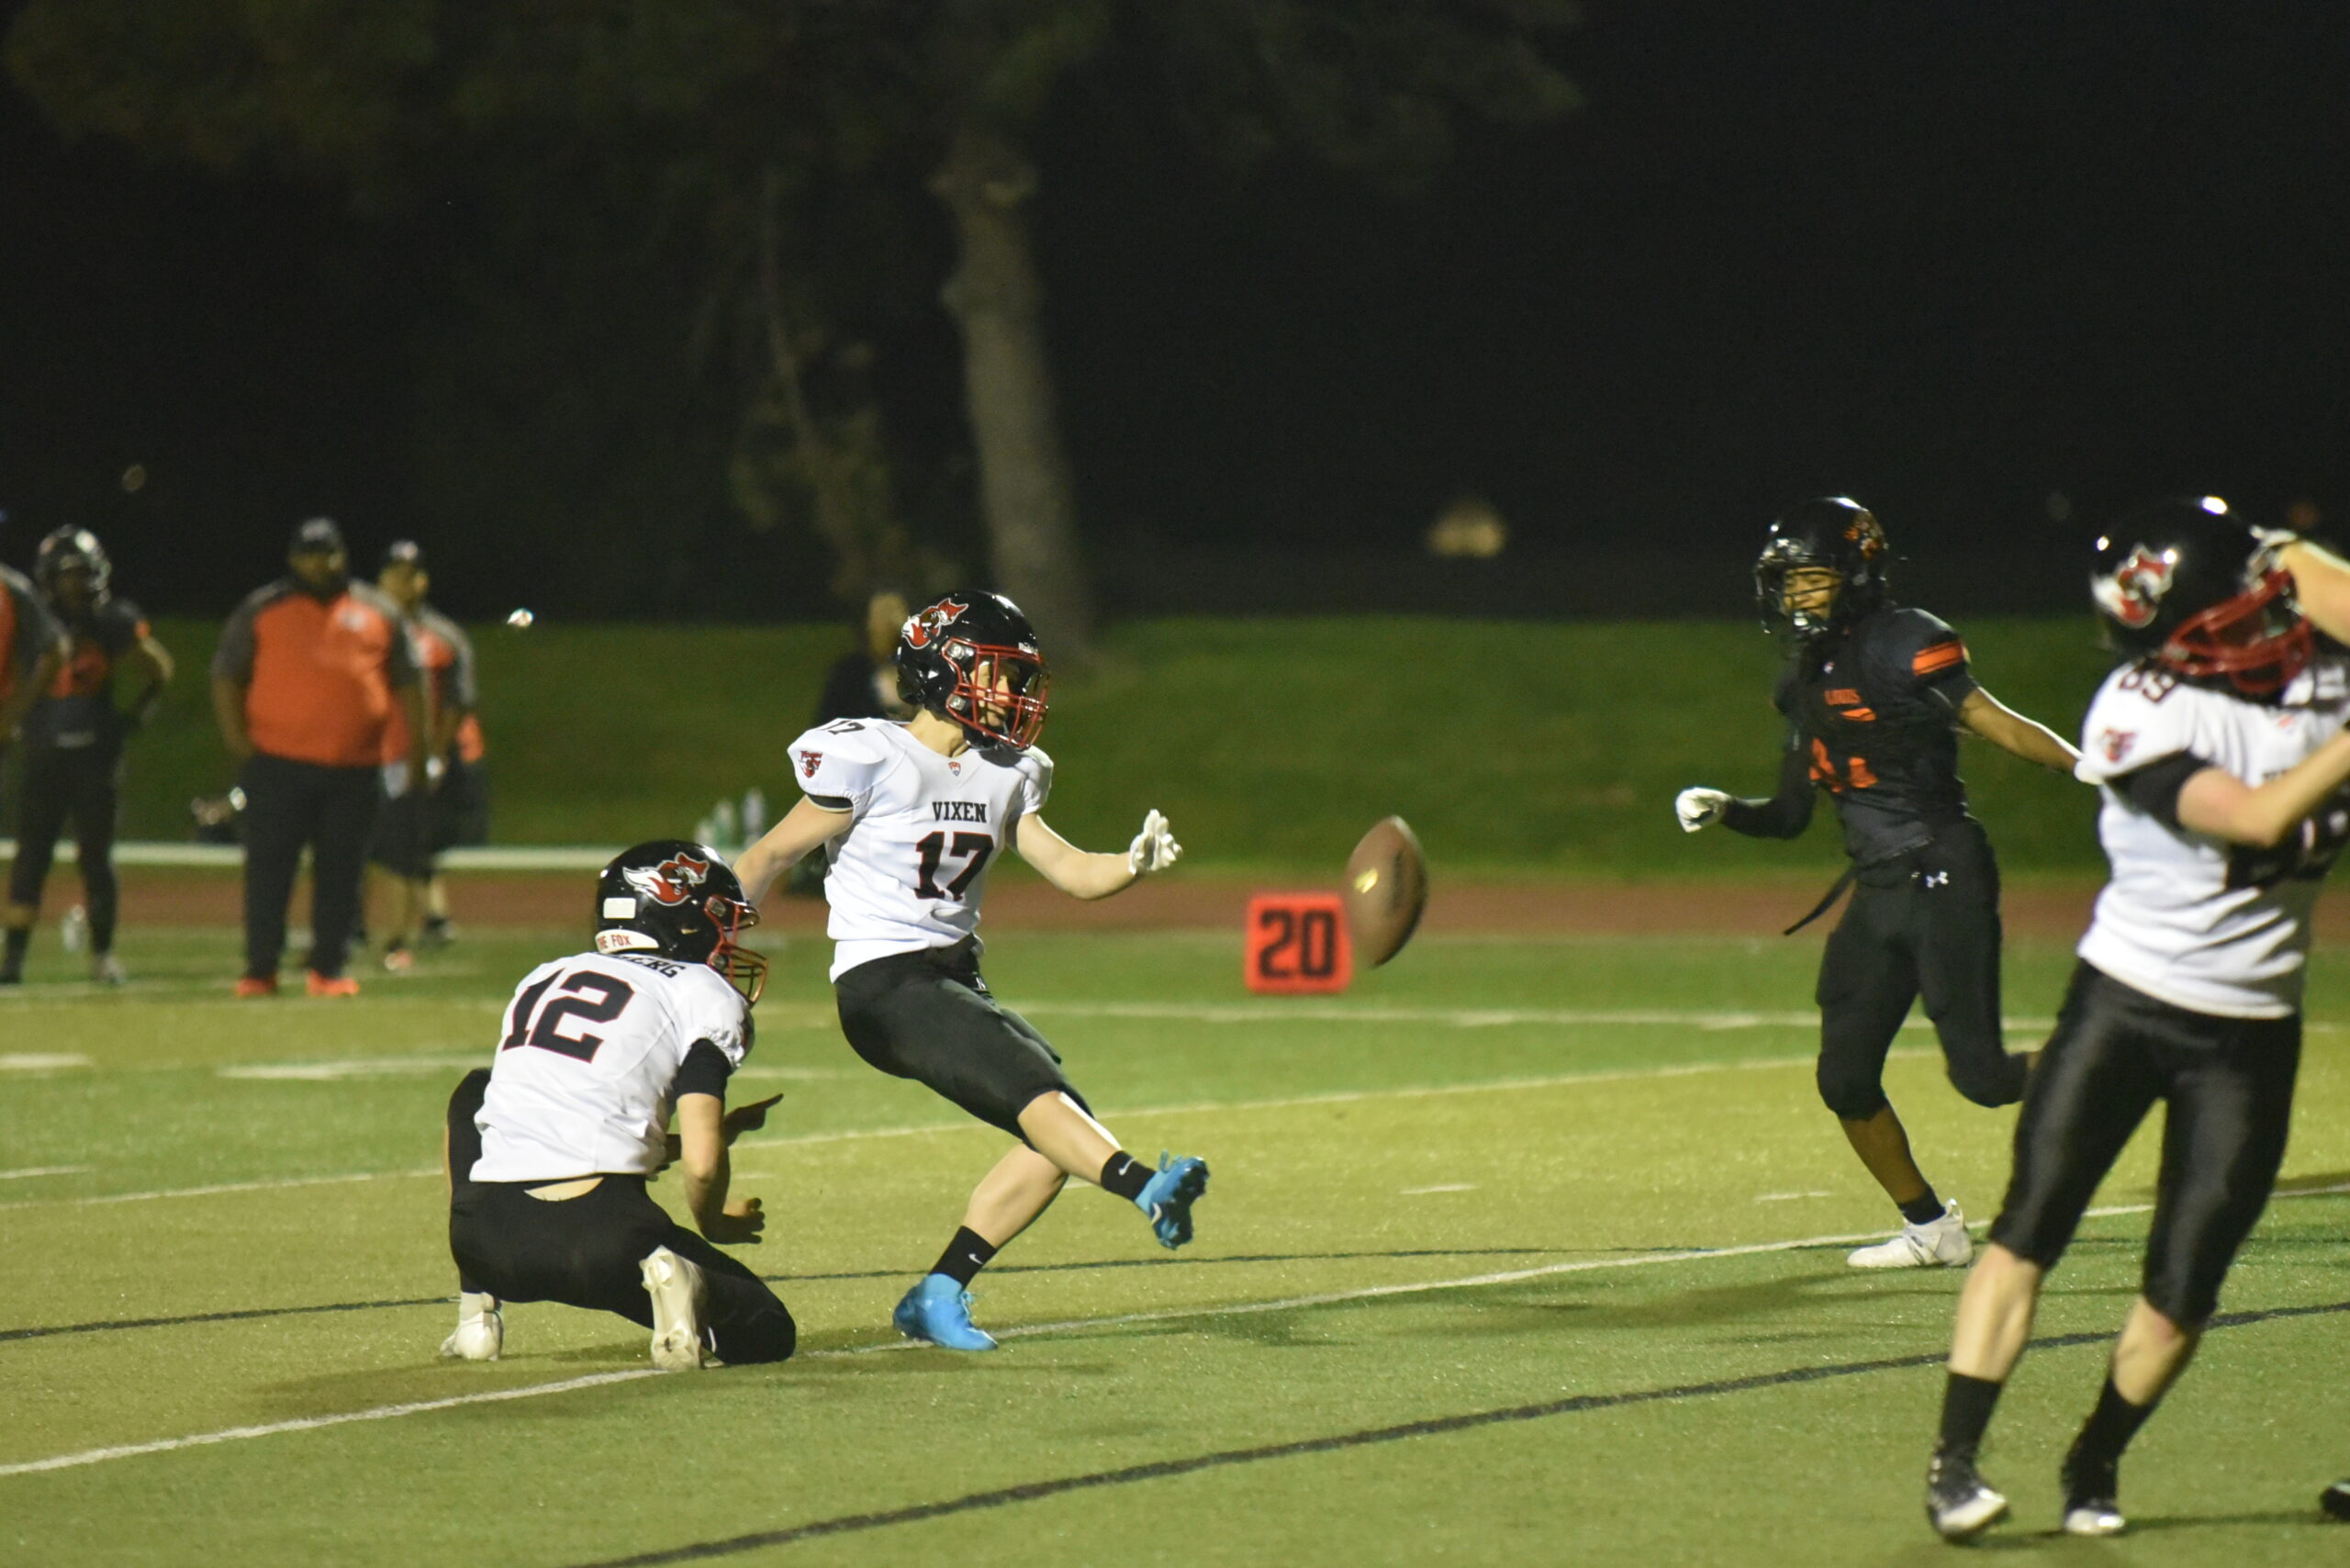
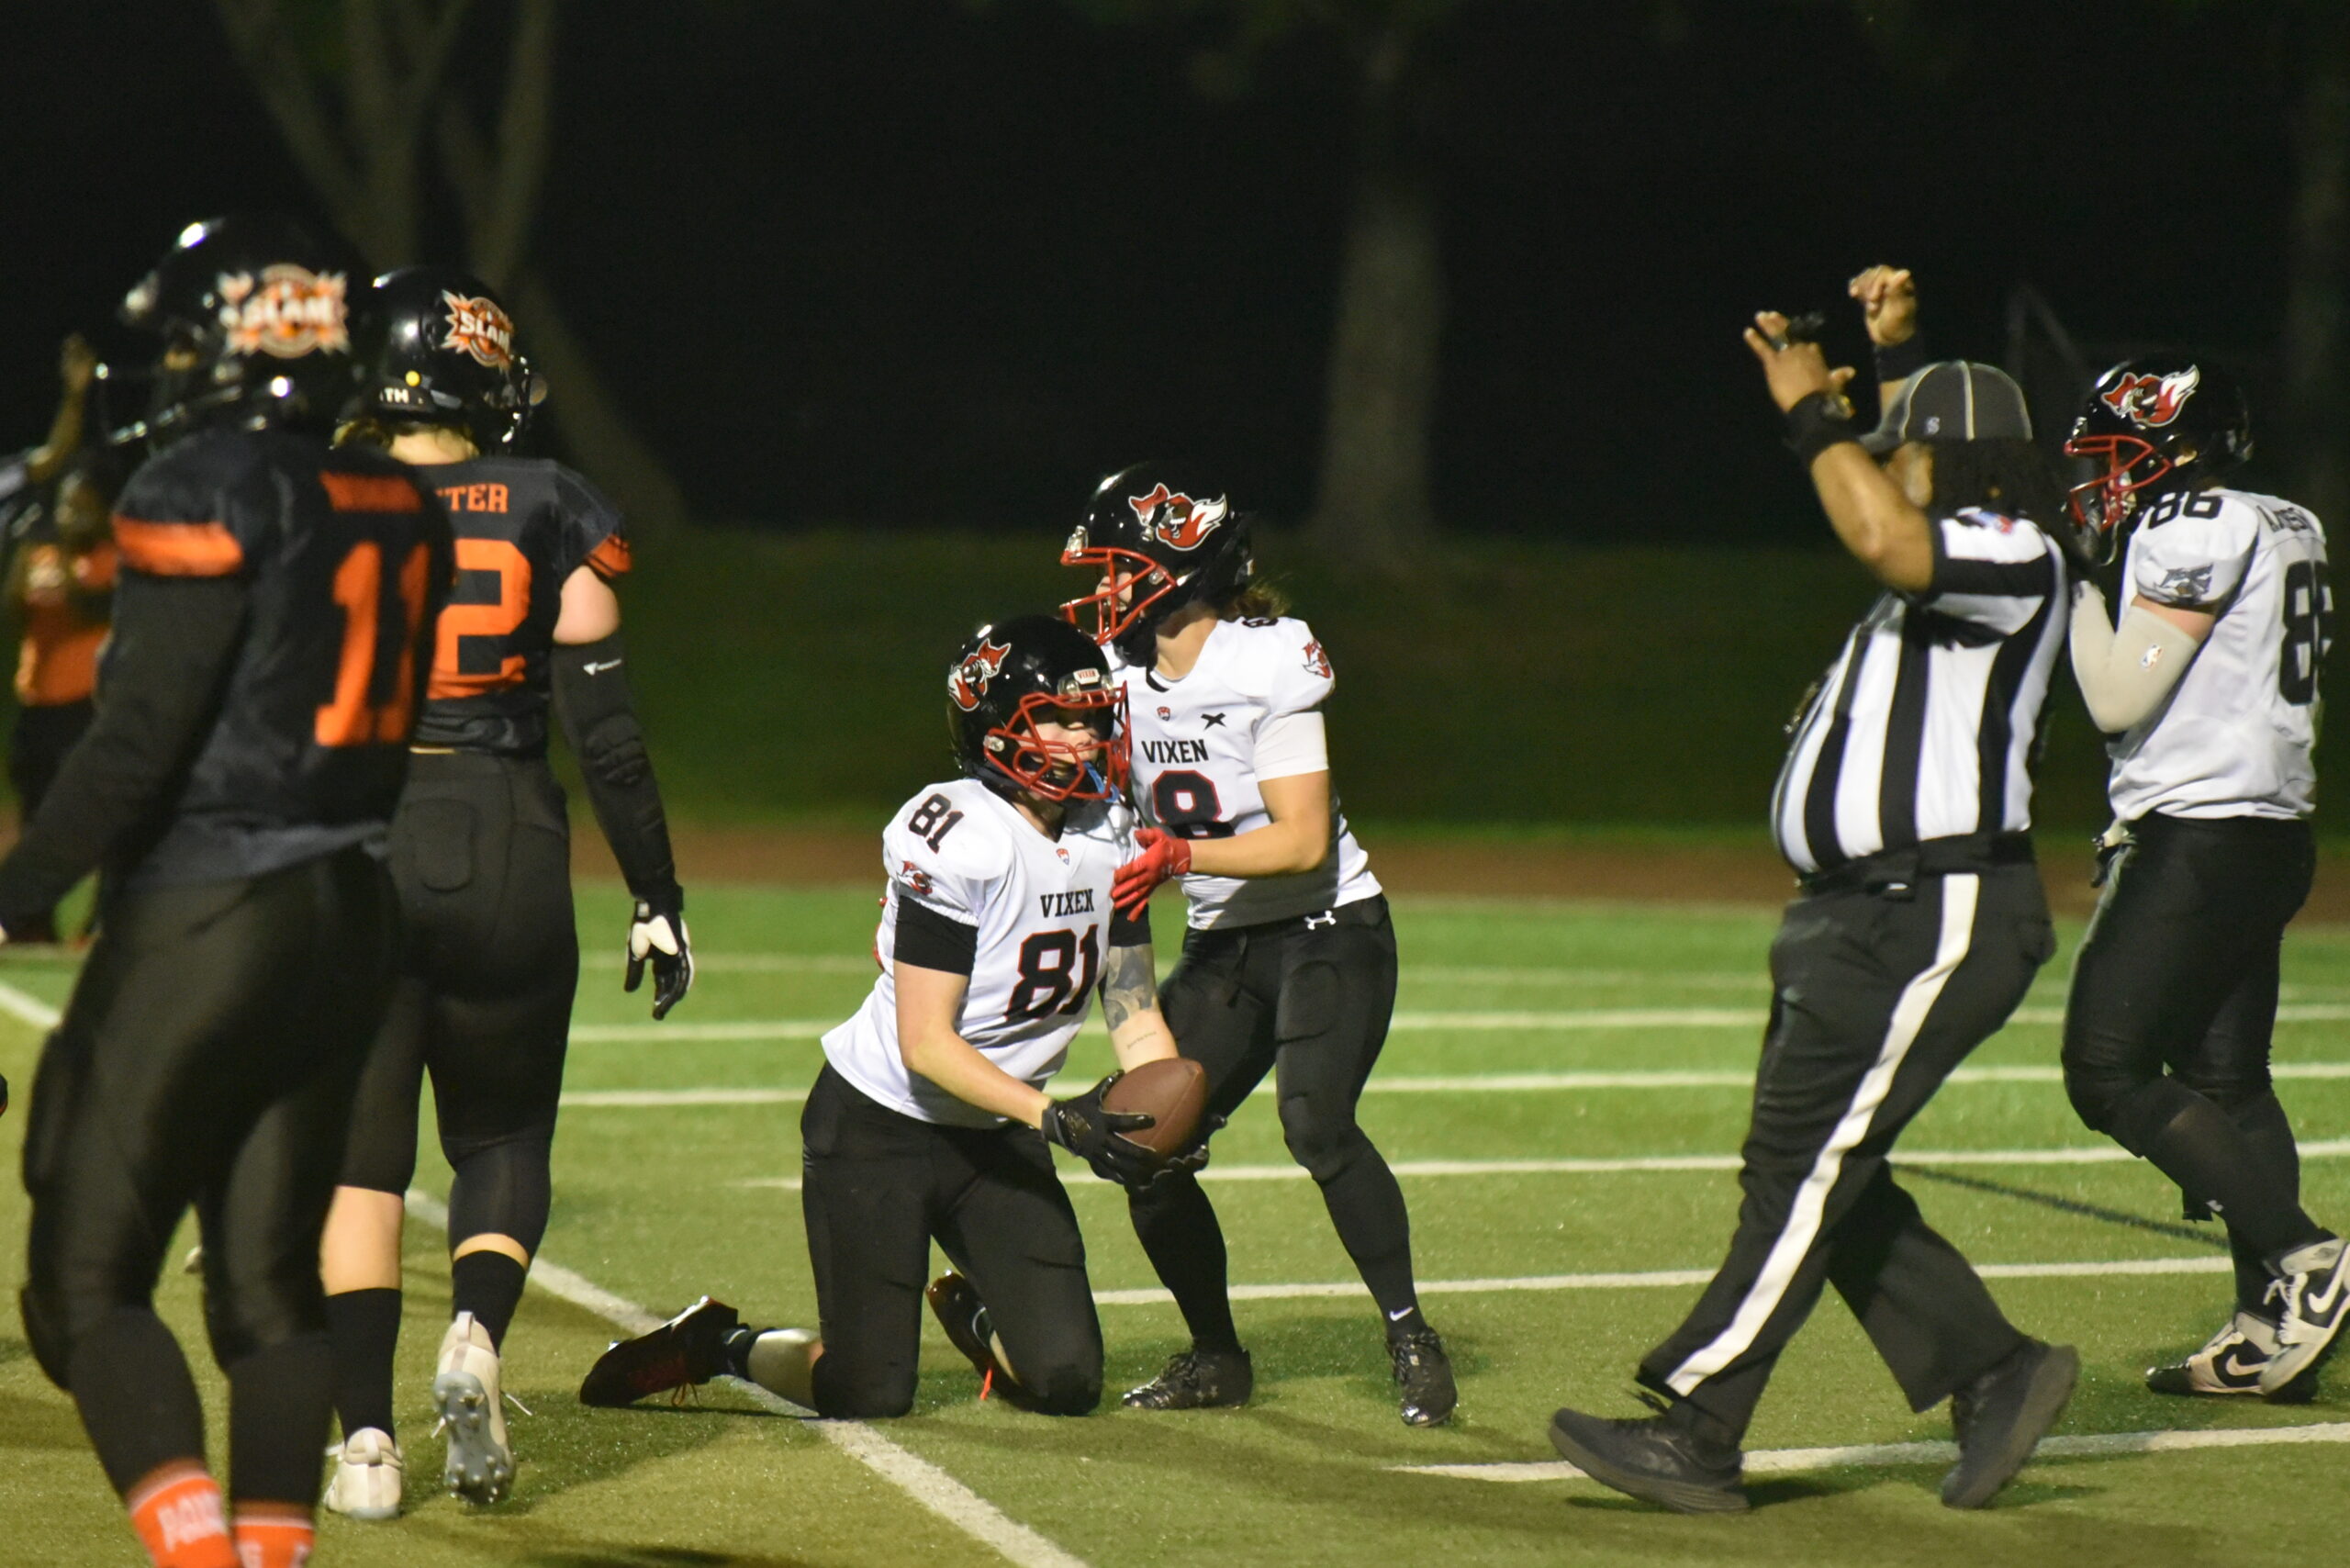
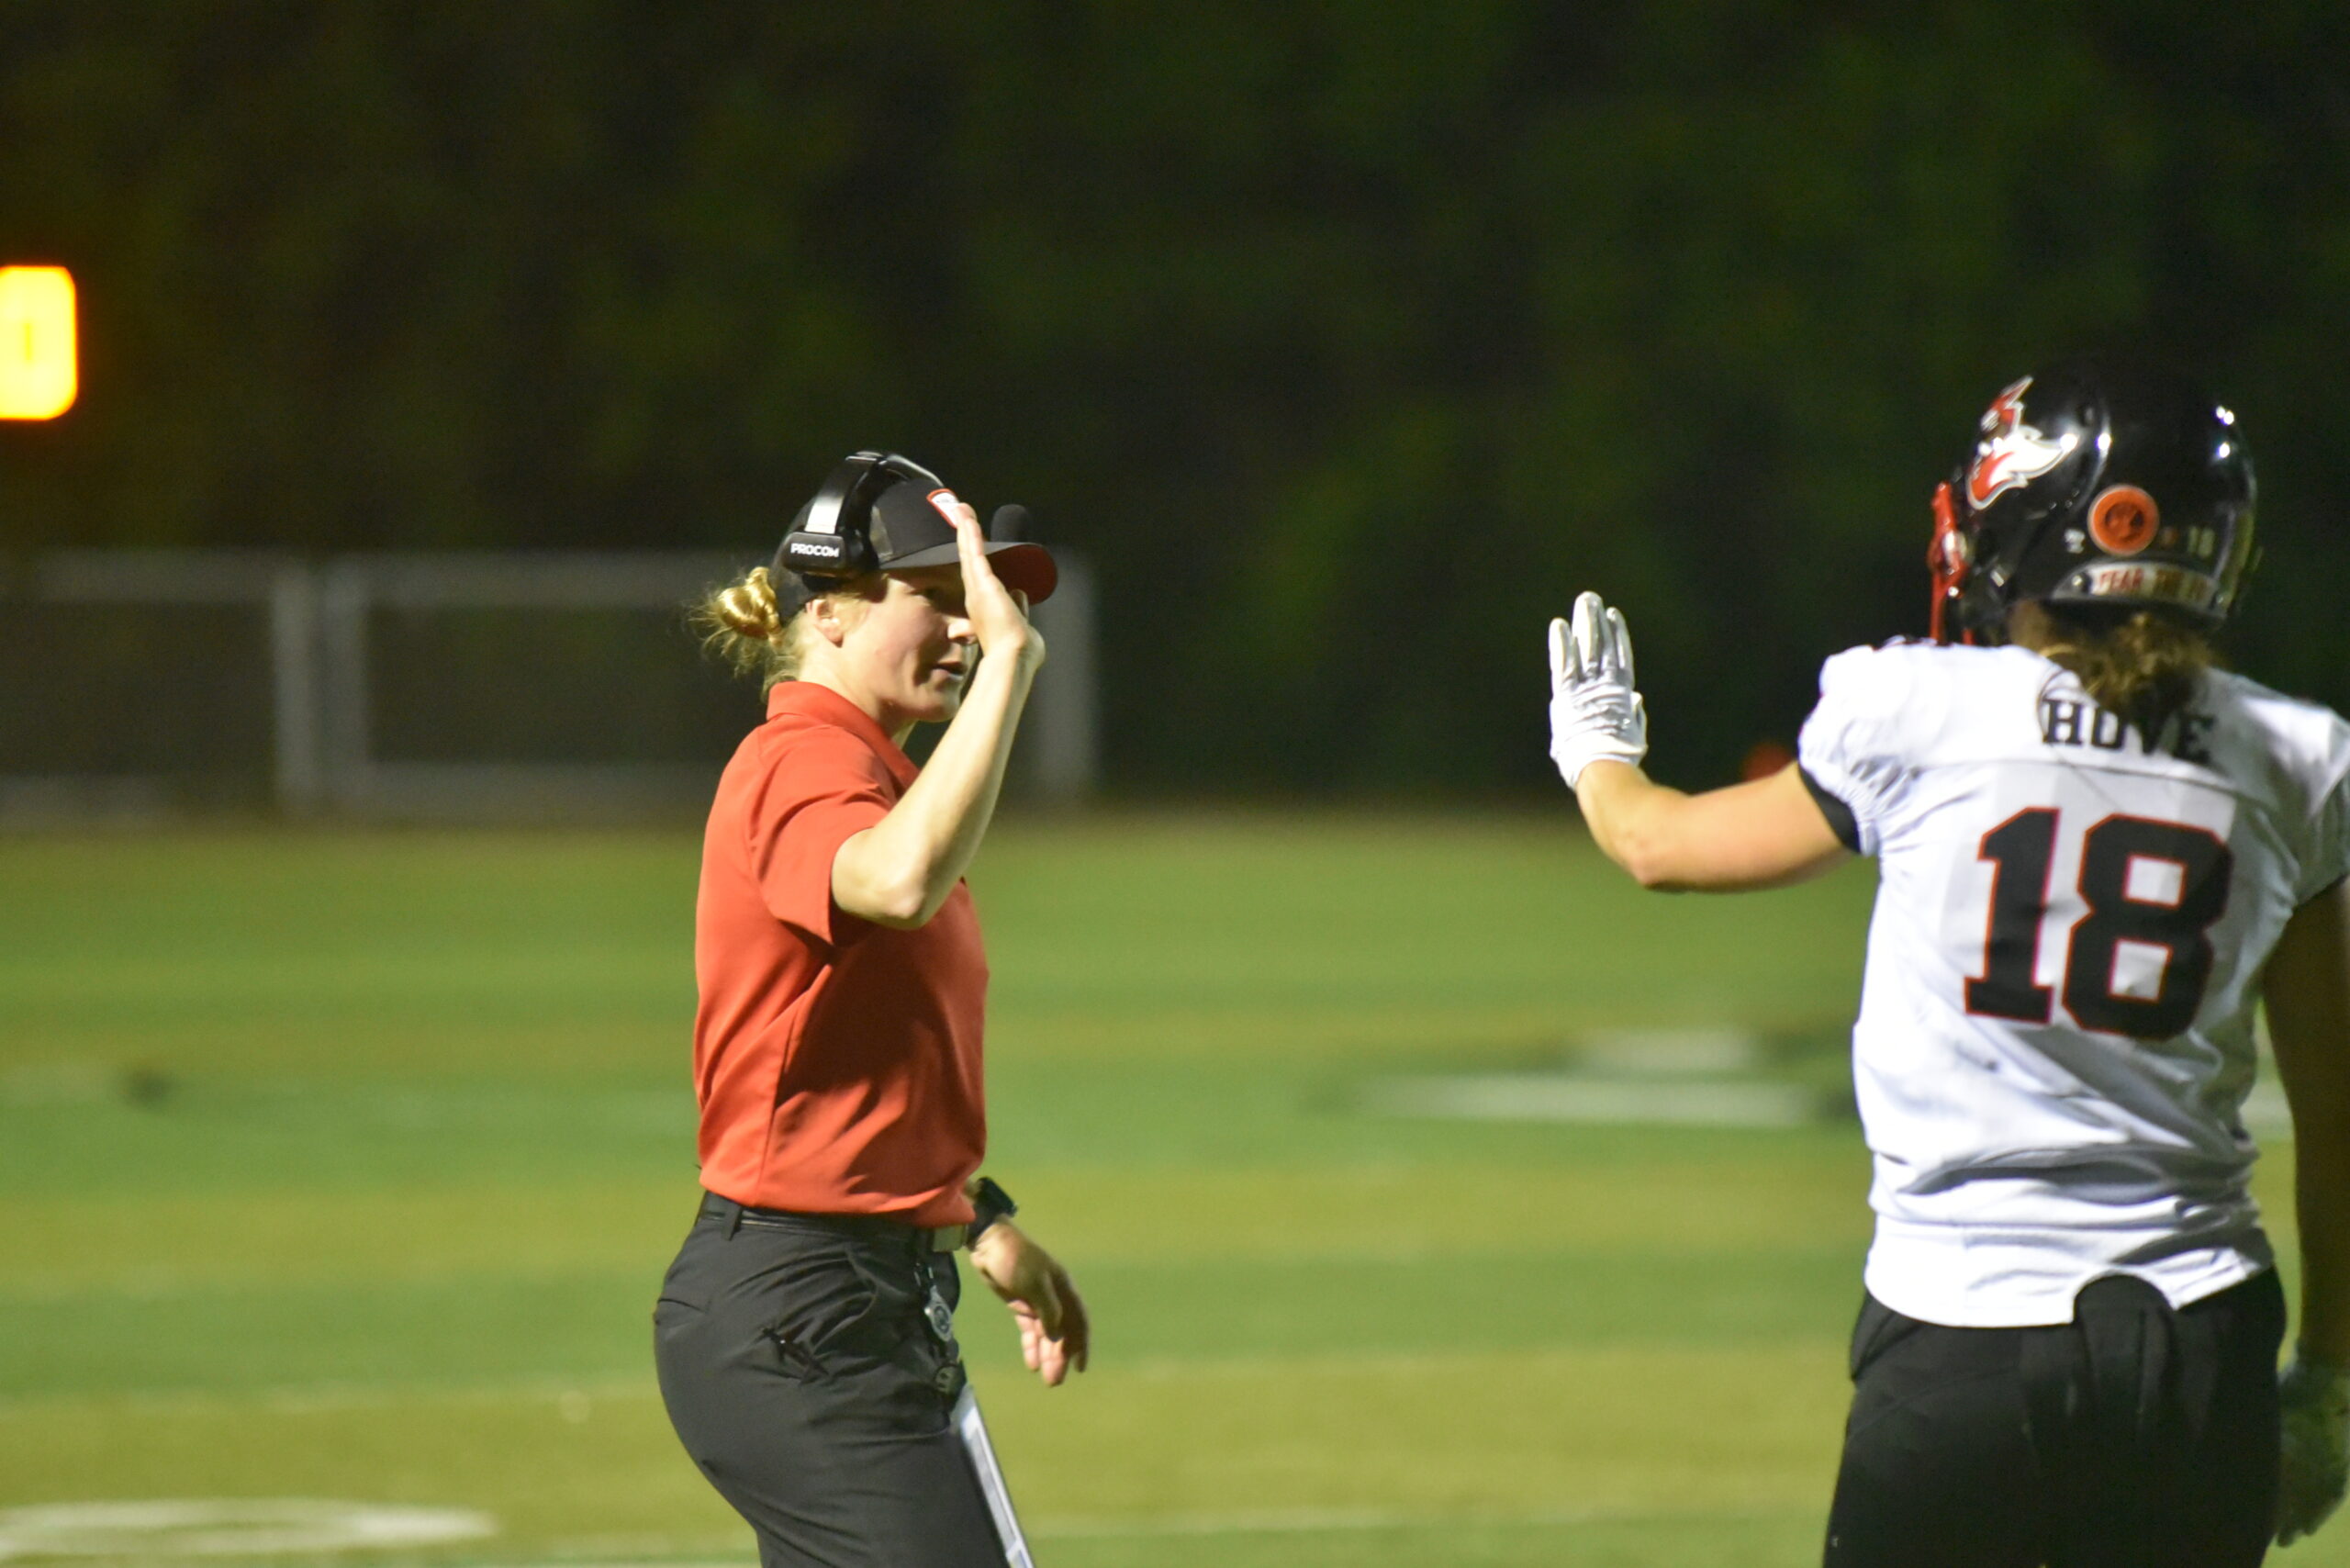
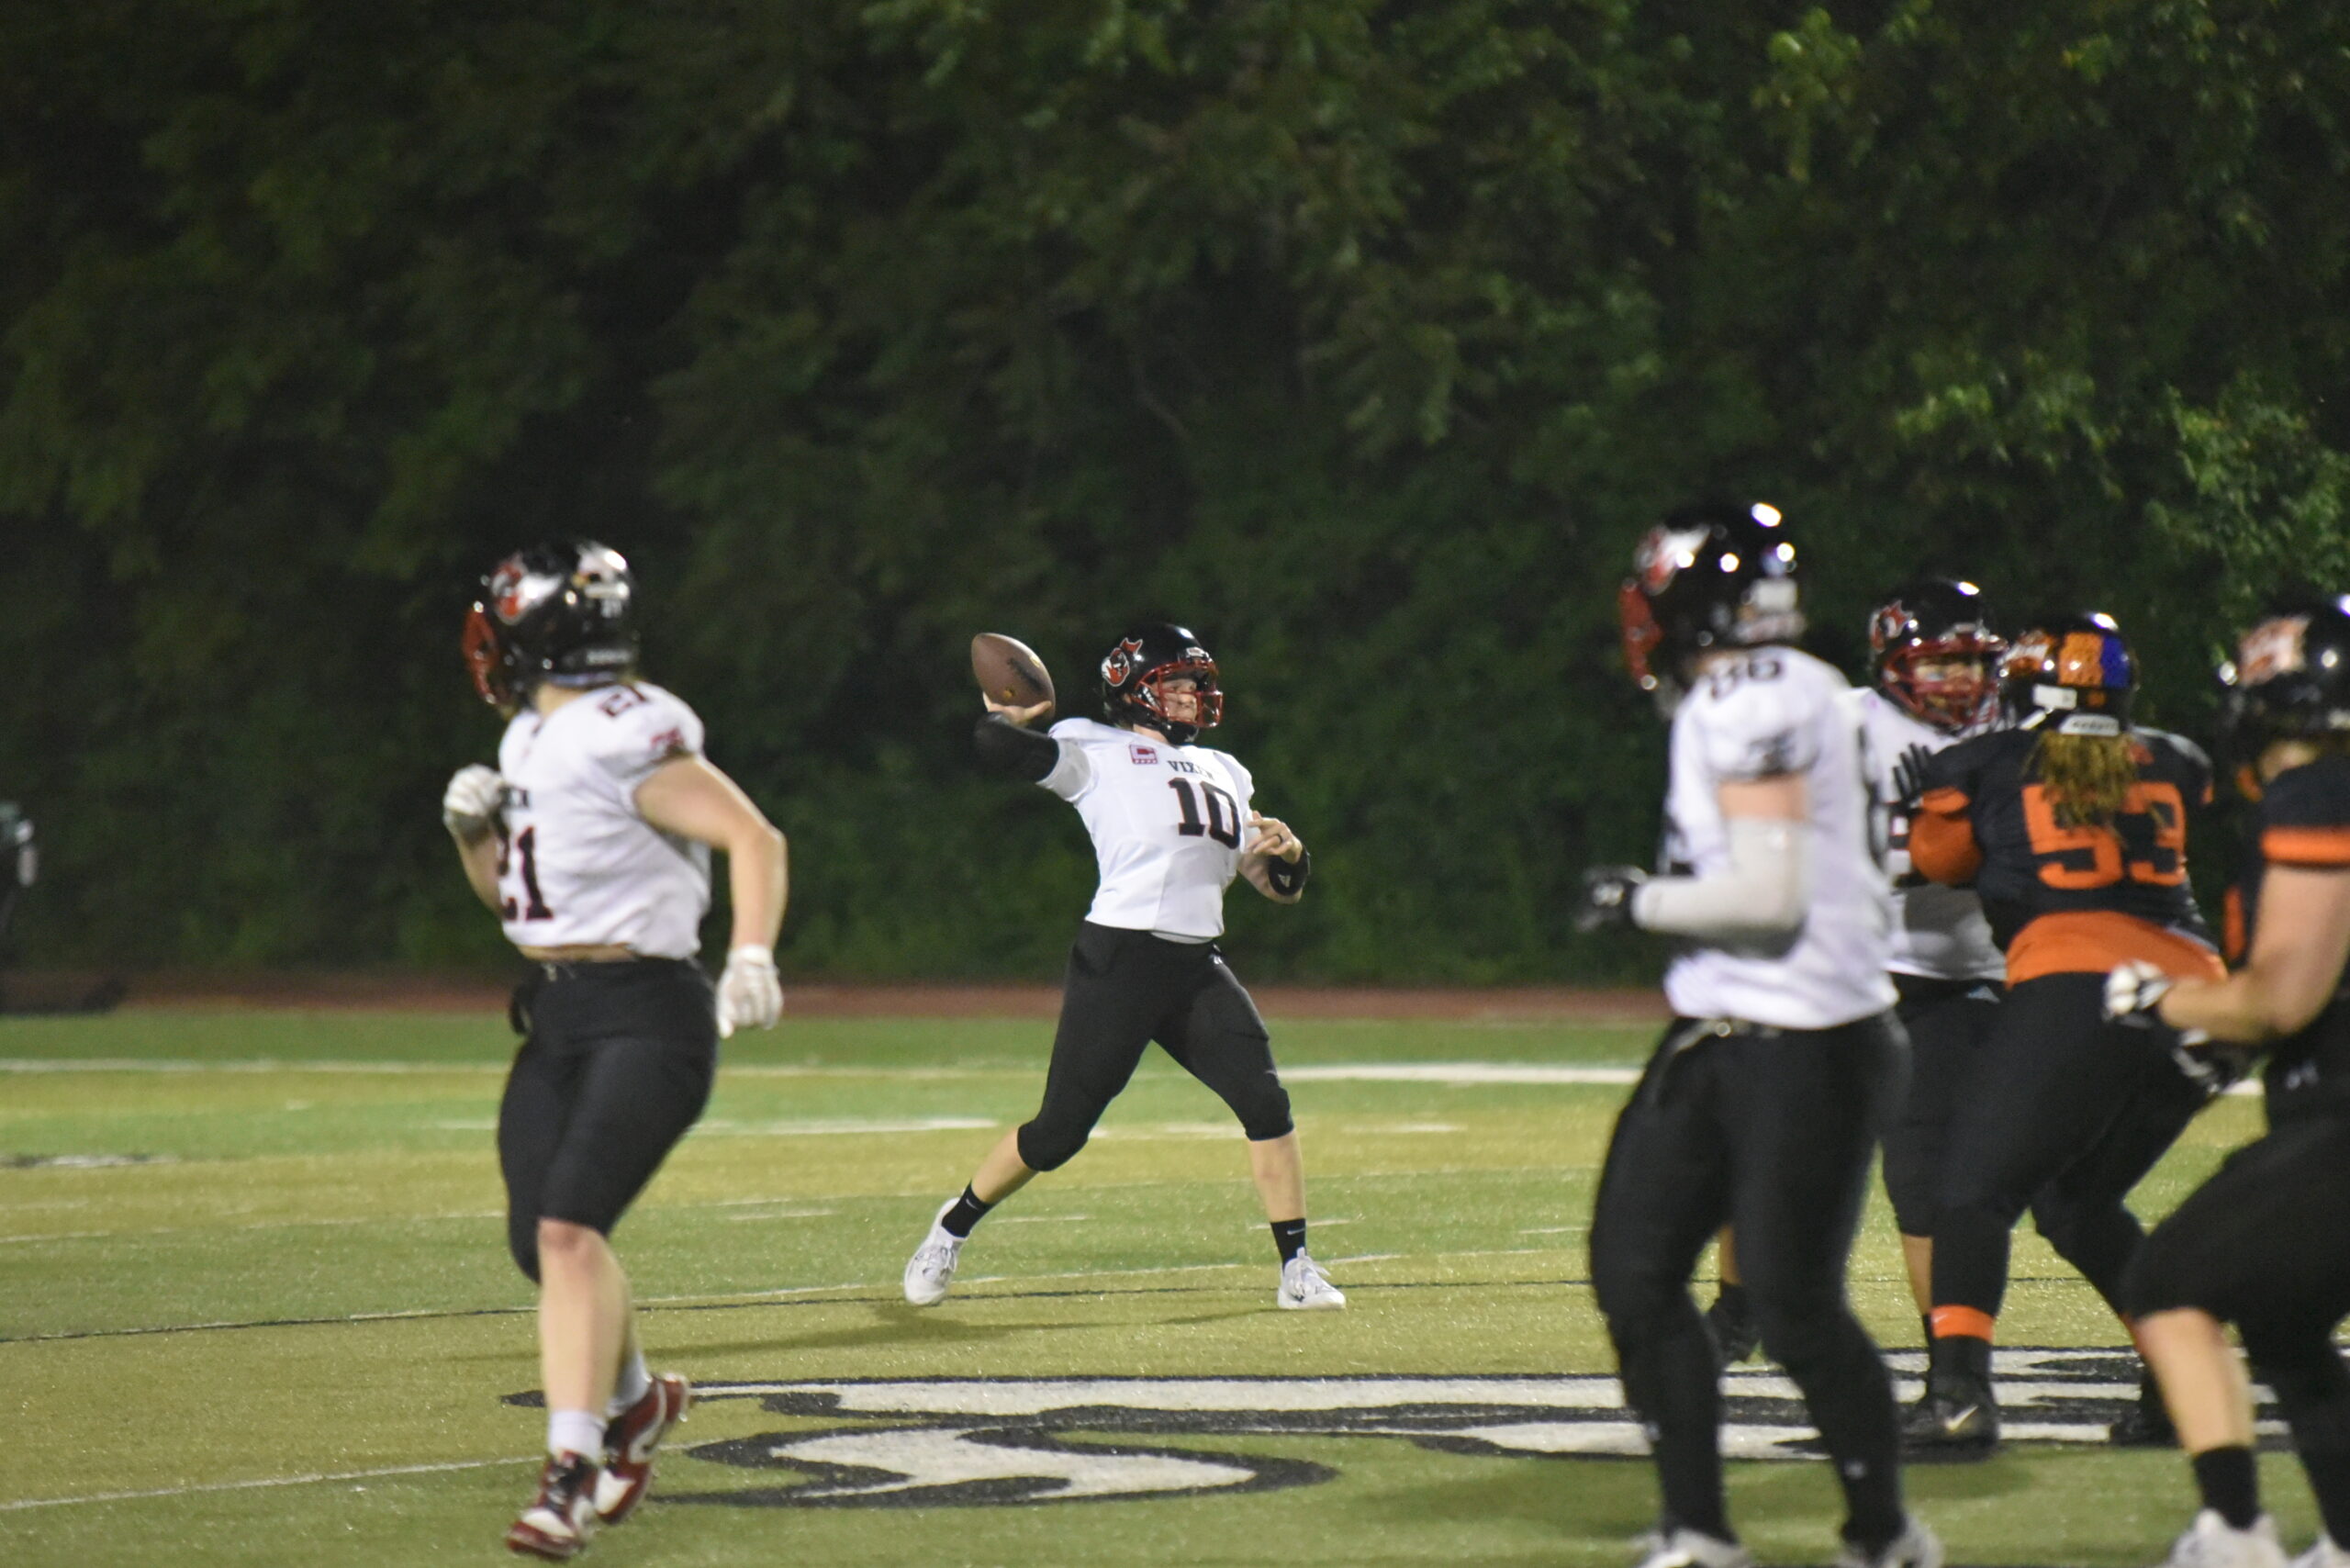
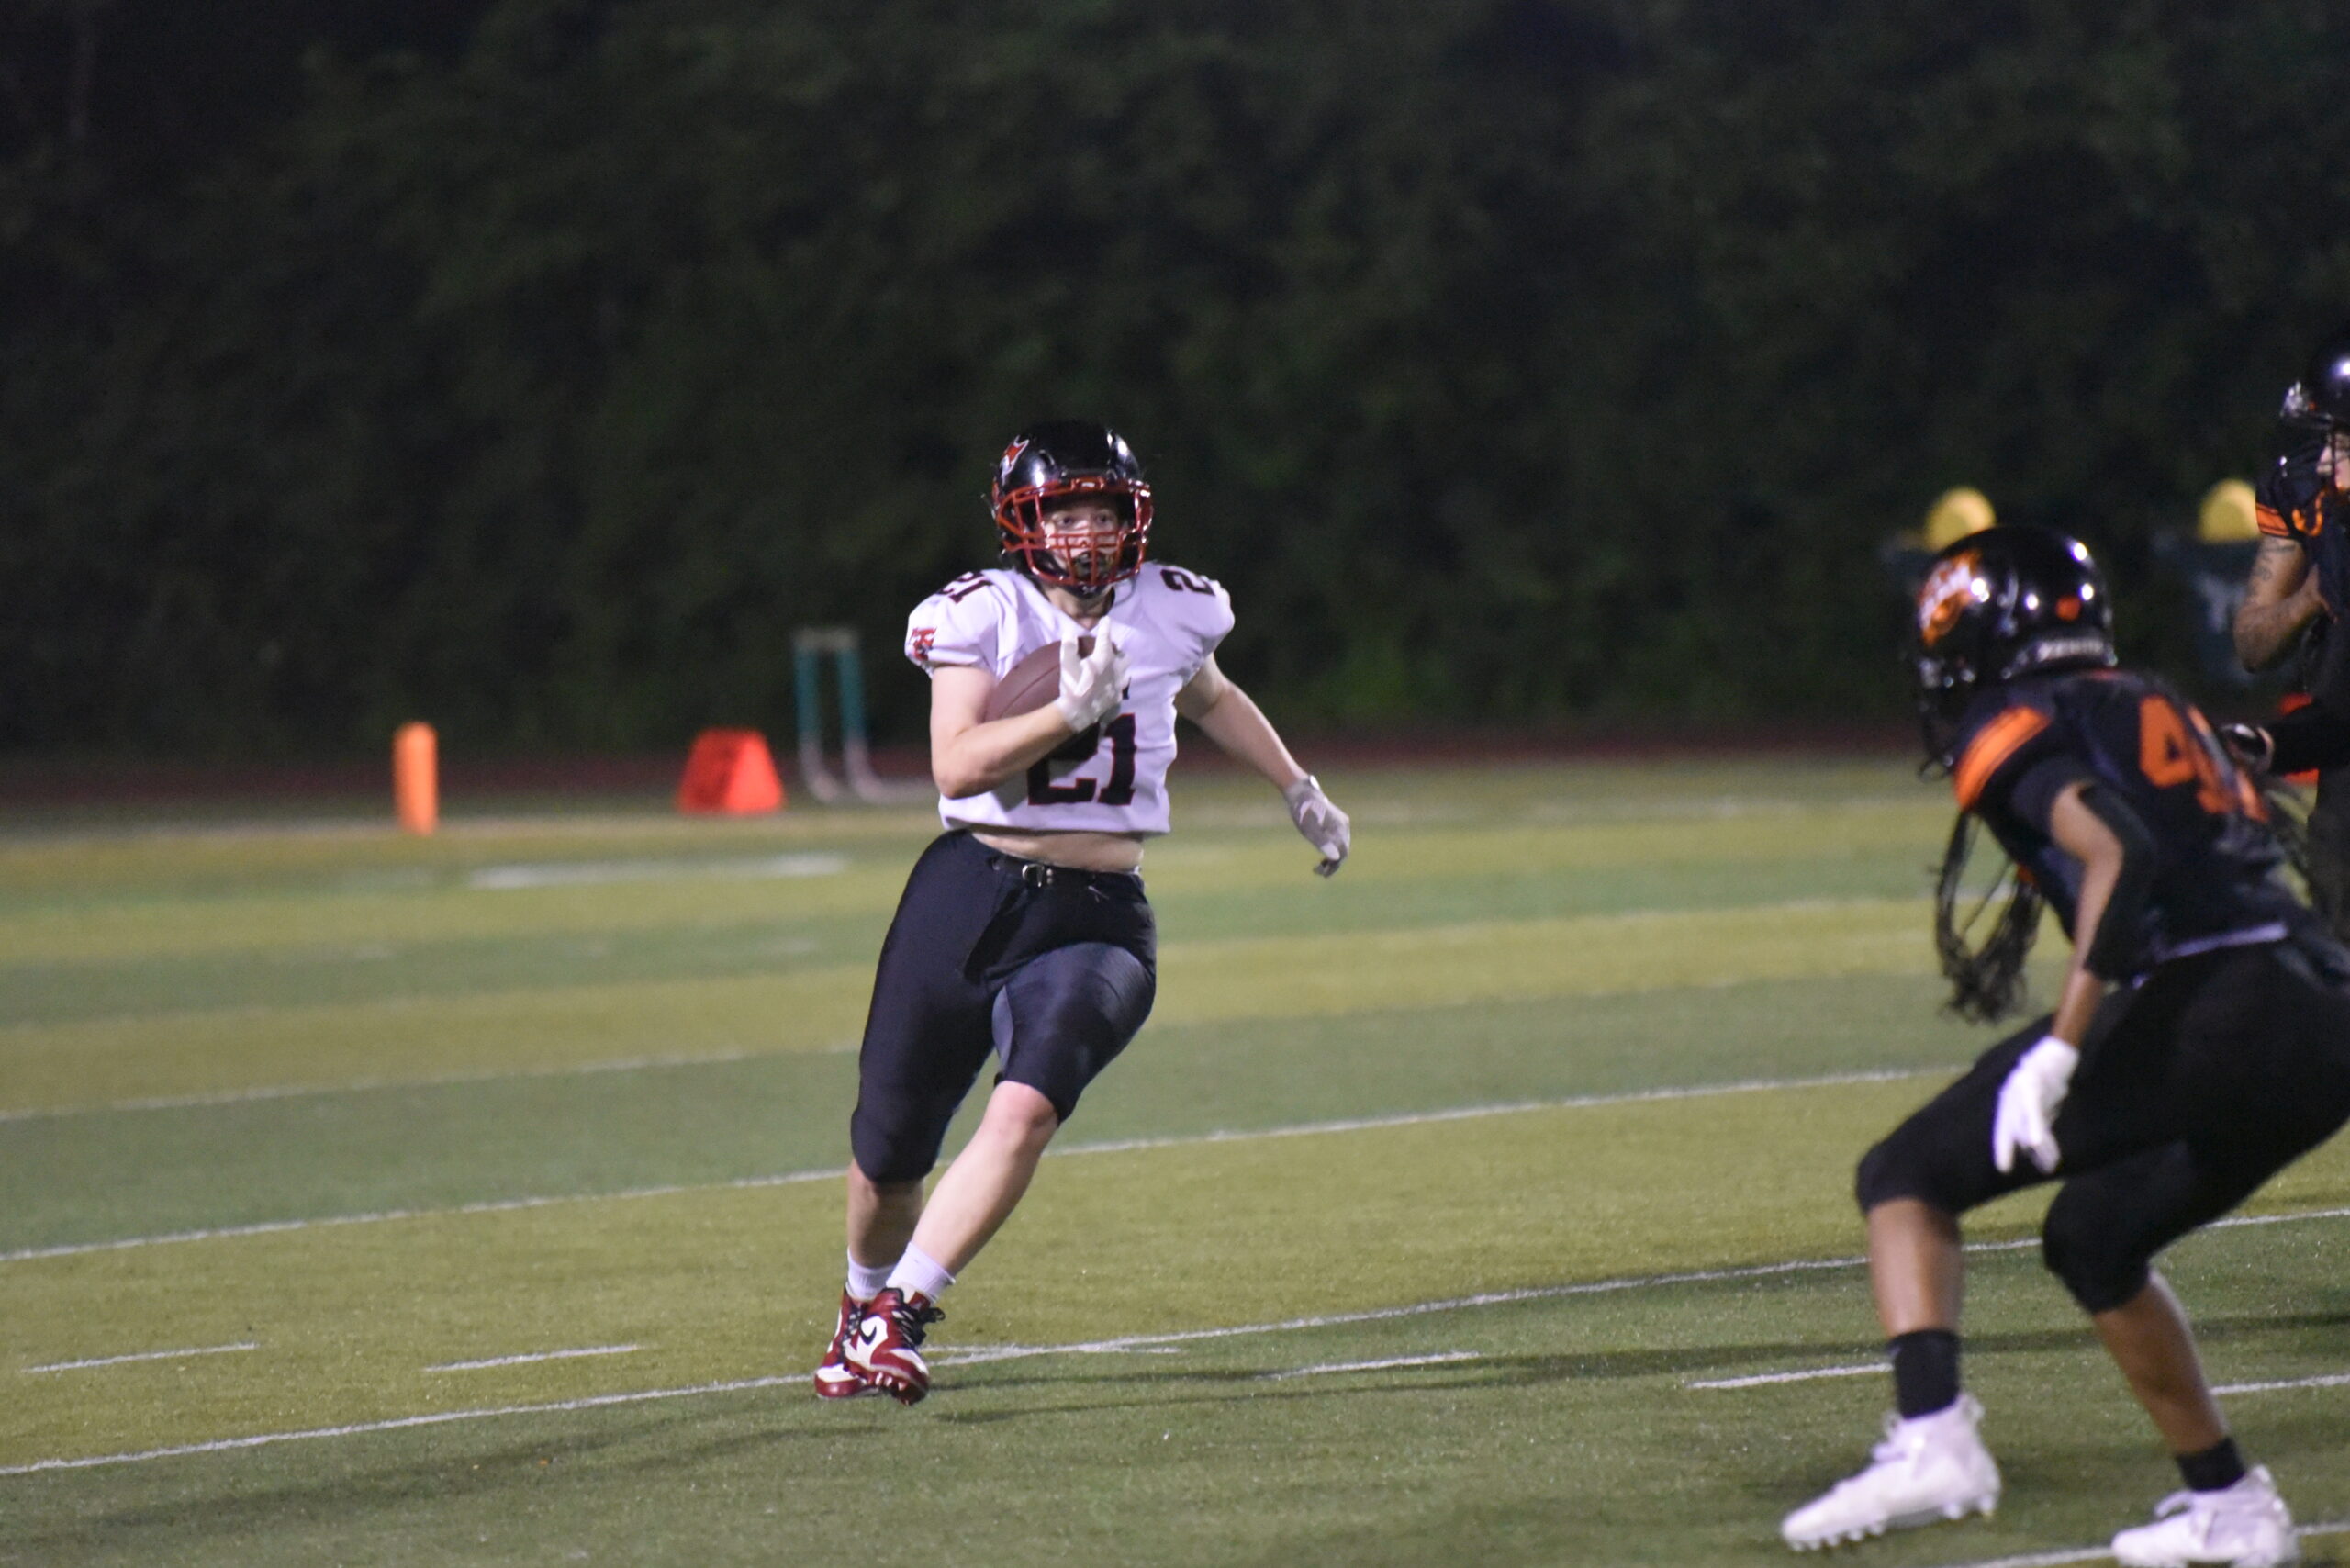
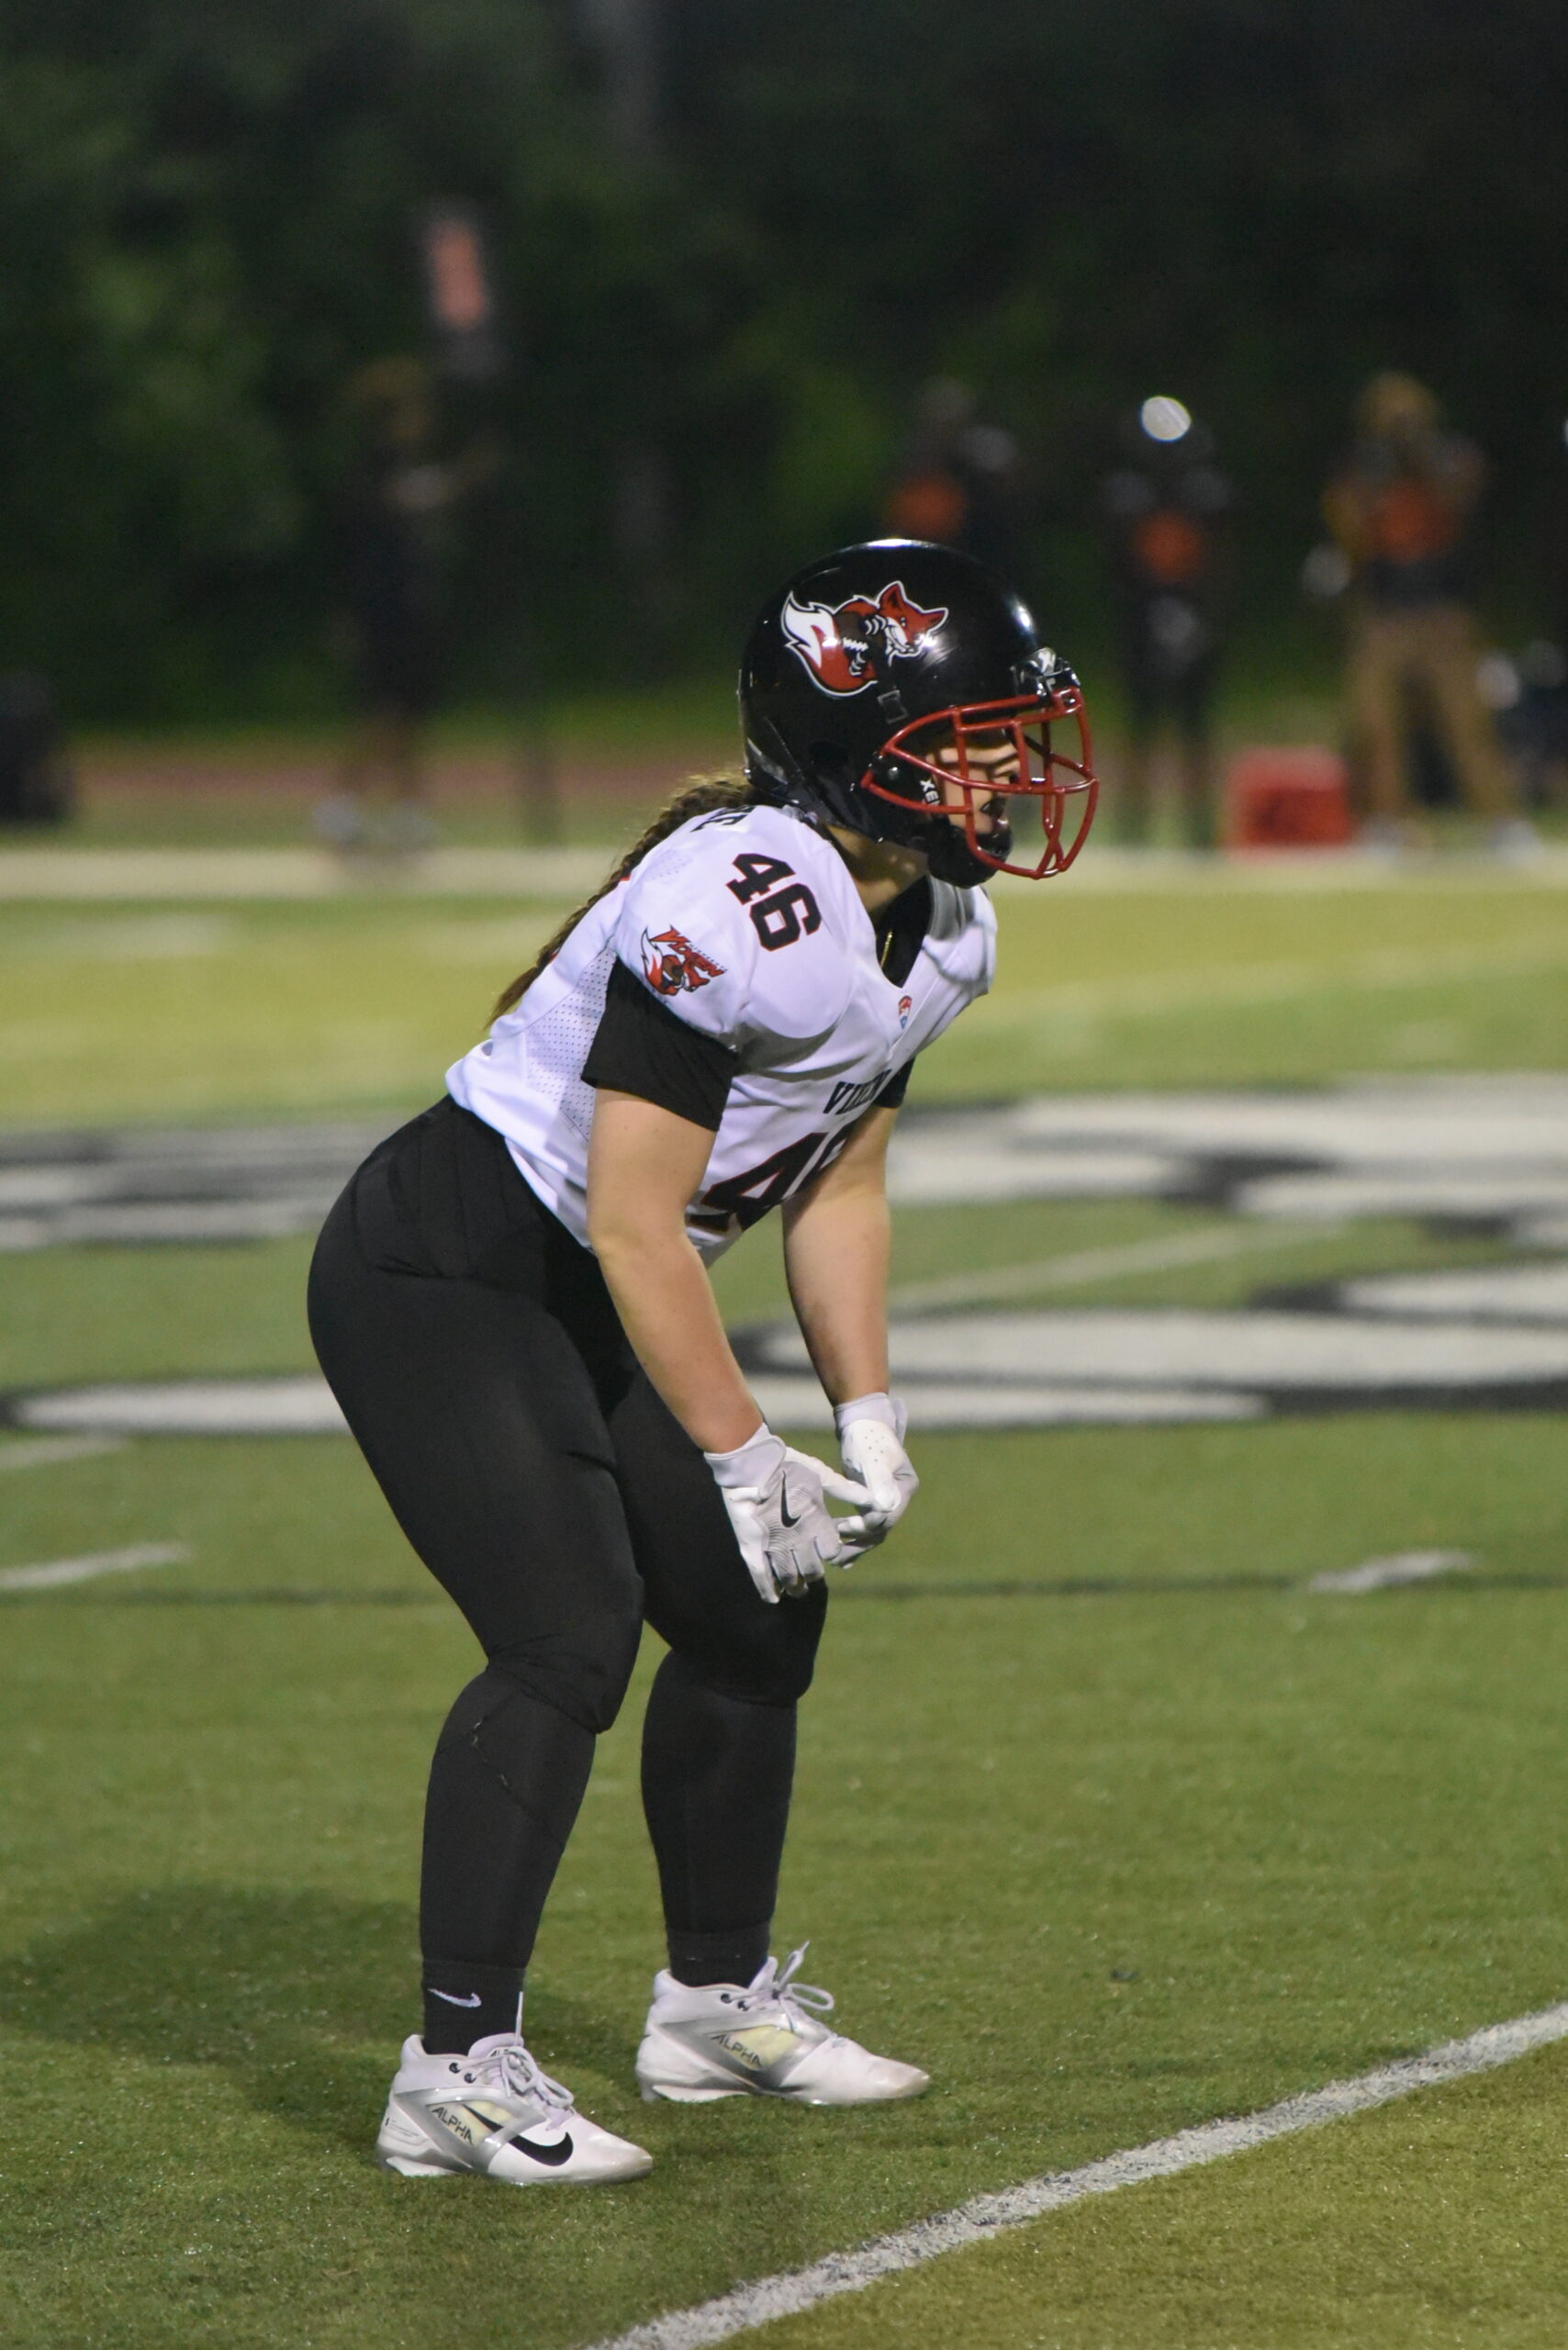
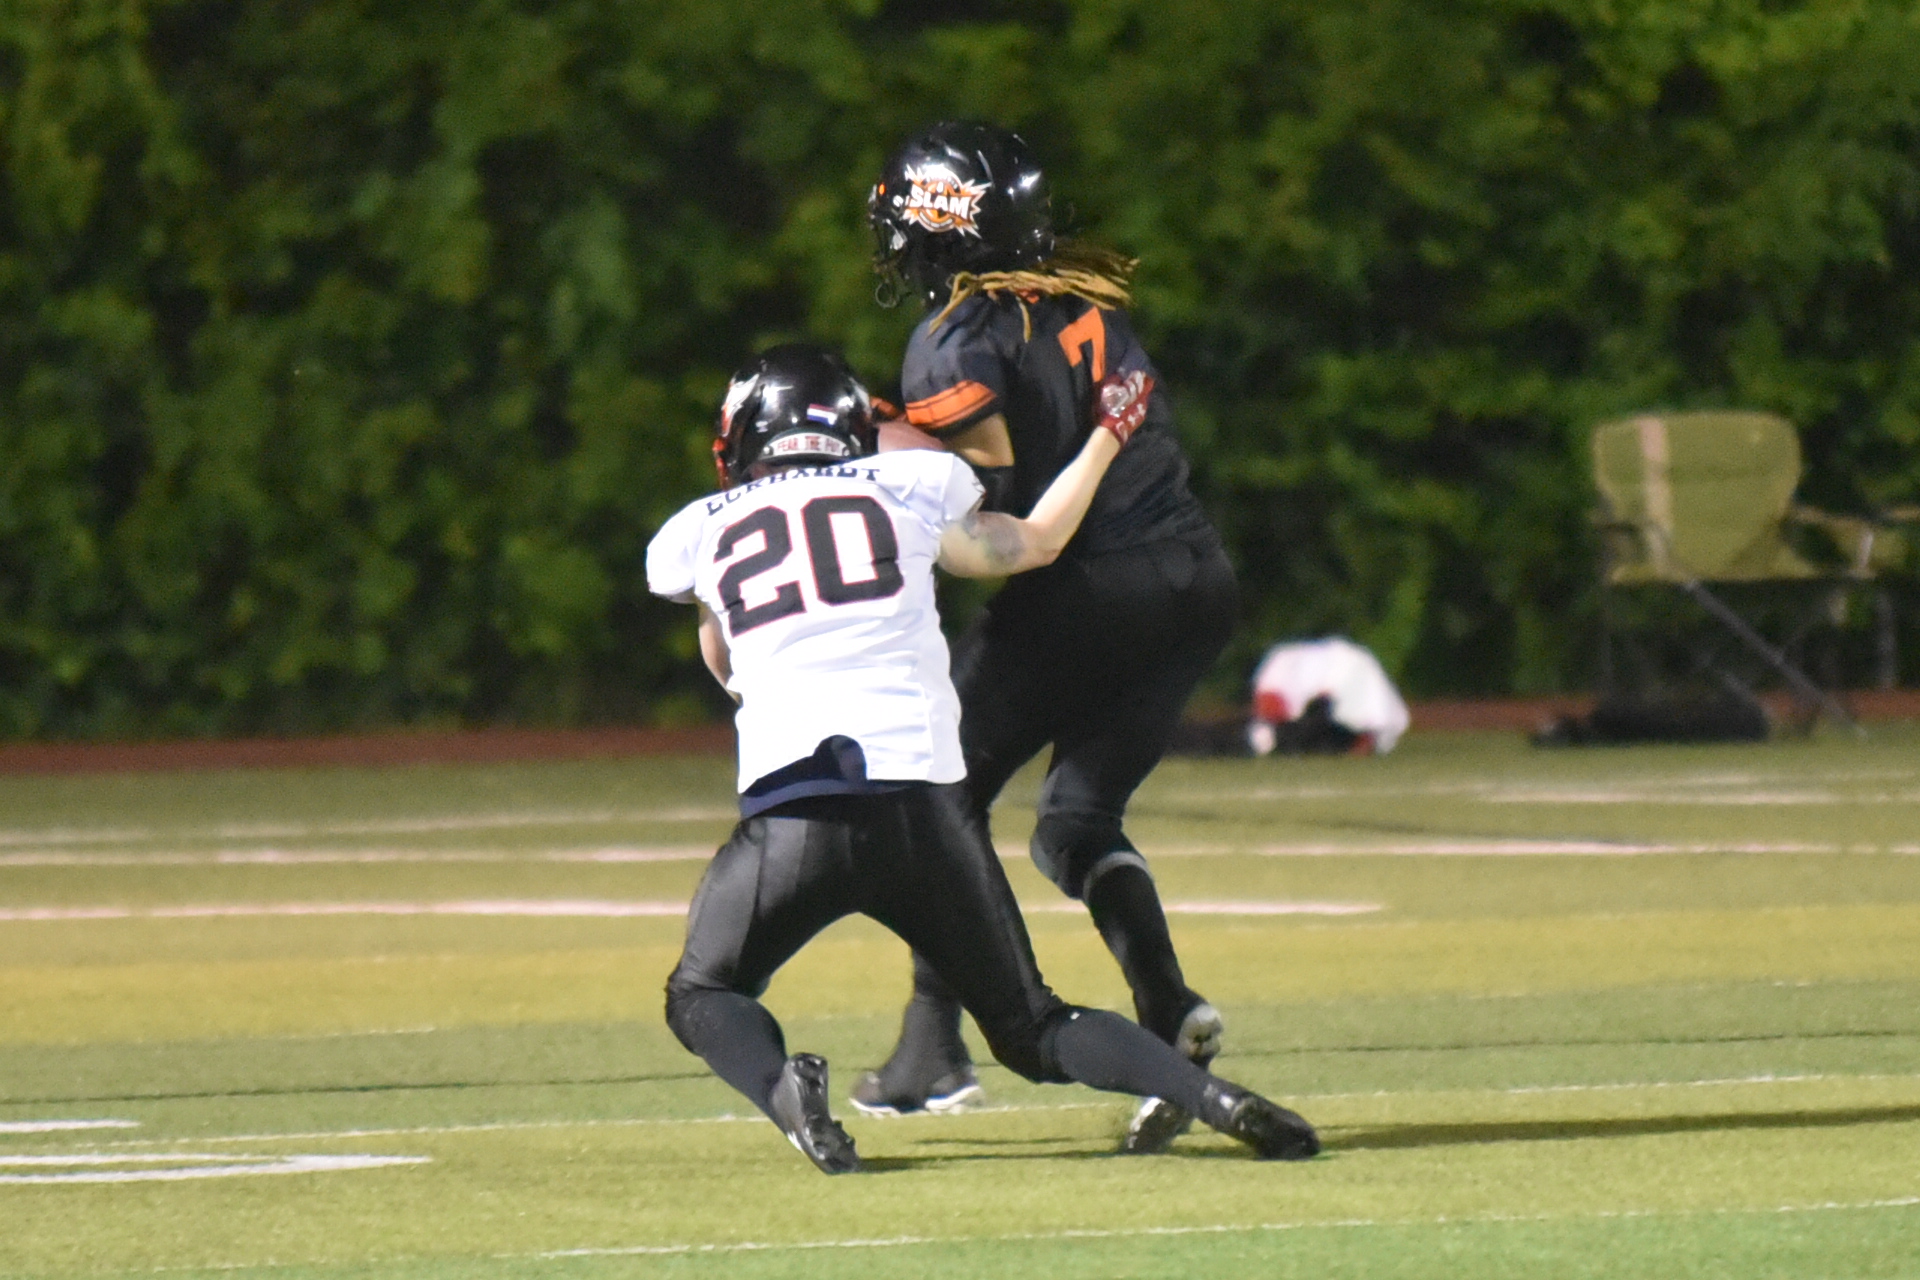
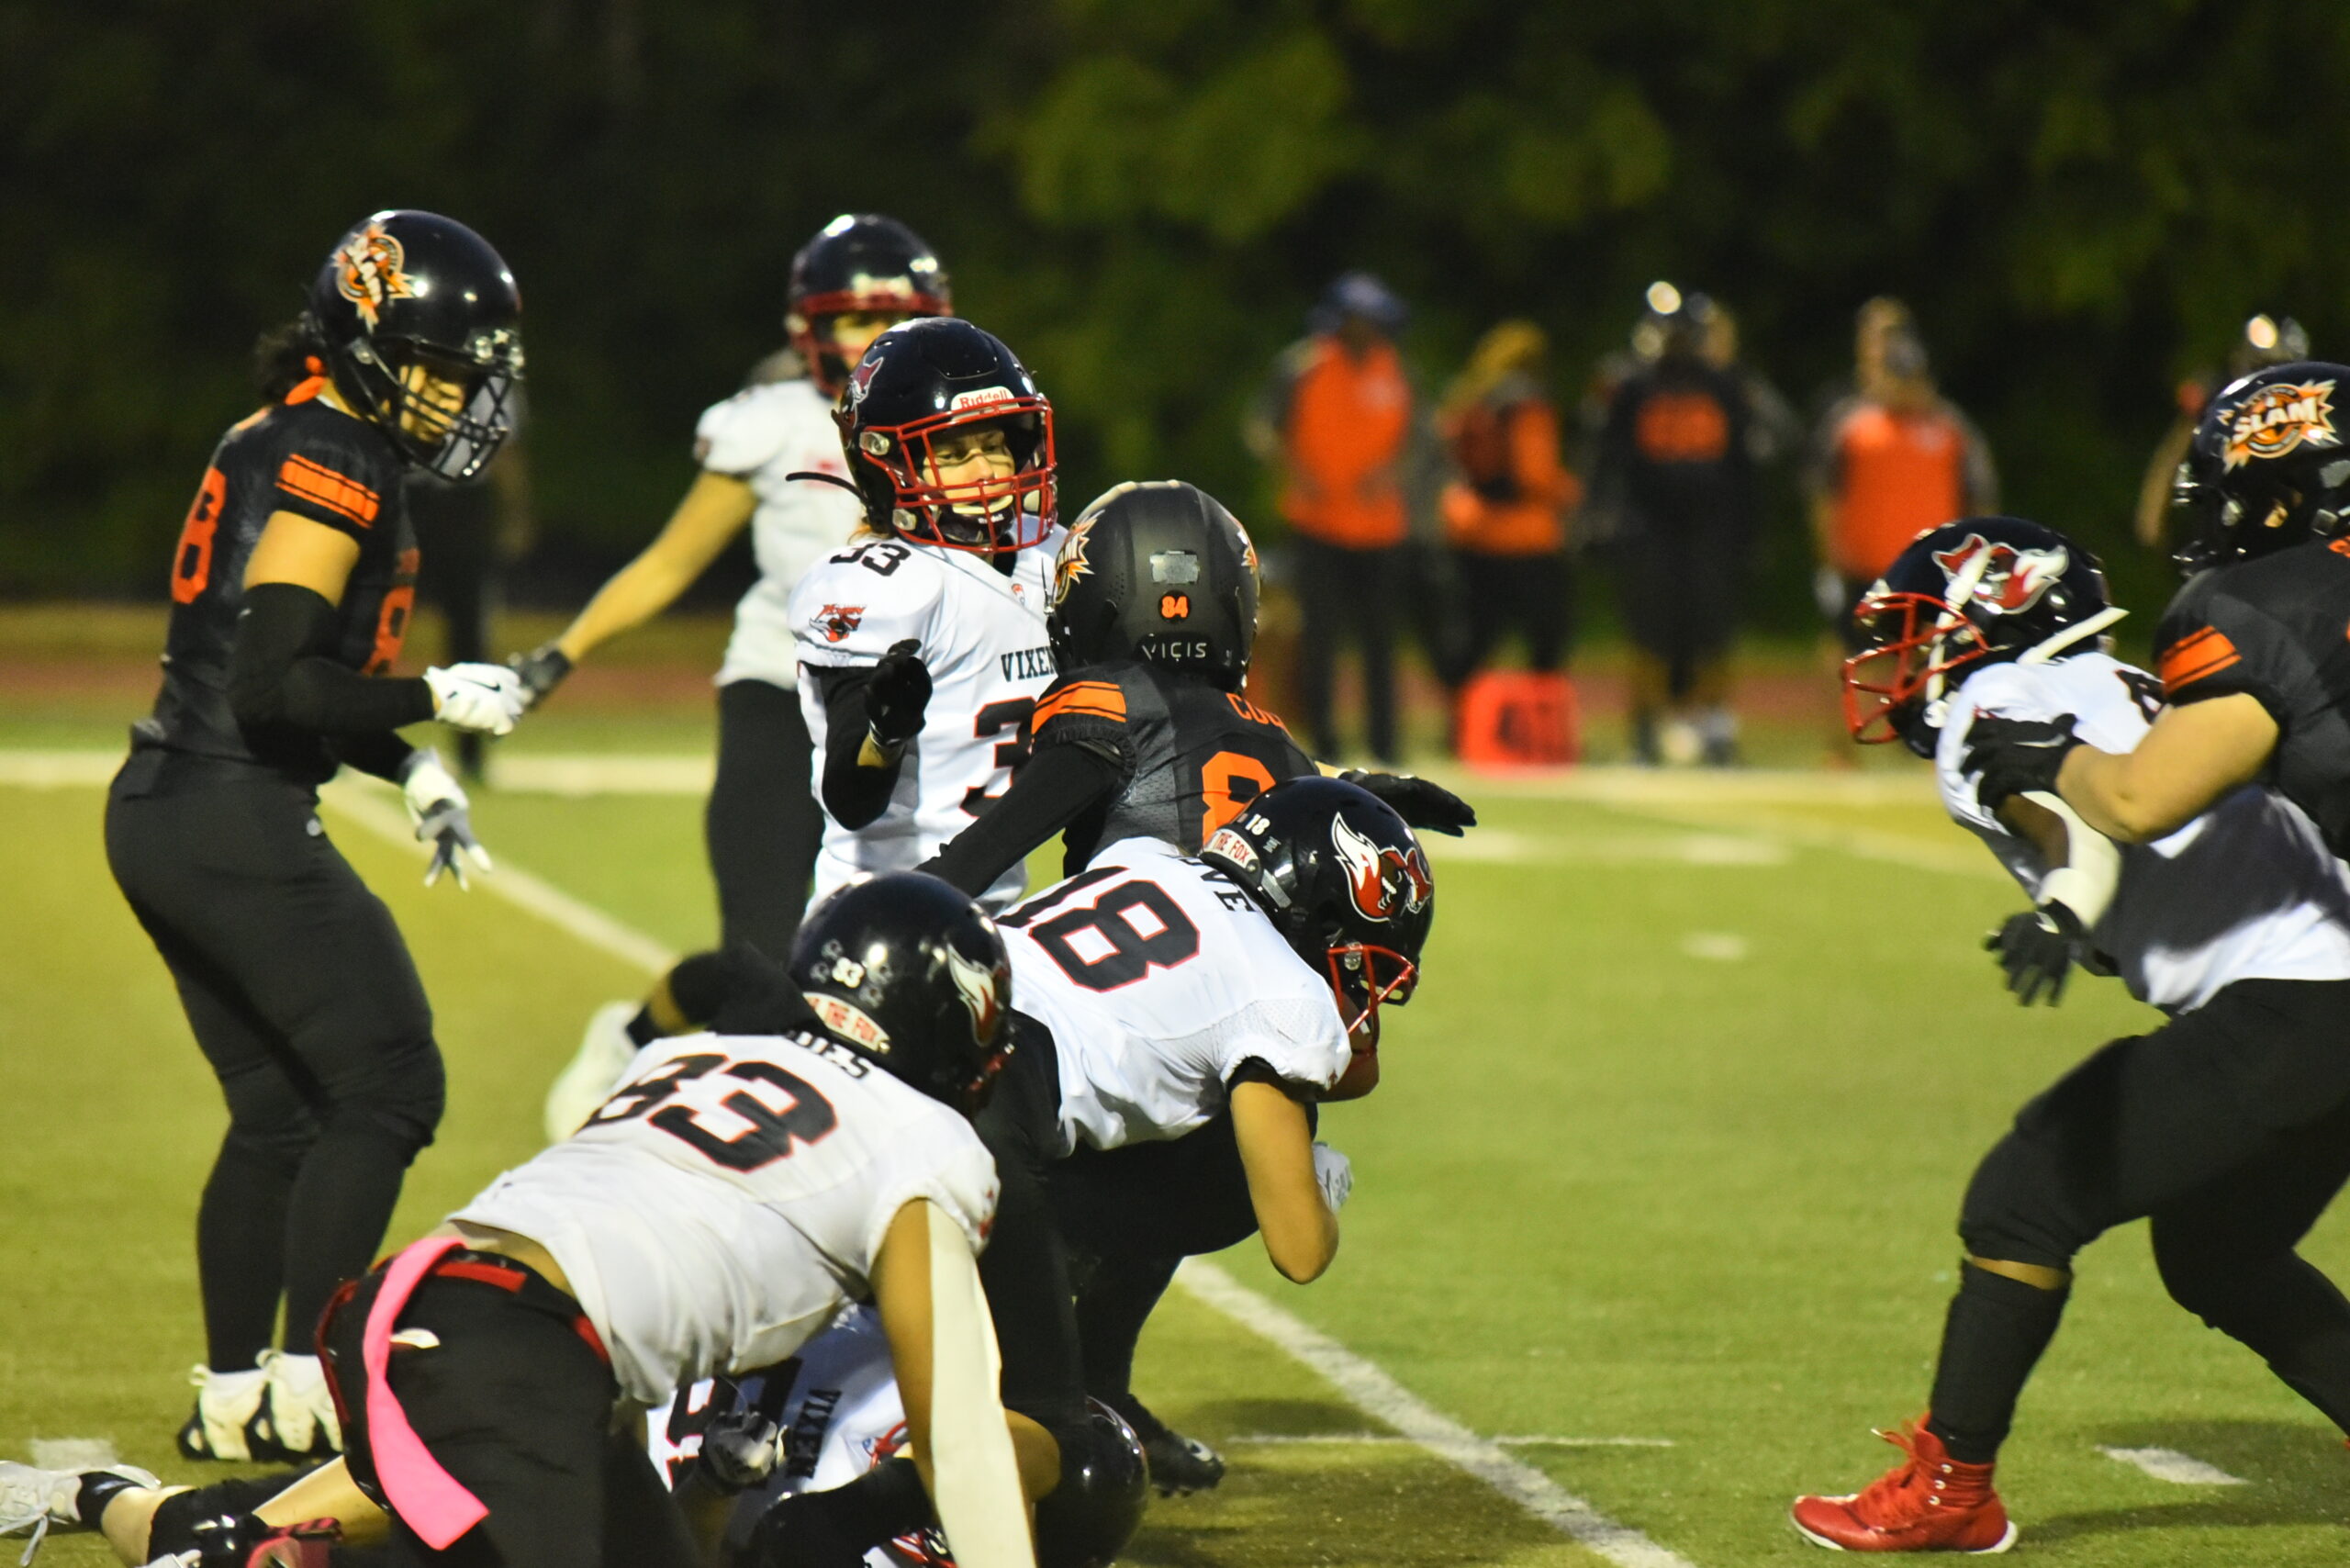
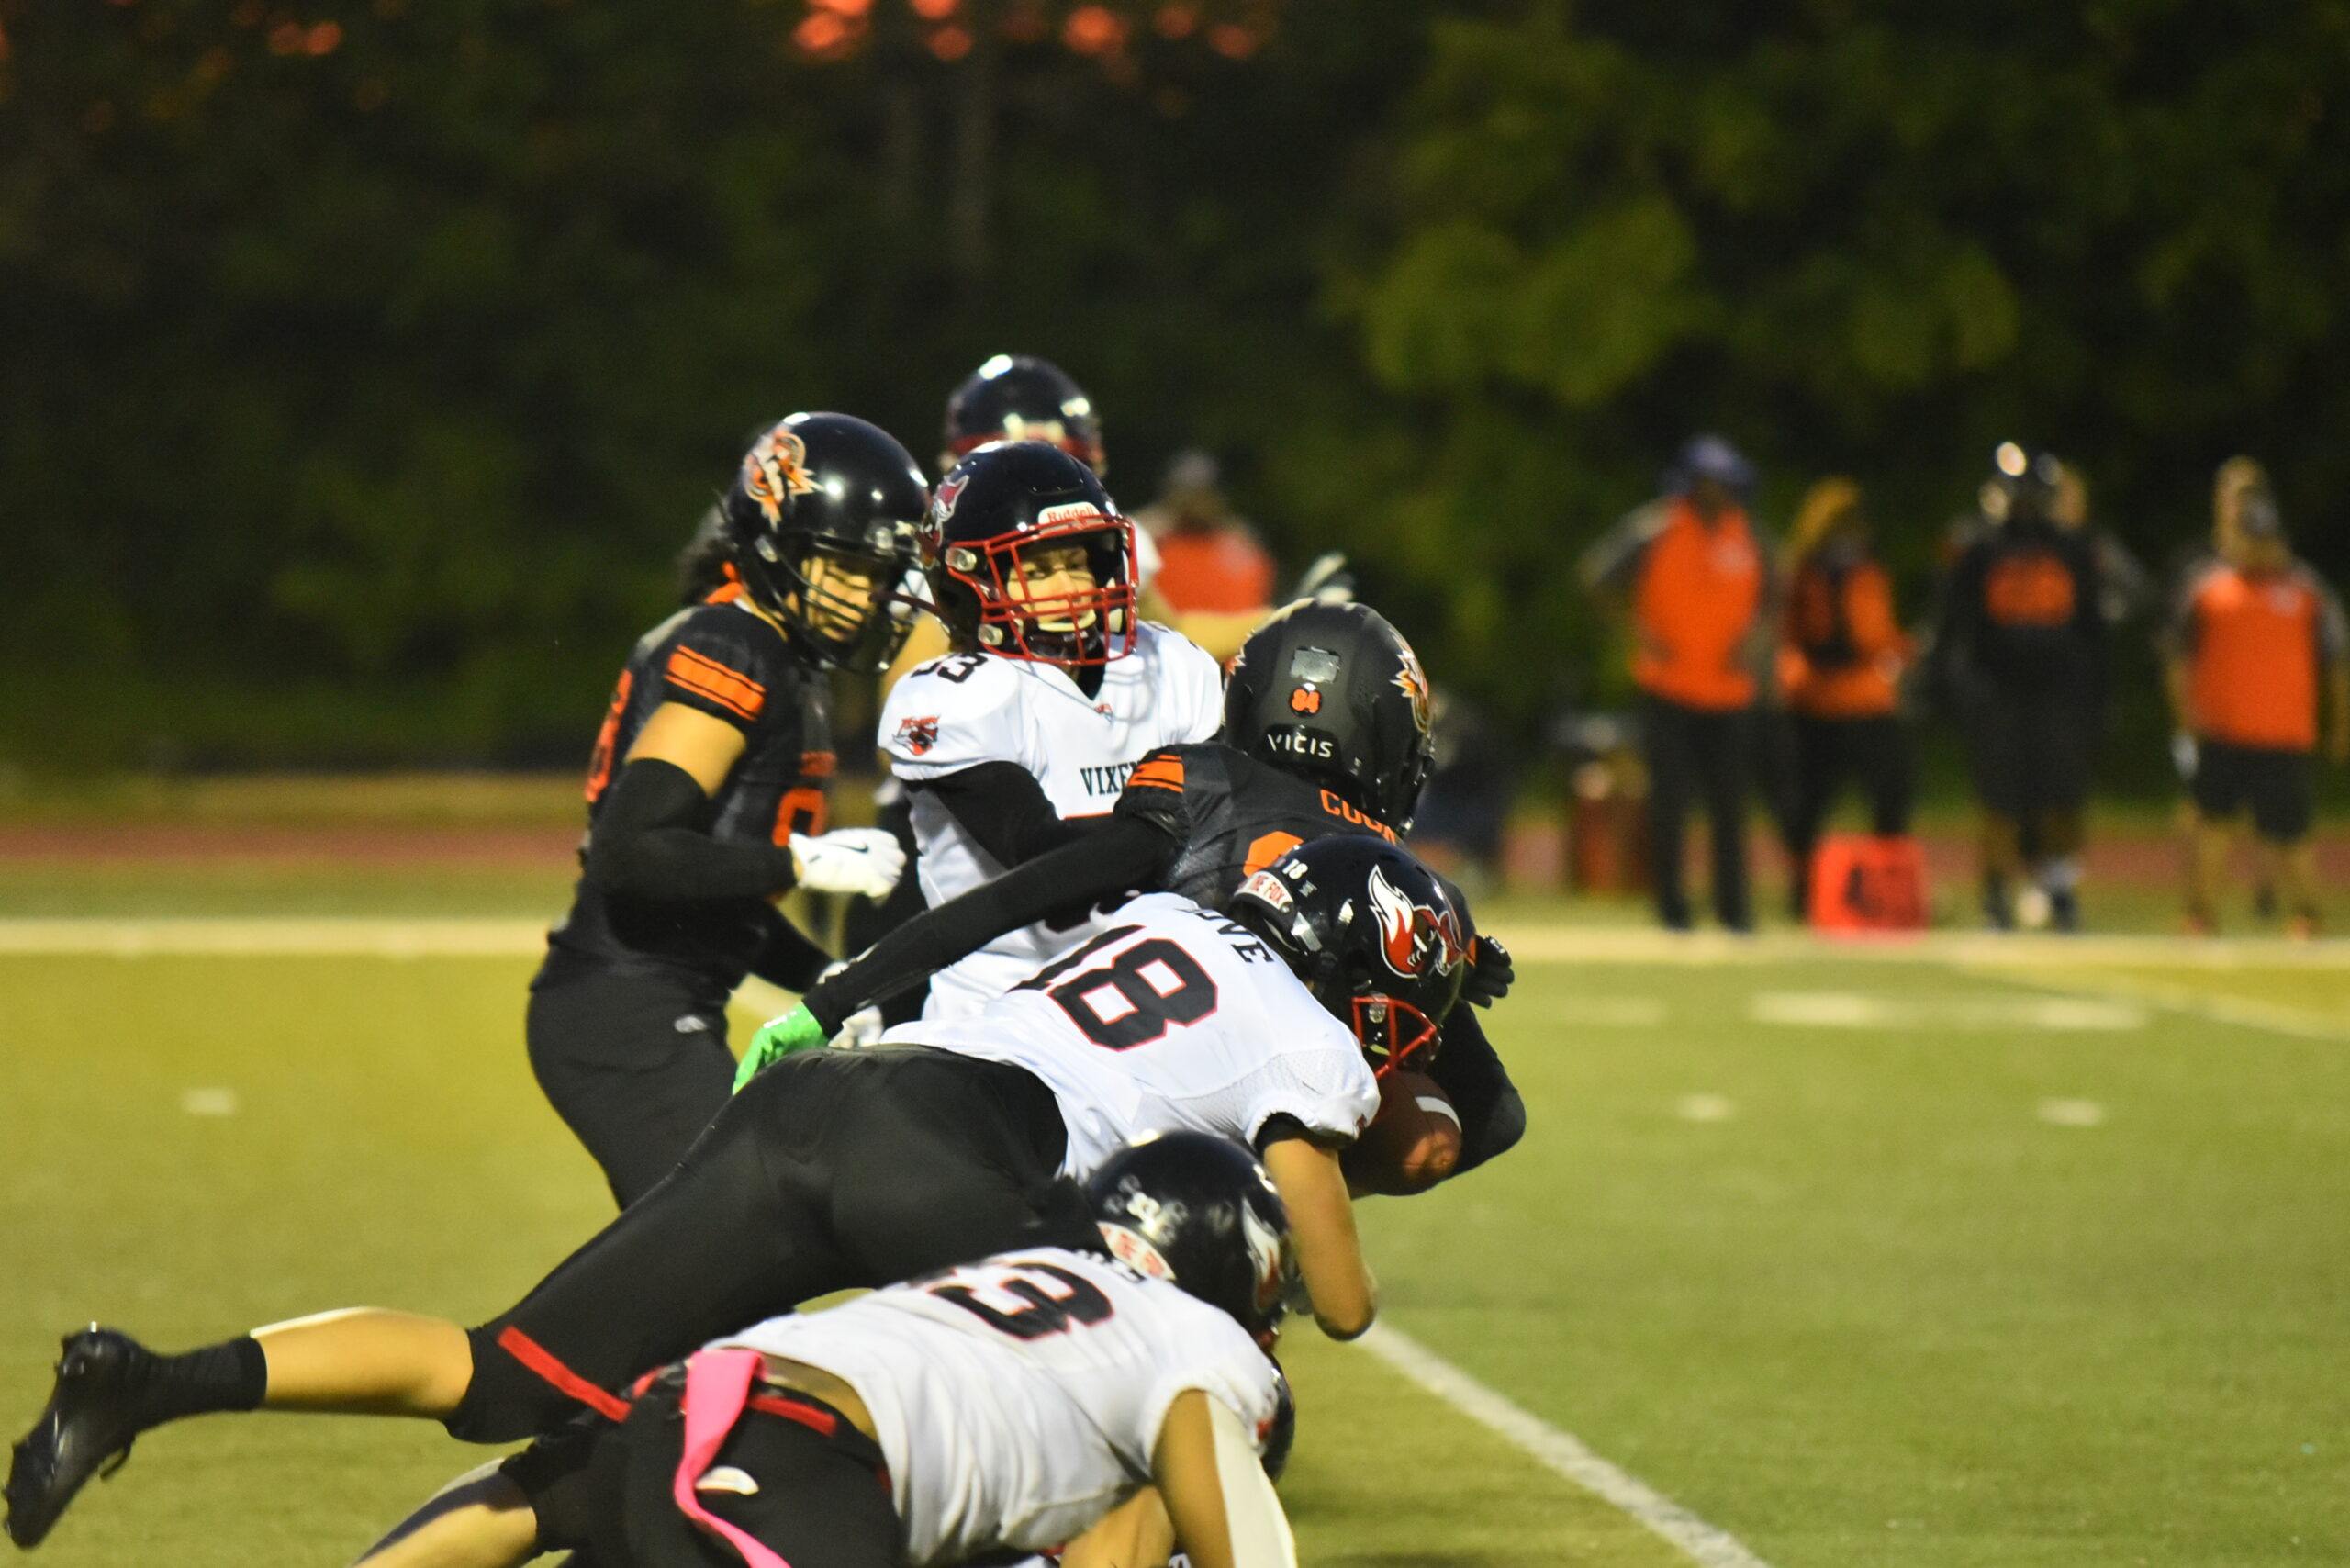
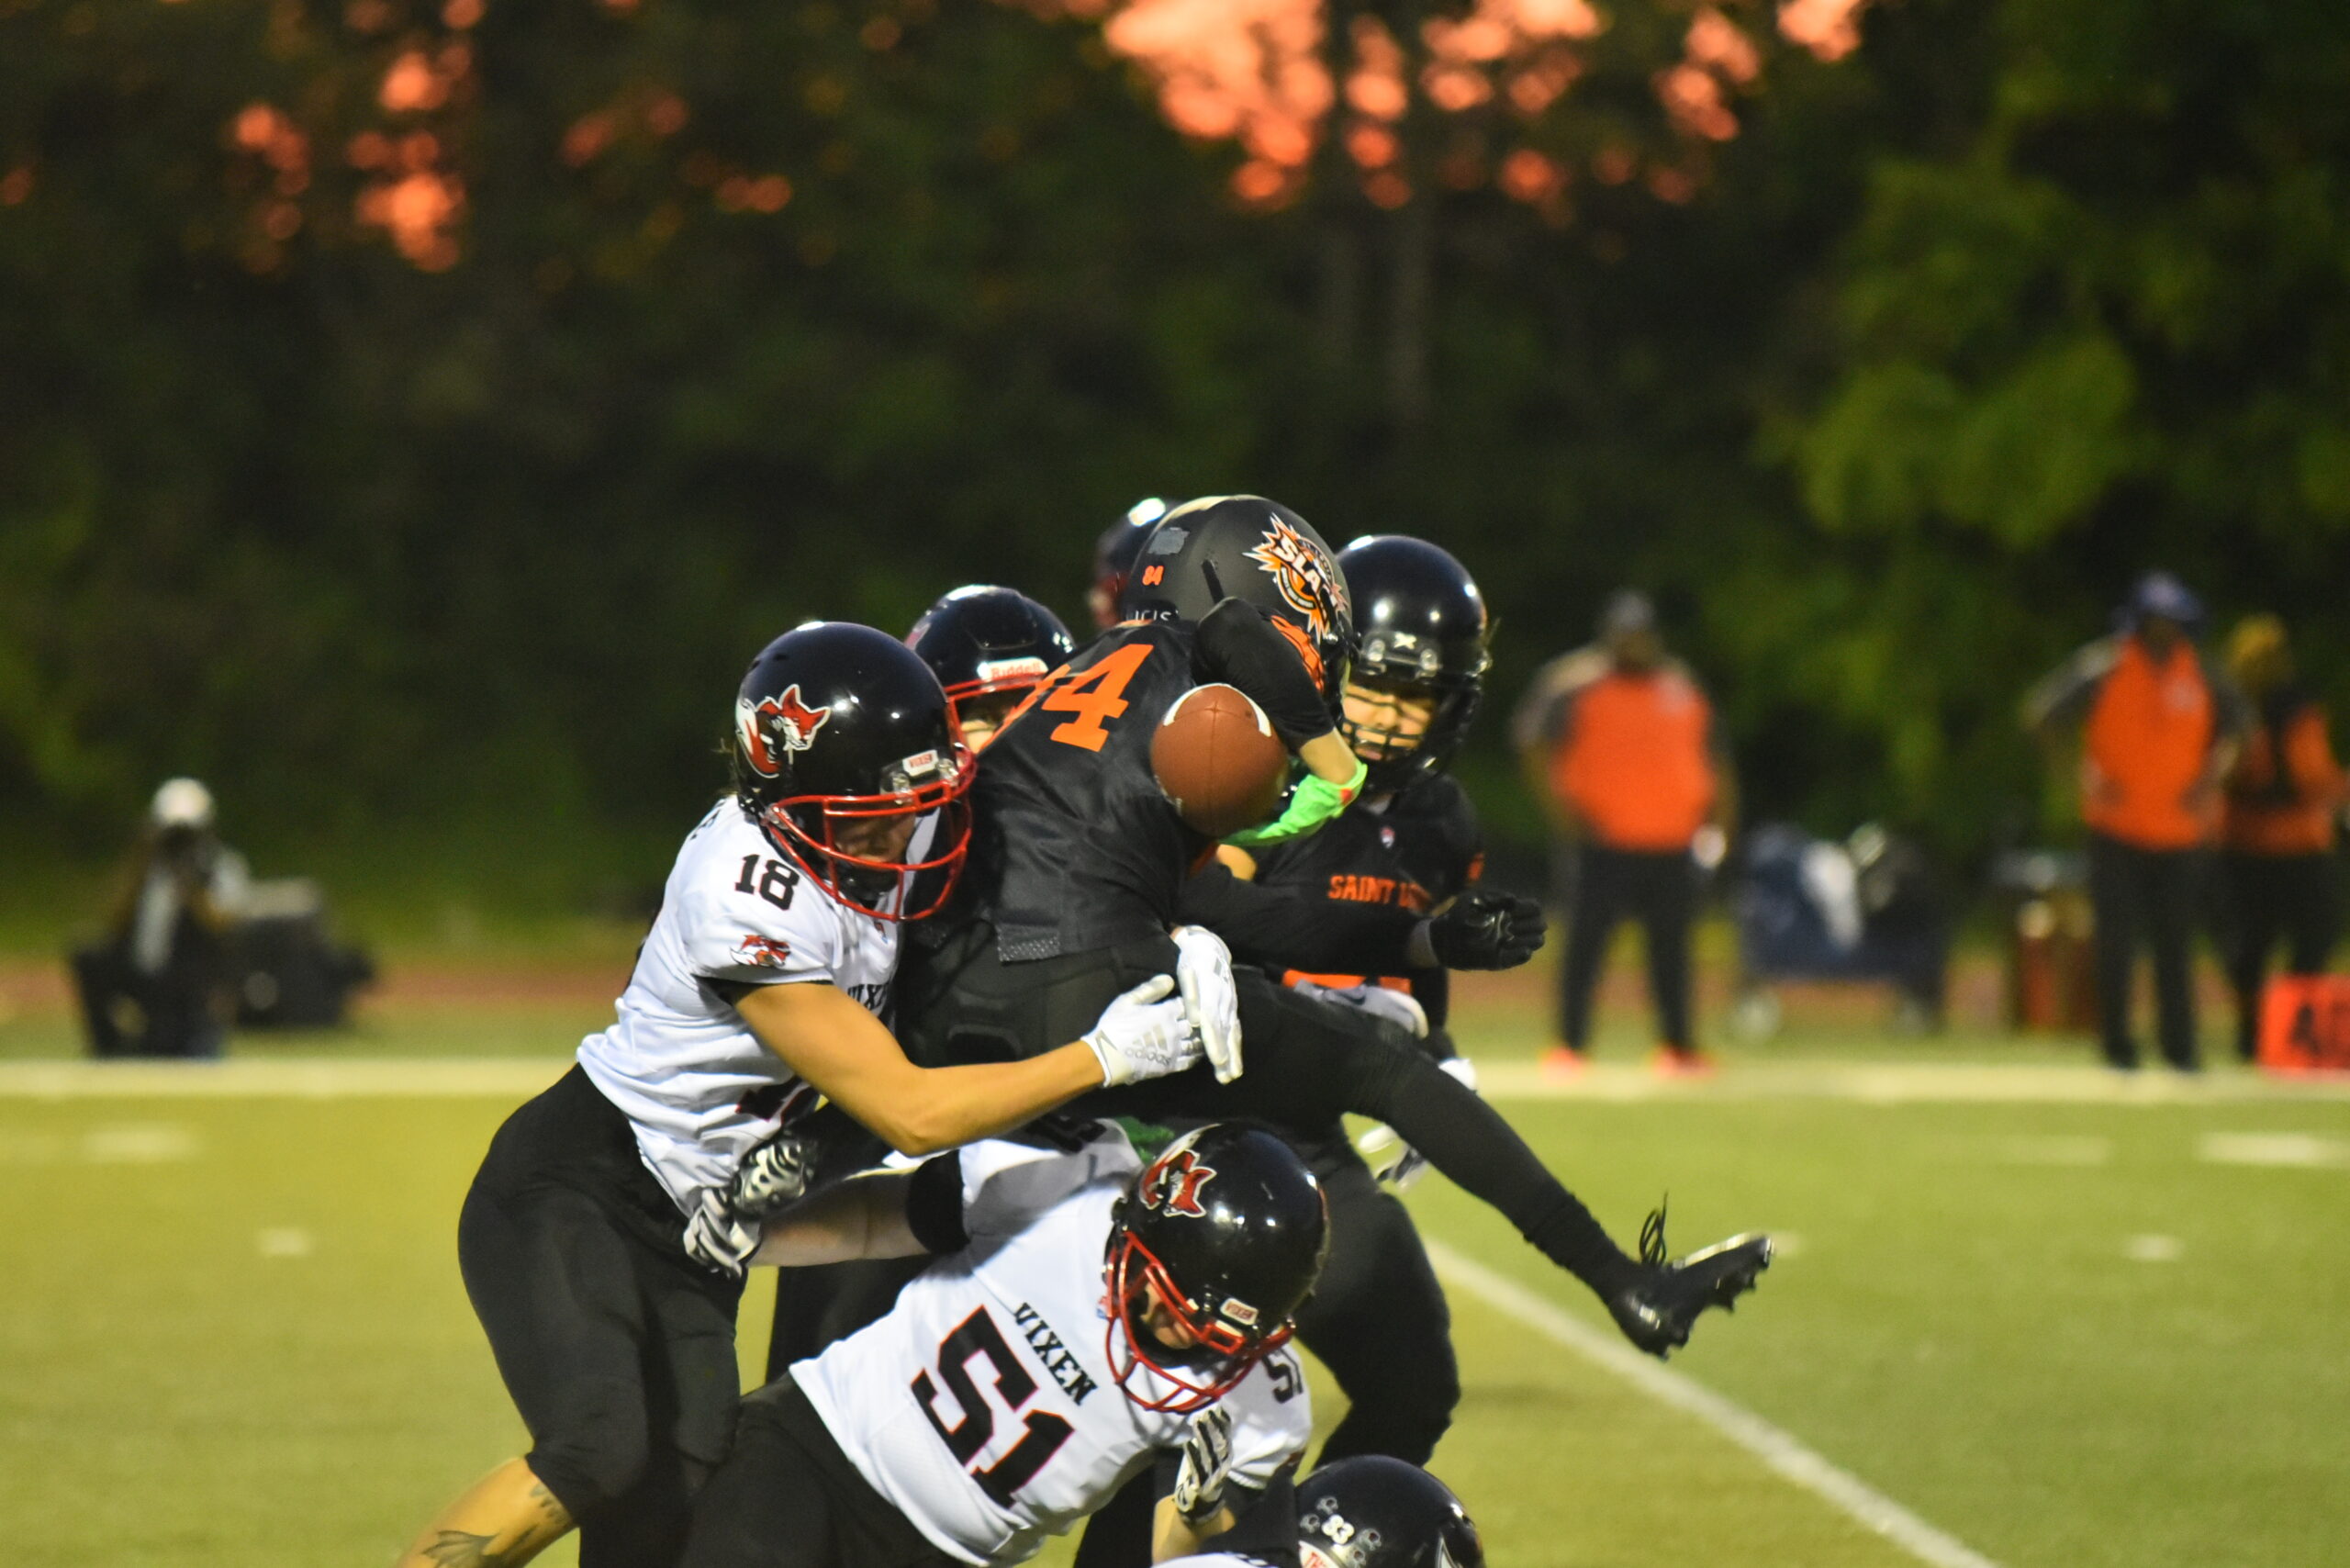
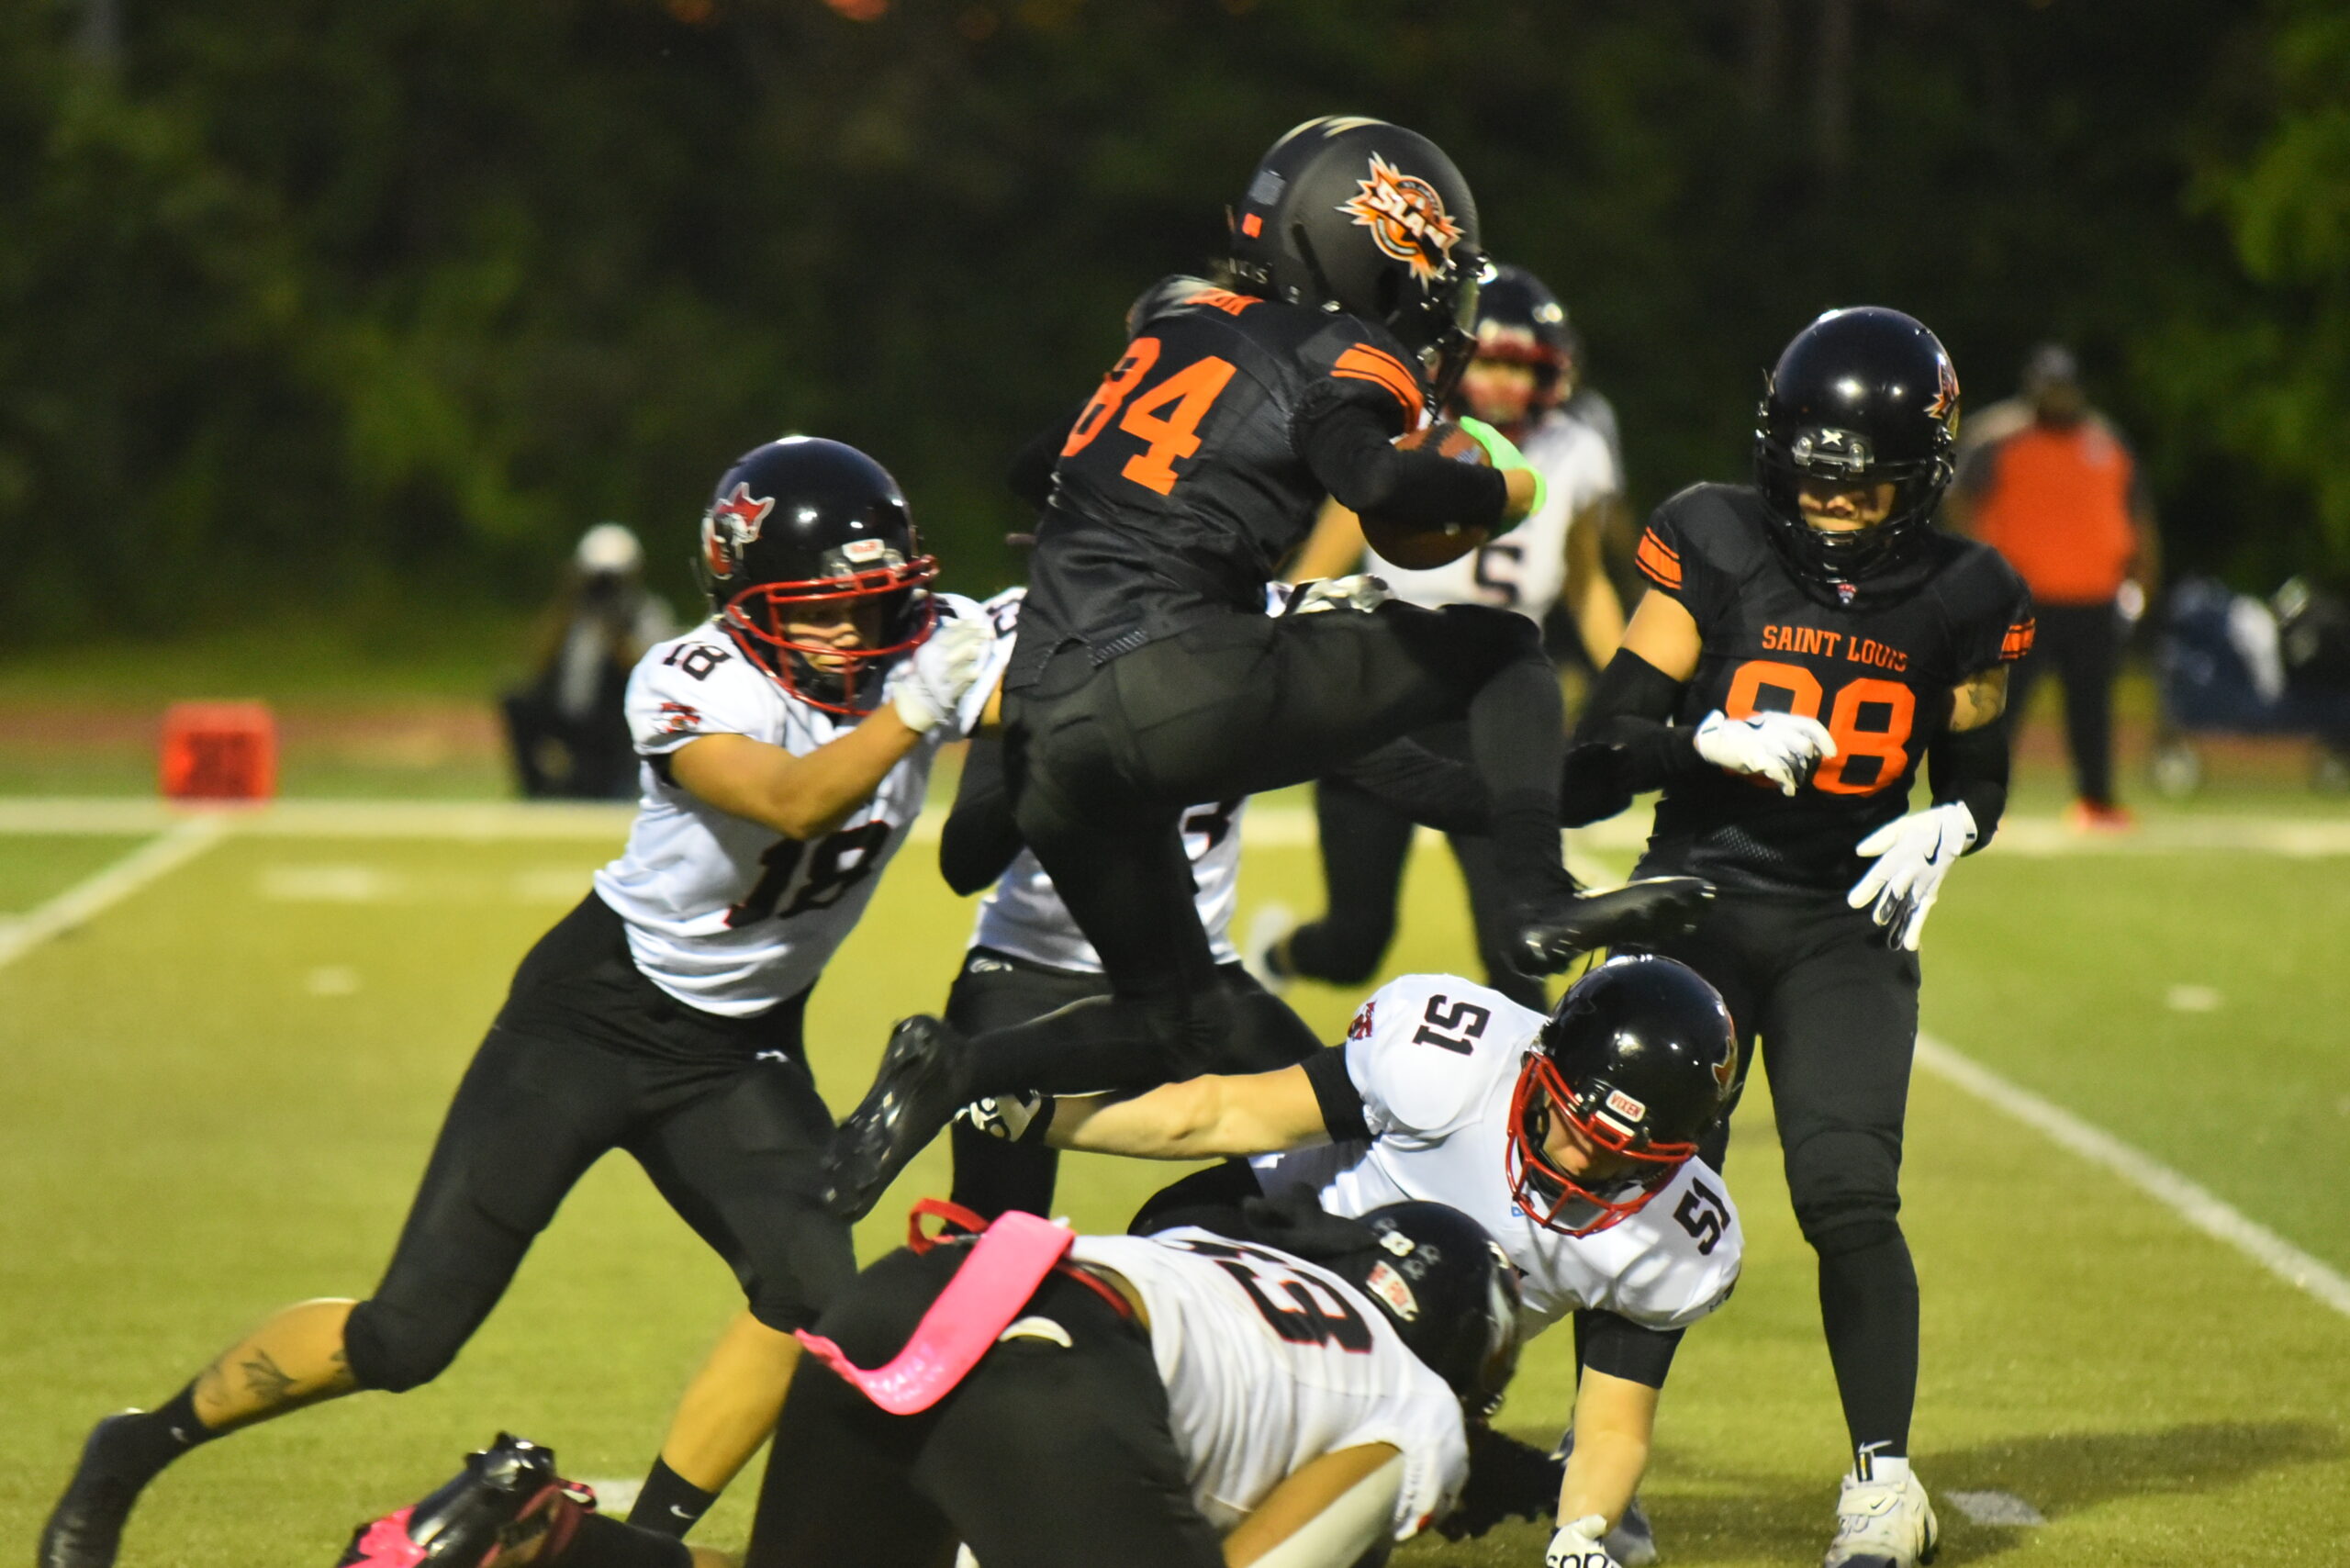
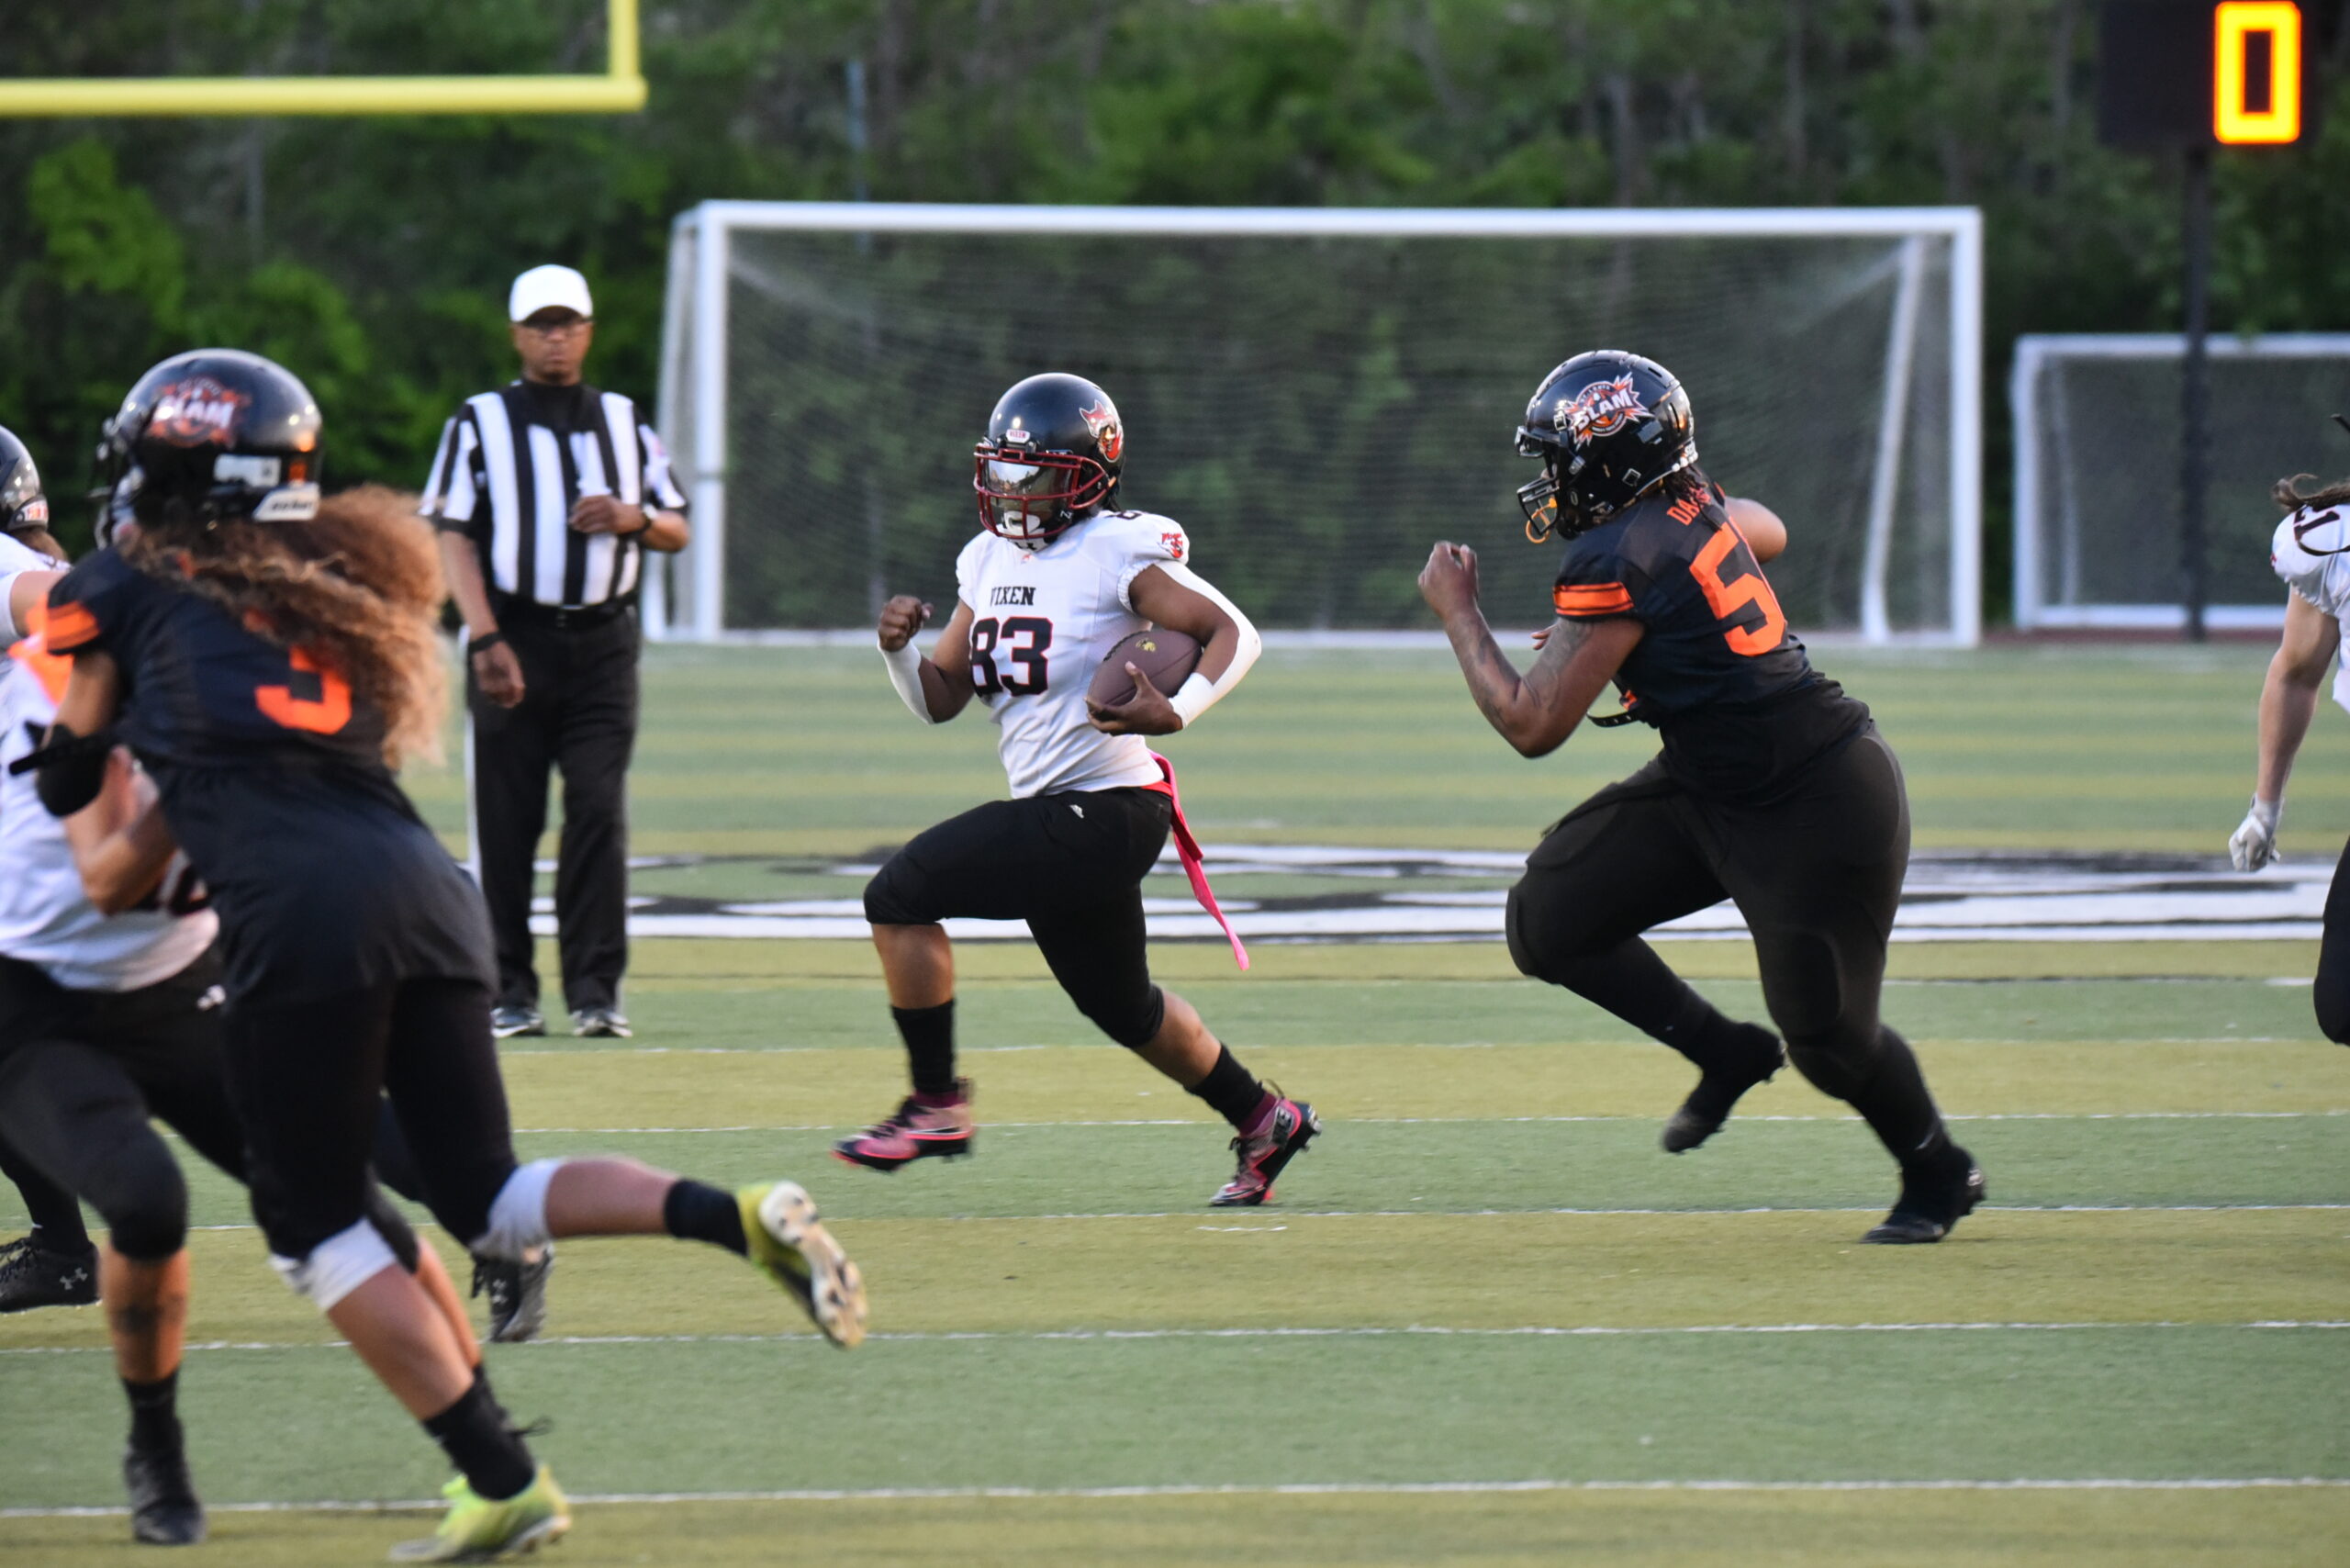
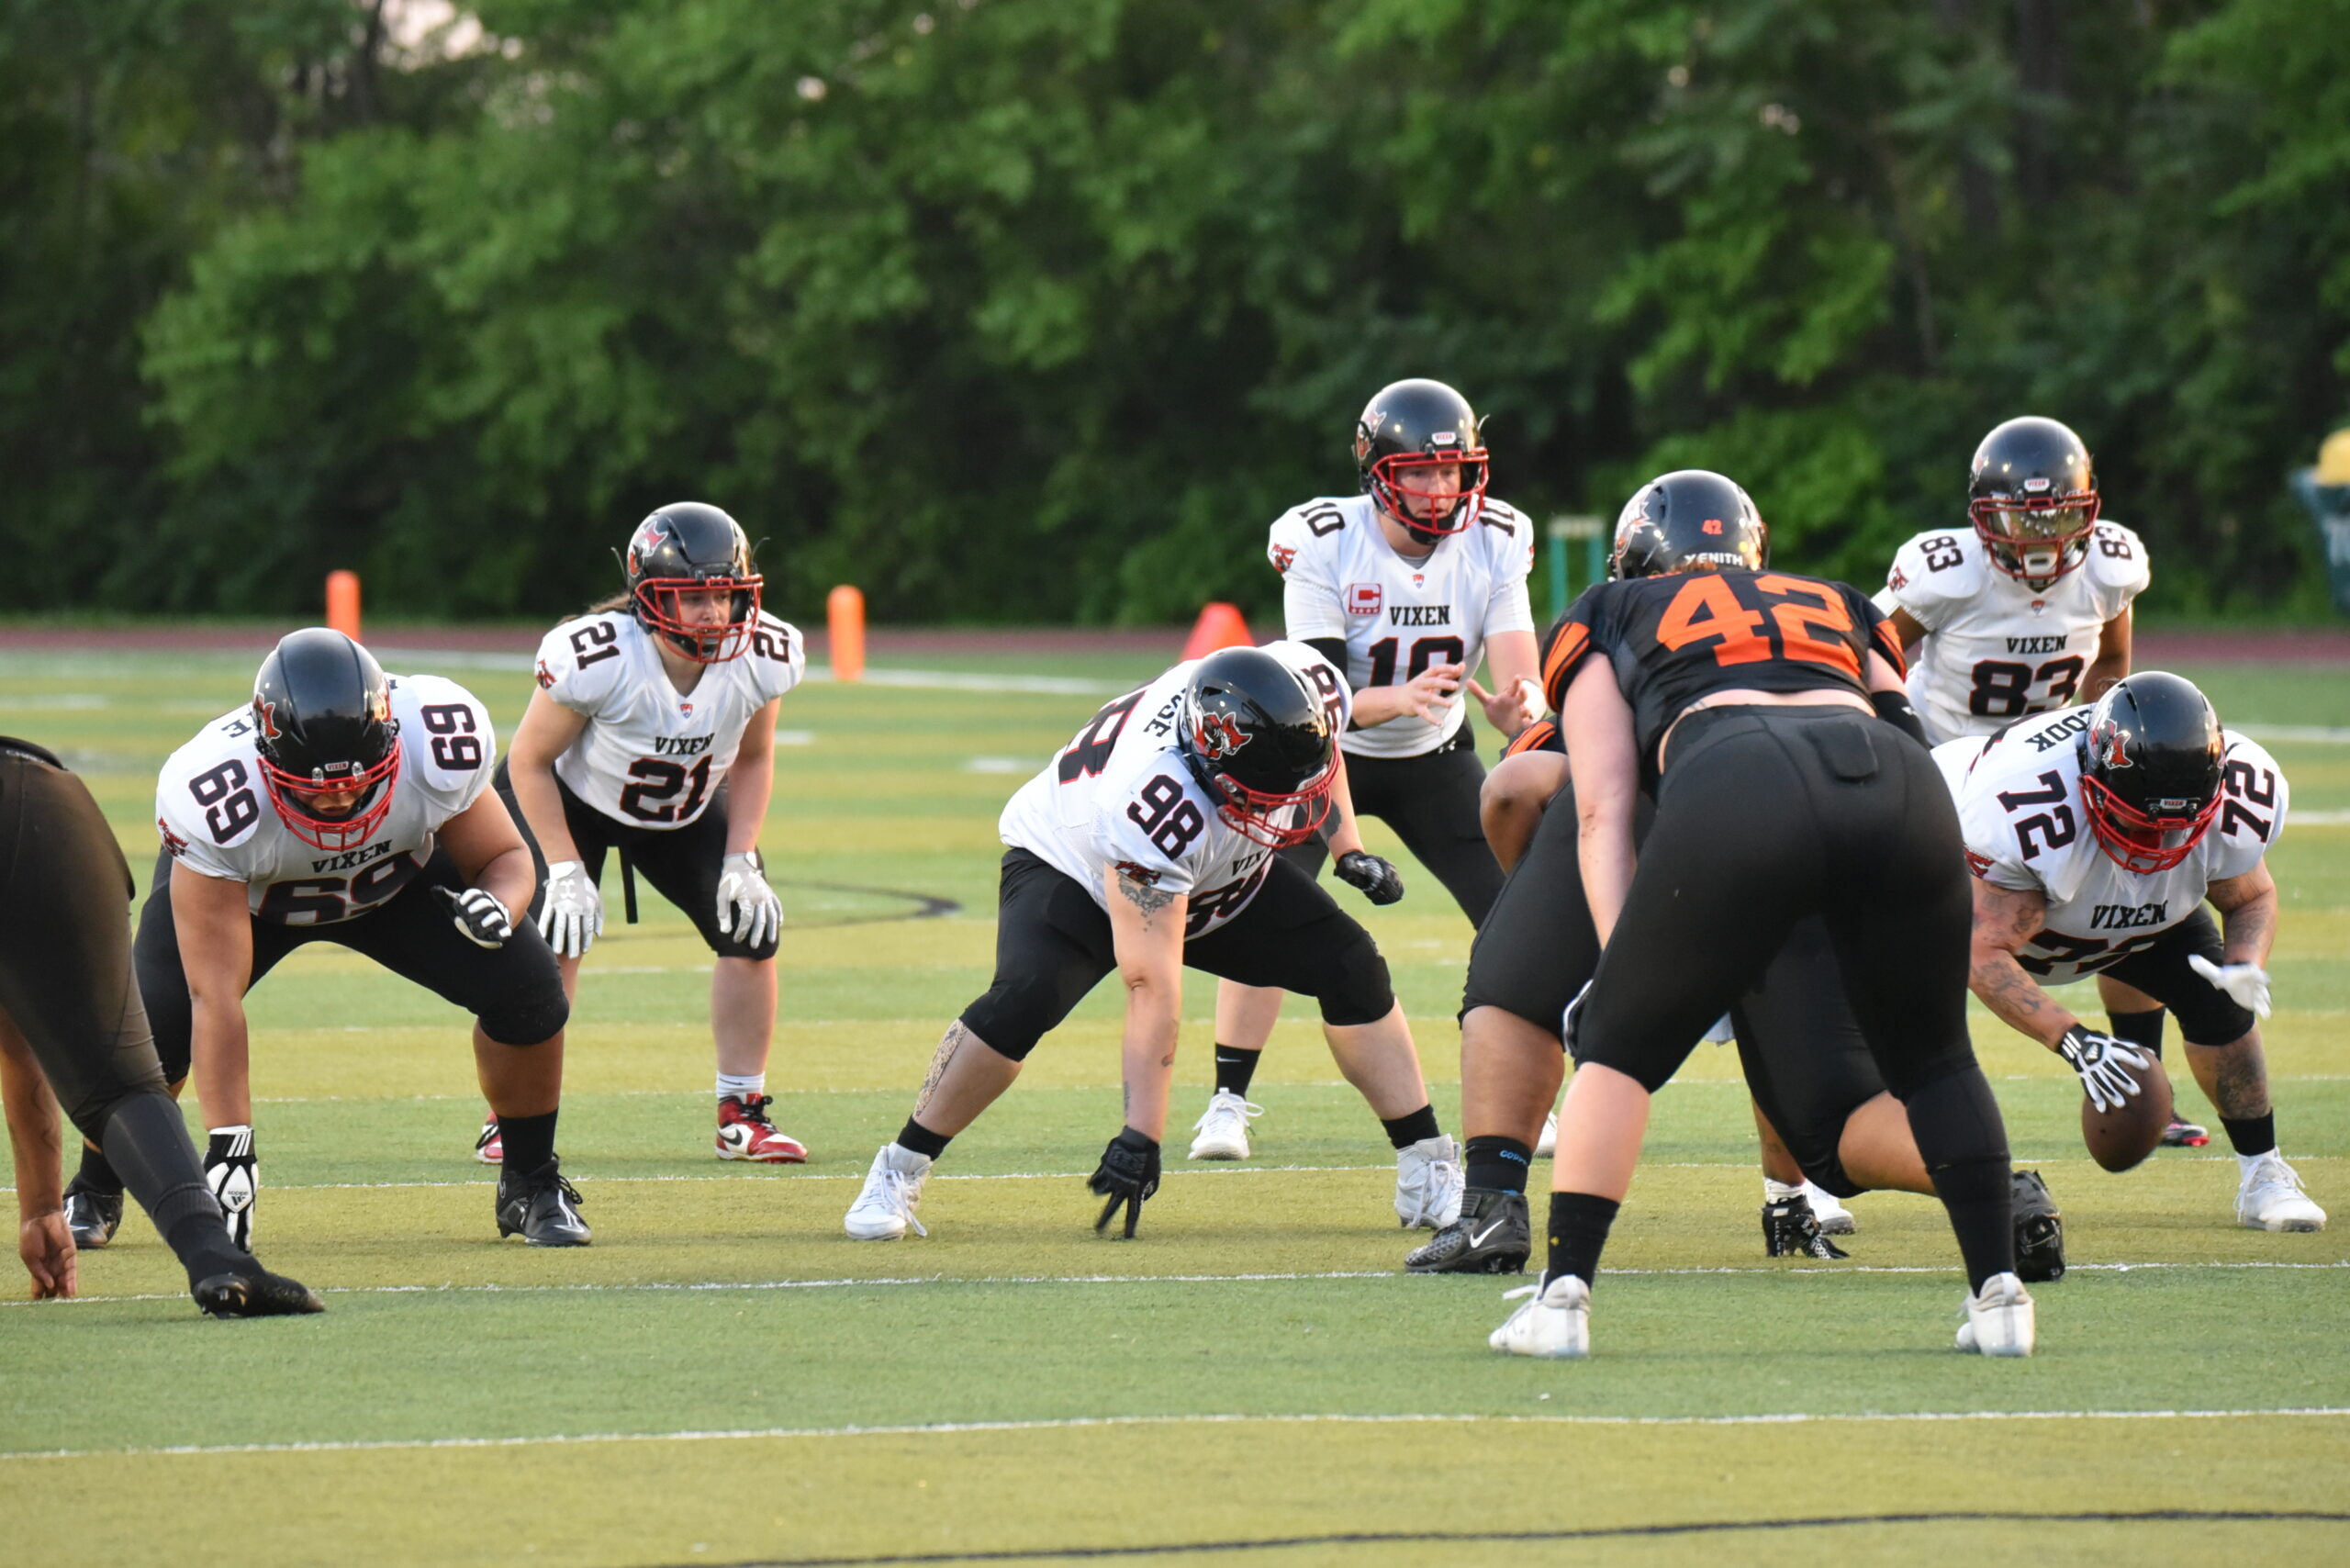
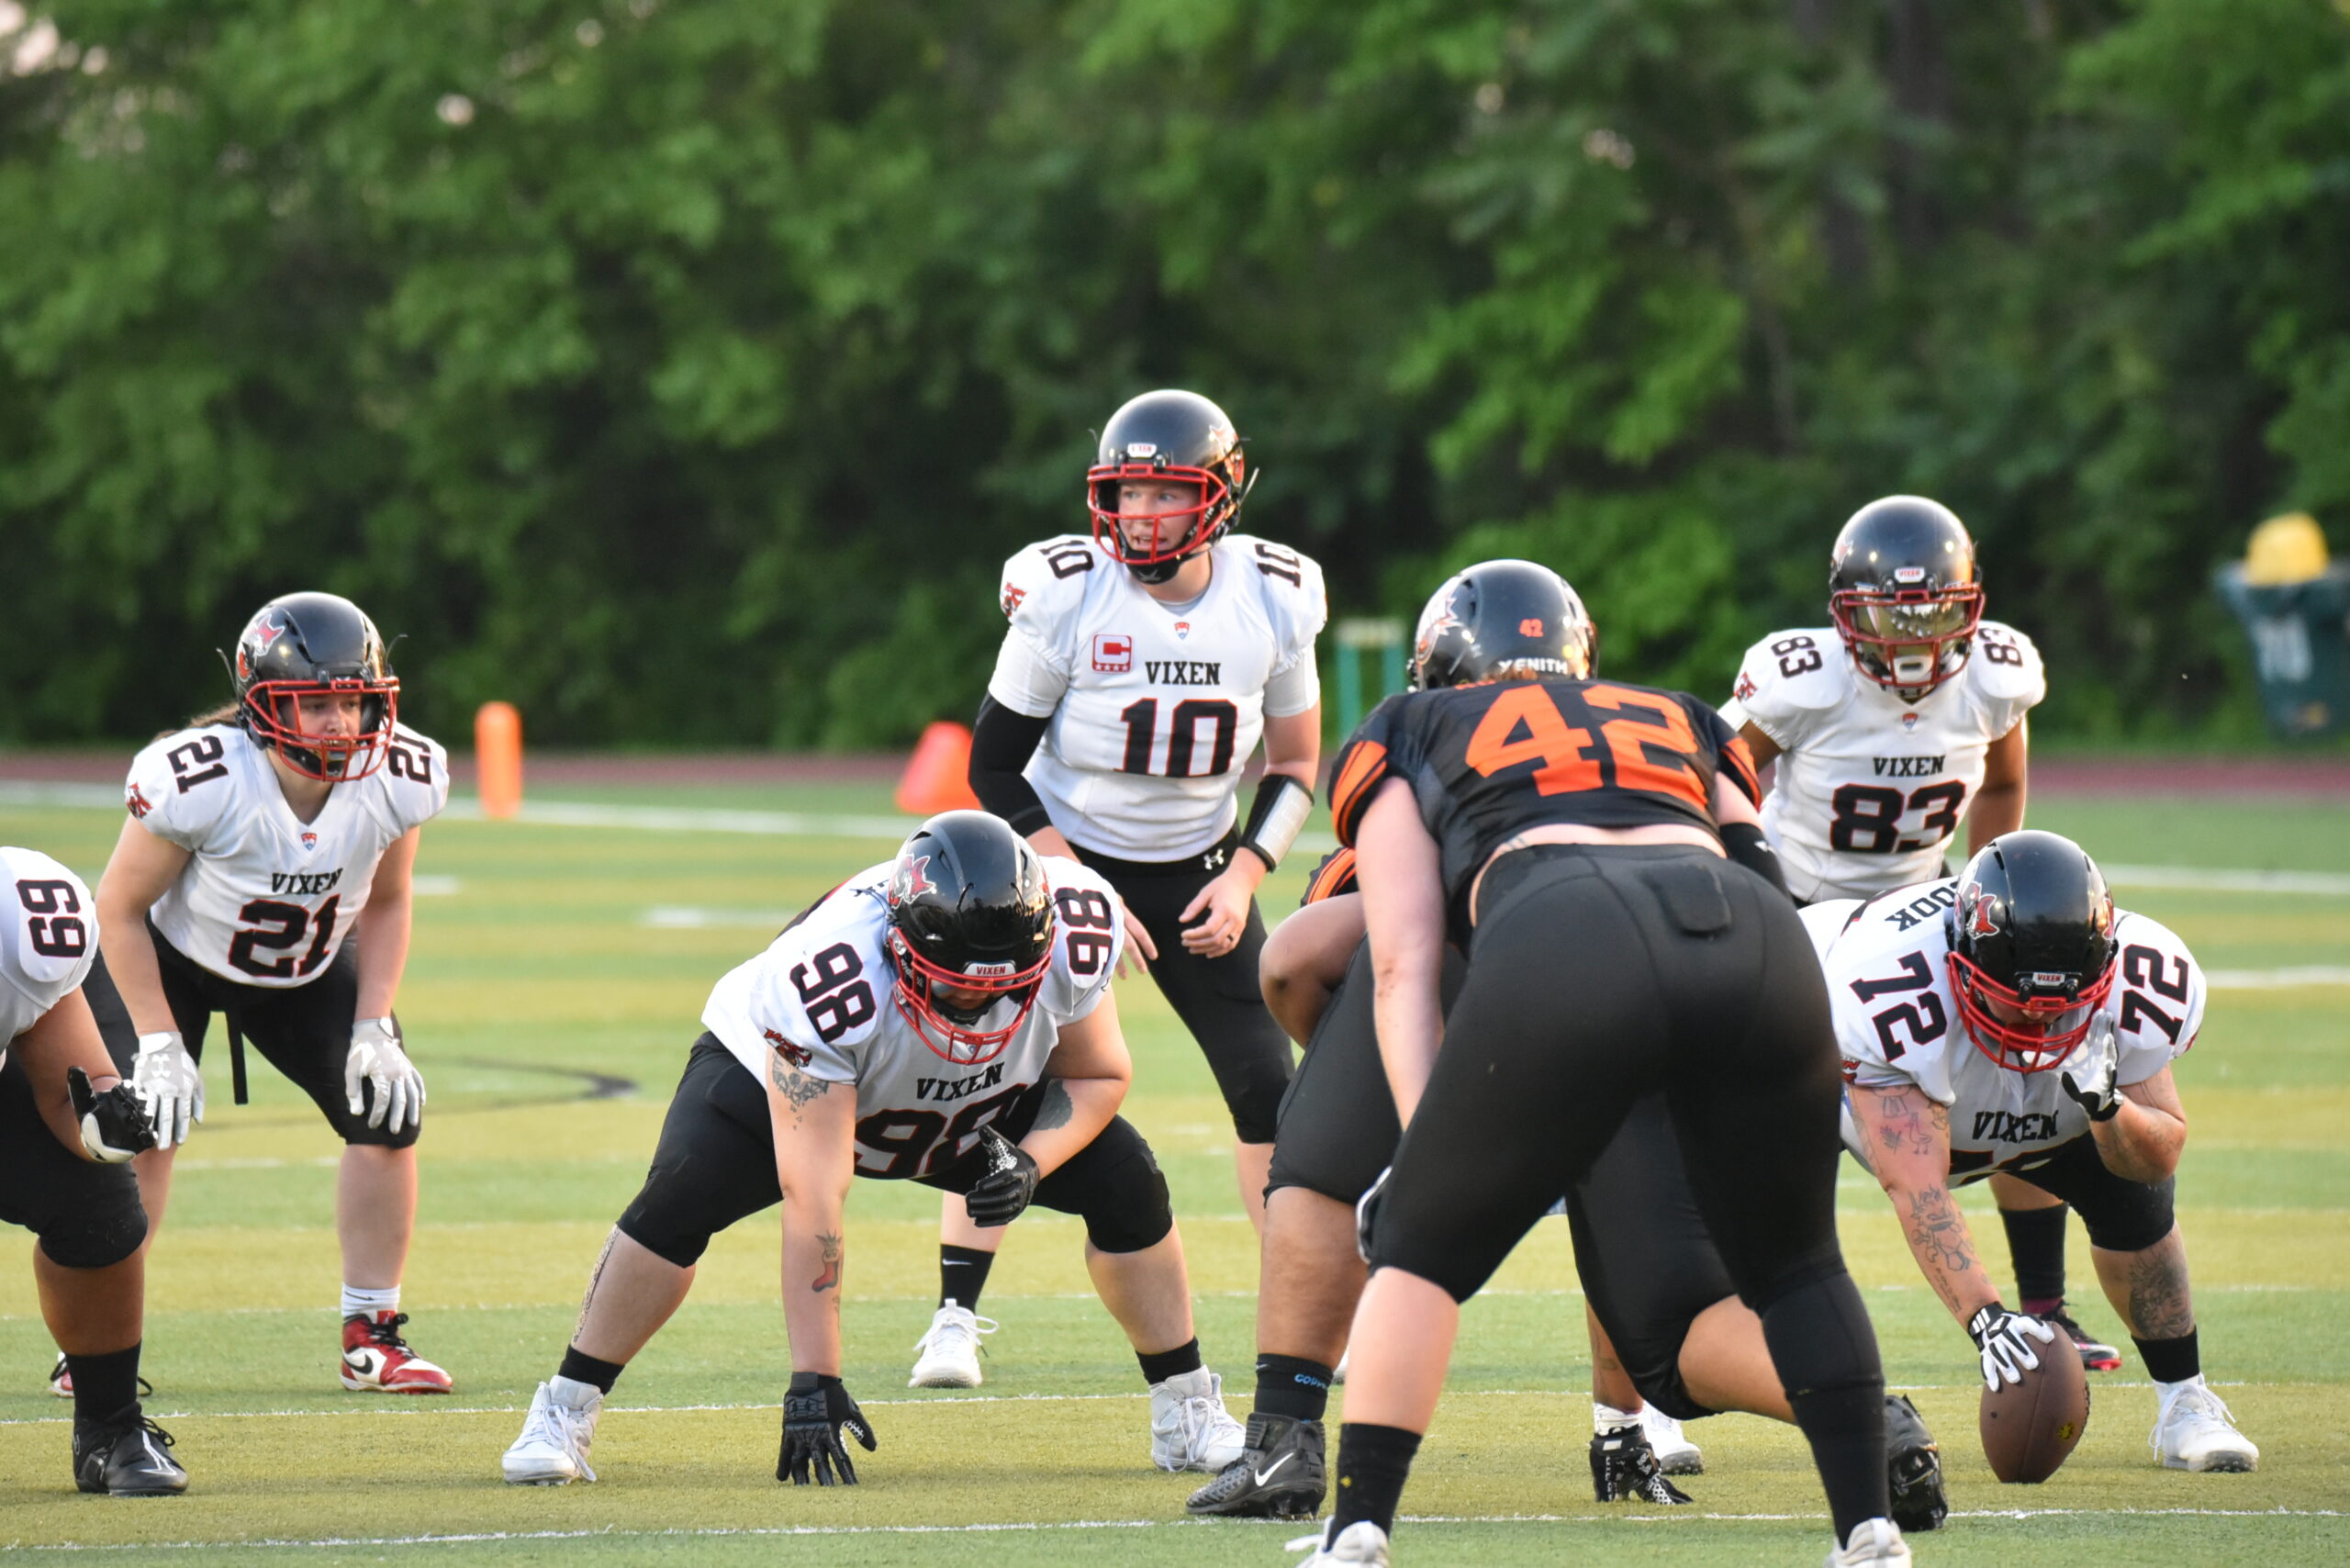
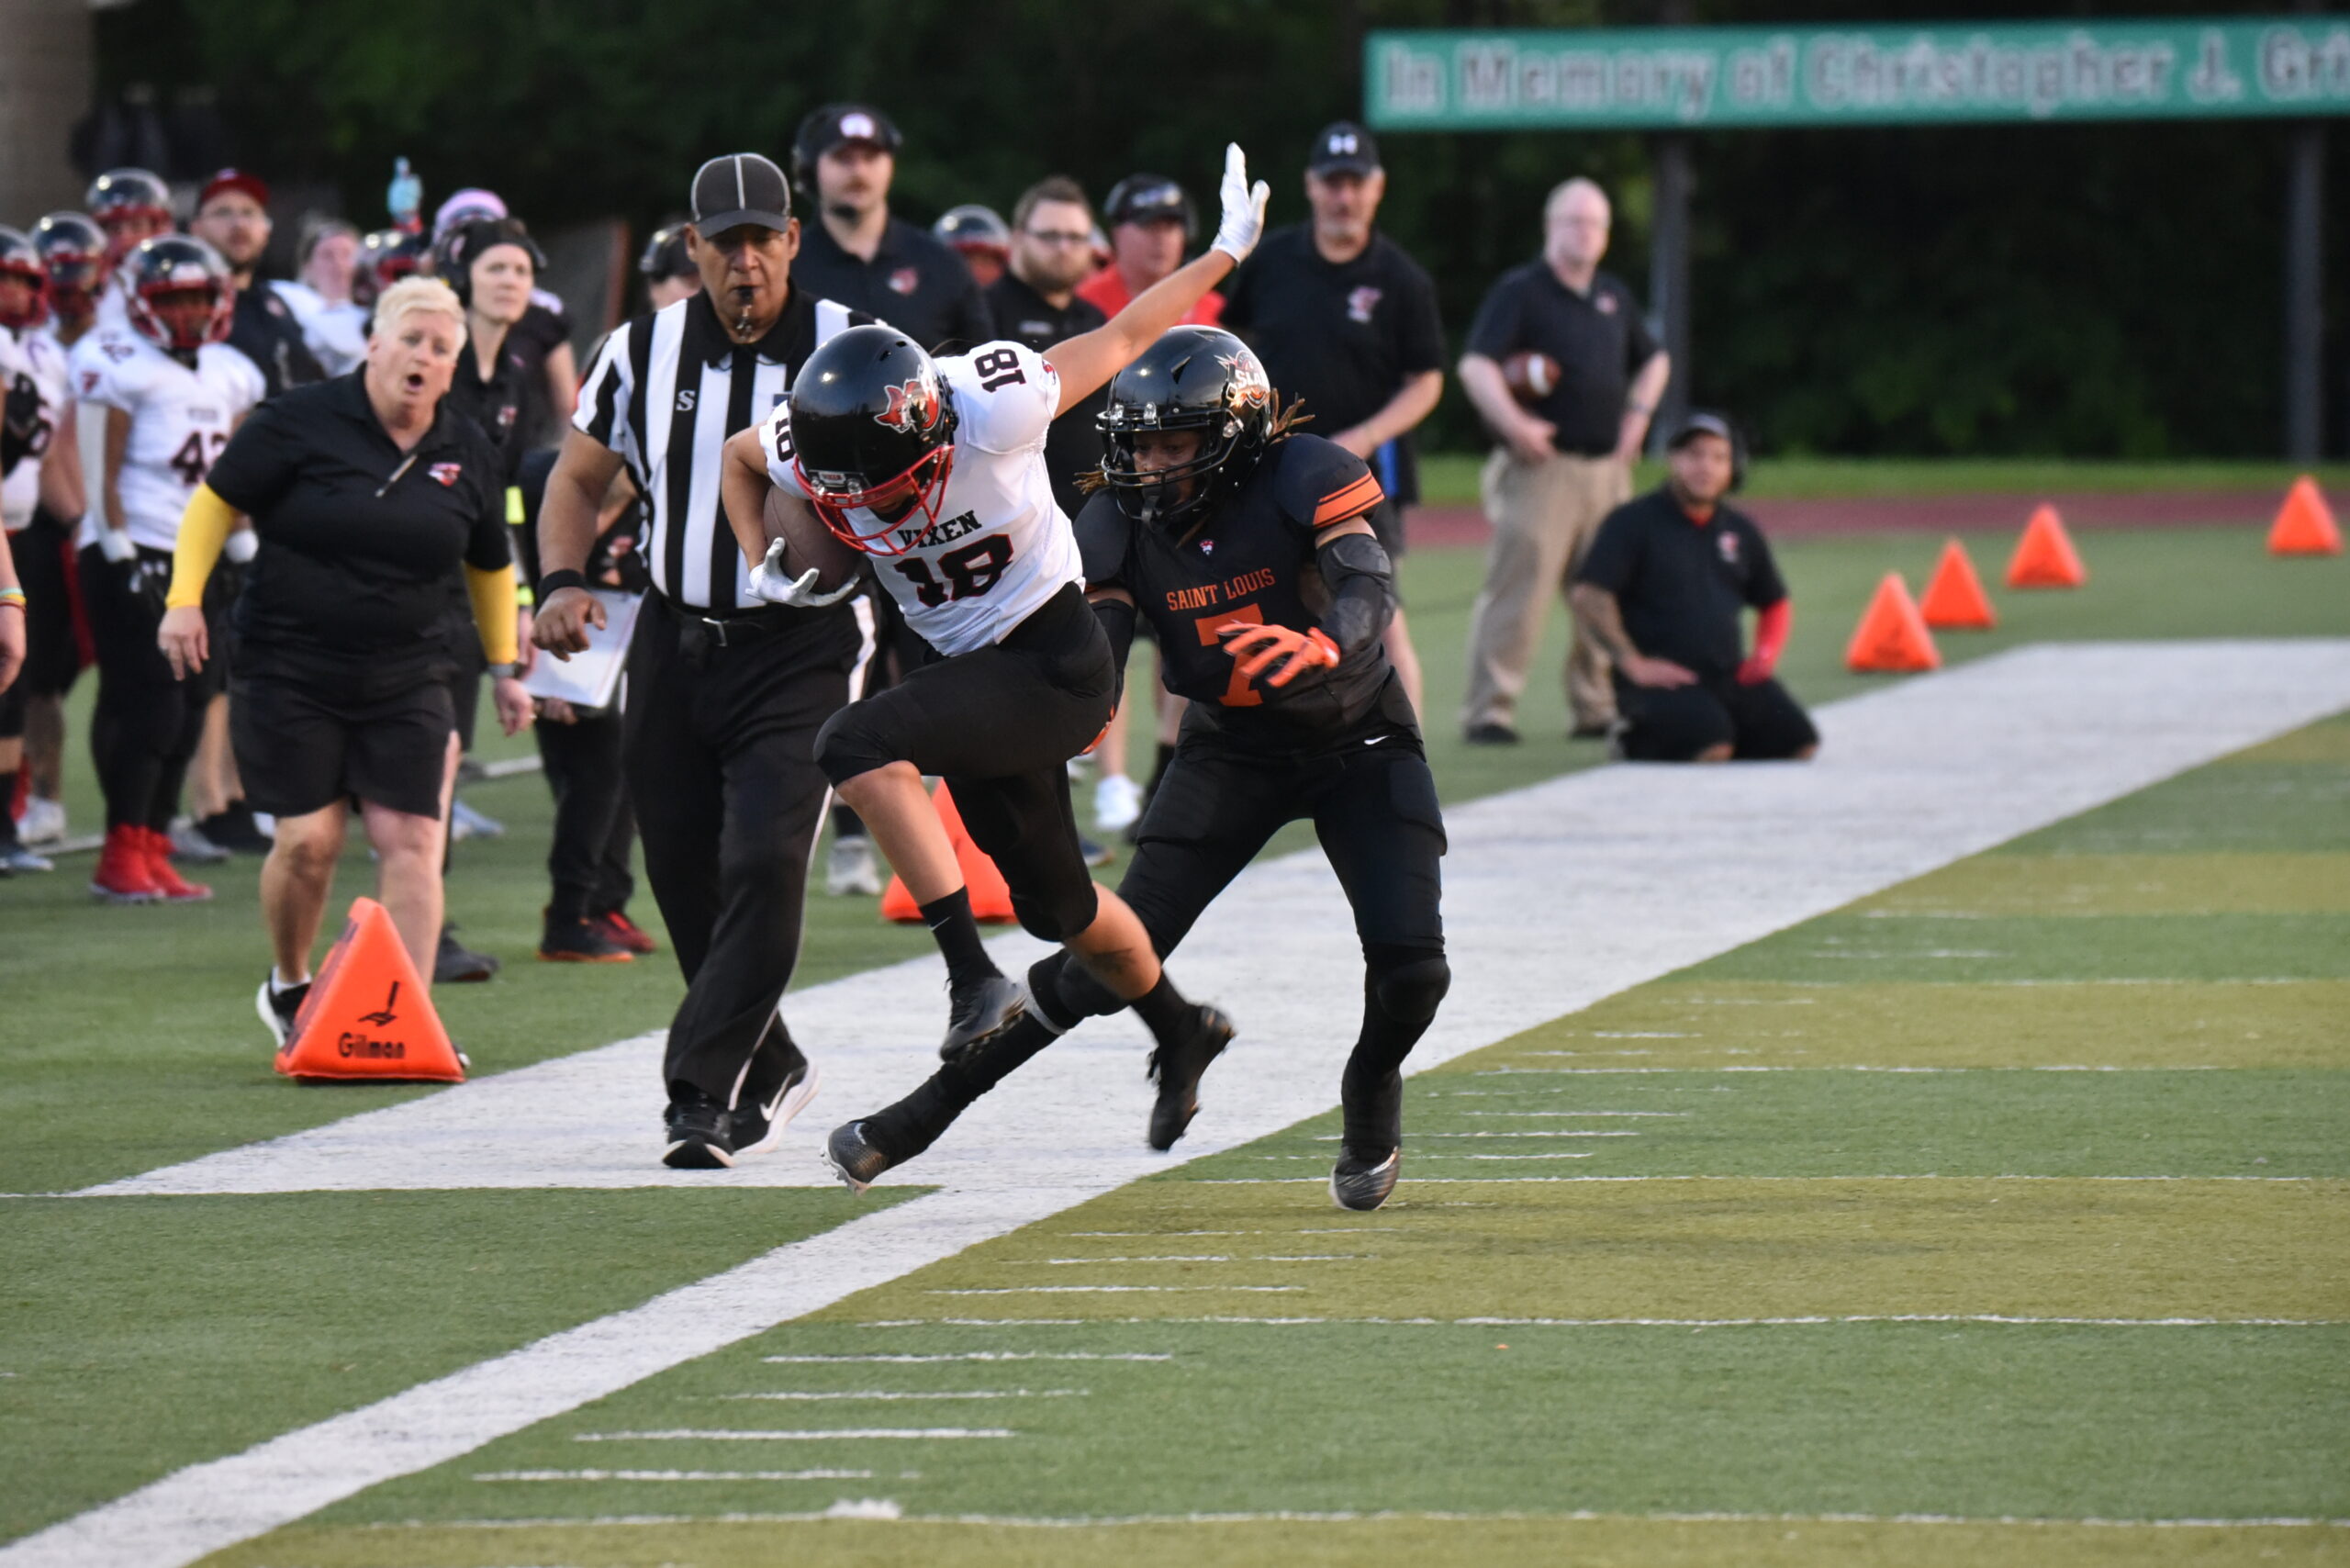
Gallery 5 Photo Credit Kelly McGinley